1H-4 Ignition System:
• Install the ignition coil/plug caps and connect their
lead wire couplers.
CAUTION
!
Do not hit the ignition coil/plug cap with a
plastic hammer when installing it.
Spark Plug Inspection and Cleaning
B817H21806002
Refer to “Spark Plug Inspection and Cleaning in Section
0B (Page 0B-5)”.
Ignition Coil / Plug Cap Inspection
B817H21806003
Refer to “Electrical Components Location in Section 0A
(Page 0A-10)”.
Ignition Coil Primary Peak Voltage
1) Remove the fuel tank. Refer to “Fuel Tank Removal
and Installation in Section 1G (Page 1G-9)”.
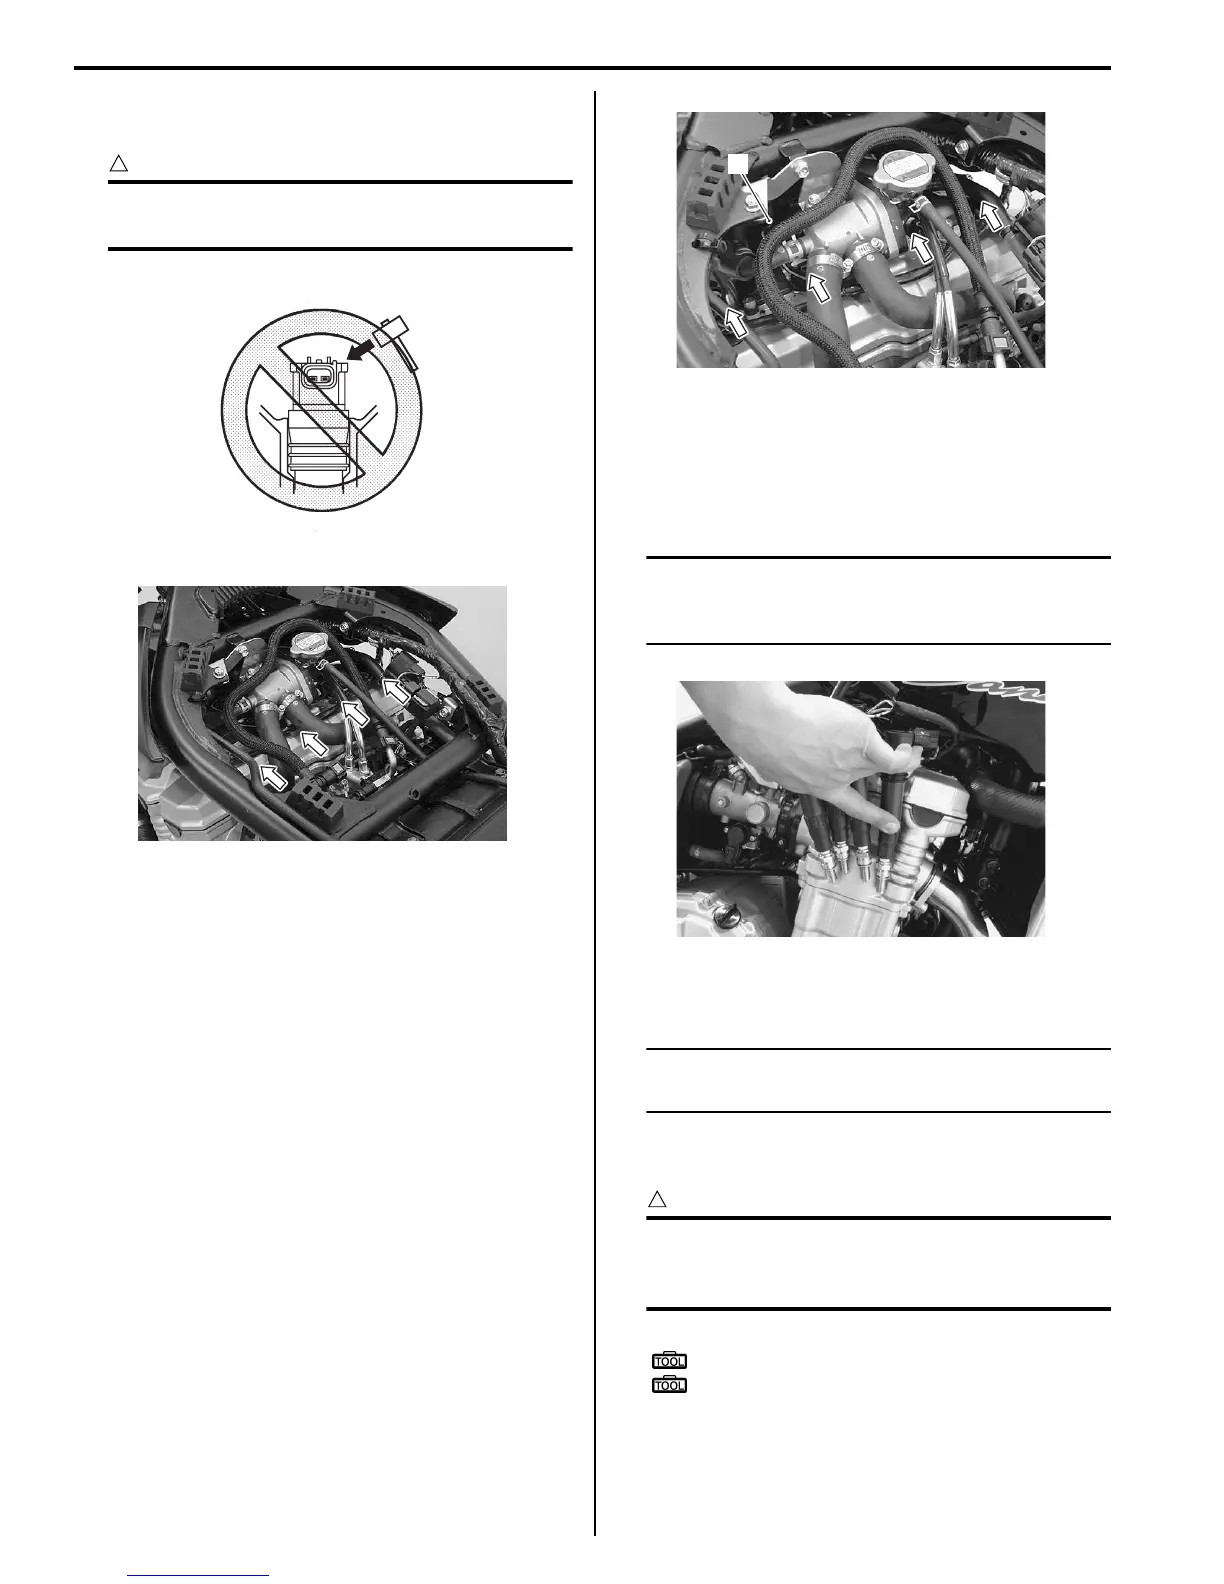
2) Disconnect all ignition coil/plug cap and PAIR control
solenoid valve coupler (1). Refer to “Ignition Coil /
Plug Cap and Spark Plug Removal and Installation
(Page 1H-3)”.
3) Connect new spark plug to each ignition coil/spark
plug cap.
4) Connect all the ignition coil/plug cap lead wire
couplers to the ignition coil/plug caps respectively,
and ground them on the cylinder head.
NOTE
Be sure that all the spark plugs are
connected properly and the battery used is in
fully-charged condition.
5) Insert the needle pointed probe to the lead wire
coupler.
NOTE
Use the special tool, to prevent the rubber of
the water proof coupler from damage.
6) Connect the multi-circuit tester with the peak voltage
adaptor as follows.
CAUTION
!
Before using the multi-circuit tester and peak
voltage adaptor, refer to the appropriate
instruction manual.
Special tool
(A): 09900–25008 (Multi-circuit tester set)
(B): 09900–25009 (Needle pointed probe
set)
INCORRECT
I718H1180012-01
I717H1180004-01
1
I717H1180005-01
I718H1180015-01
 Loading...