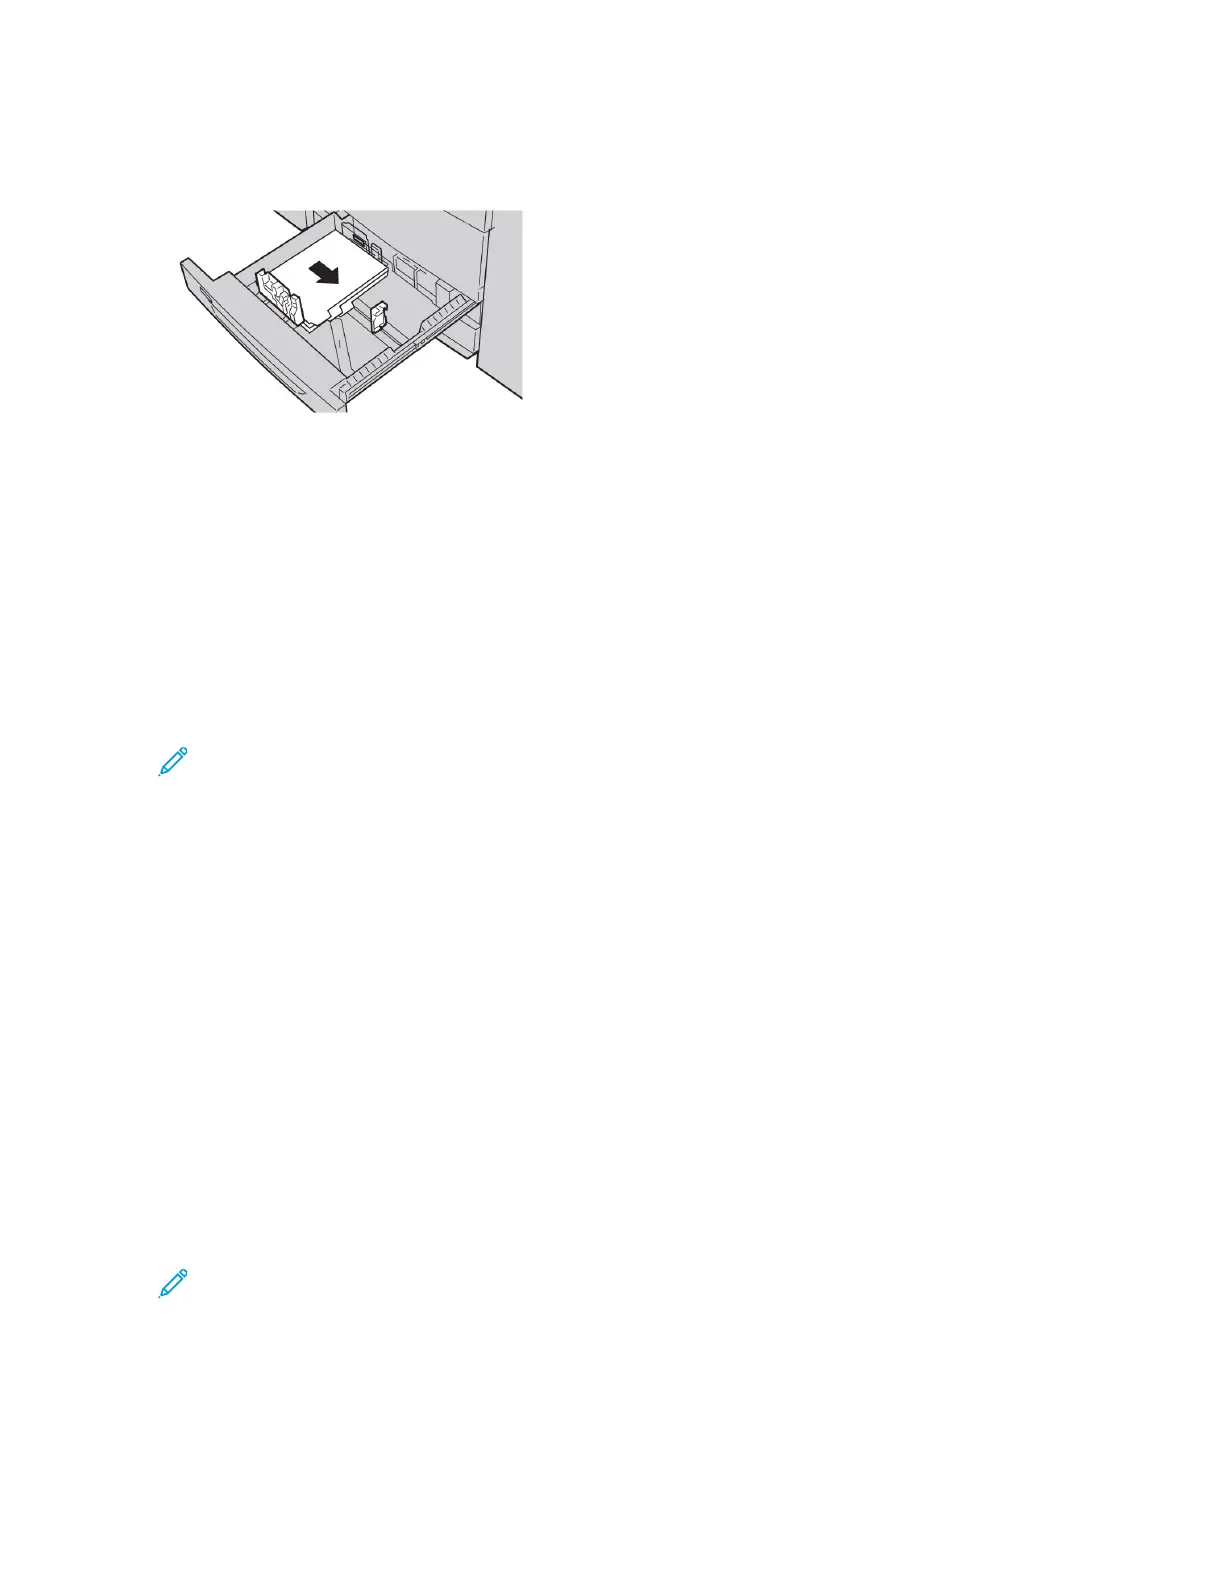
4. Load and align the edge of the tab paper against the right edge of the tray, with the side to be copied or
printed facing down.
5. To adjust the paper guides, press in the guide release and move the edge guide carefully until it touches the
edge of the media in the tray.
Do not load media above the Max line on the rear edge guide.
6. Gently push in the tray until it stops.
If enabled by your system administrator, the Paper Tray settings screen appears on the touch screen.
7. If you made changes to the paper tray, touch CChhaannggee SSeettttiinnggss. If you did not make any changes, proceed to
the next step.
a. For Paper Type / Paper Weight, Paper Size, and Paper Color, select options as needed.
b. If necessary, make changes to the paper curl and alignment adjustment options.
Note: For detailed information on the paper curl and alignment adjustment options, refer to the Xerox®
®
PrimeLink®
®
B9100/B9110/B9125/B9136 Copier/Printer System Administrator Guide.
c. Touch SSaavvee on each screen until you return to the tray settings window.
8. Touch CCoonnffiirrmm.
LOADING HOLE-PUNCH PAPER IN TRAYS 1, 2, 3, AND 4
1. Select the appropriate paper for your print job.
2. Pull out the tray slowly until it stops.
3. Open the ream of paper with the seam side facing up.
4. Before loading paper into the tray, fan the sheets of paper.
5. Load the hole-punch paper against the left edge of the tray.
Align the paper so that the holes are against the left edge of the tray, and ensure that the paper is loaded in
the Long Edge Feed (LEF) orientation.
6. To adjust the paper guides, press in the guide release and move the edge guide carefully until it touches the
edge of the paper in the tray.
Note: Do not load paper above the Max line on the rear edge guide.
7. Gently push in the tray until it stops.
If enabled by your system administrator, the Paper Tray Settings screen appears on the touch screen.
8. If you made changes to the paper tray, touch CChhaannggee SSeettttiinnggss, then correct the information. If you did not
make any changes, proceed to the next step.
182
Xerox
®
PrimeLink
®
B9100/B9110/B9125/B9136 Copier/Printer User Guide
Paper and Media
 Loading...