3 - 14
Main unit
Thread tension unit
2
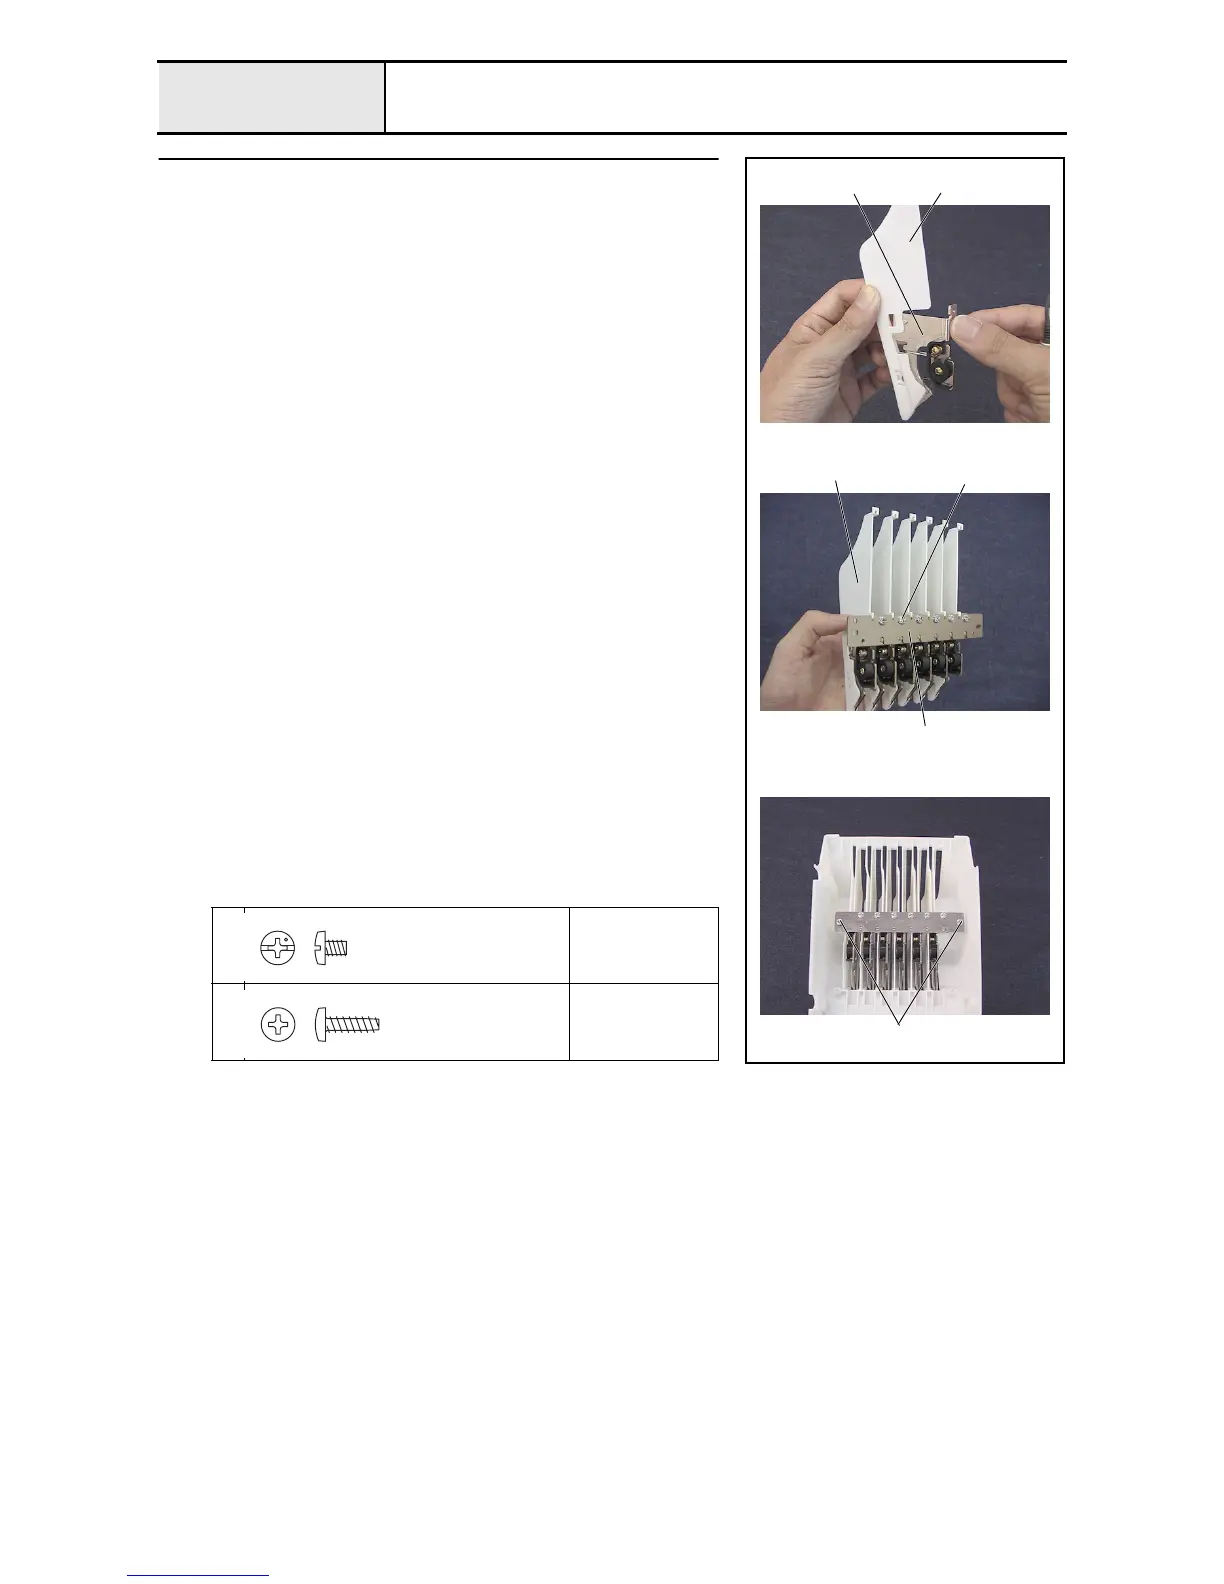
Thread take-up lever cover assembly (Step 1)
1. Attach the thread take-up bracket assembly 2 to the thread guide cover 1.
(6 sets)
2. Attach the 6 thread guide cover assemblies 3 to the thread tension bracket
base 4 with the 6 screws 1.
3. Secure the thread tension bracket base assembly to the thread take-up lever
cover 5 with the 2 screws 2.
*Key point
• Attach the thread tension bracket base assembly so that the
clearance in each slot is equal when viewed from the front of
the assembly.
1
Torque
0.59 –
0.78 N-m
2
Torque
0.38 –
0.78 N-m
21
1
2
4
3
Screw, Bind
M3X4
Color; Silver
Taptite, Bind B
M3X10
Color; Gold

 Loading...


