3 - 33
Lower shaft unit
Main unit
Assembly
1
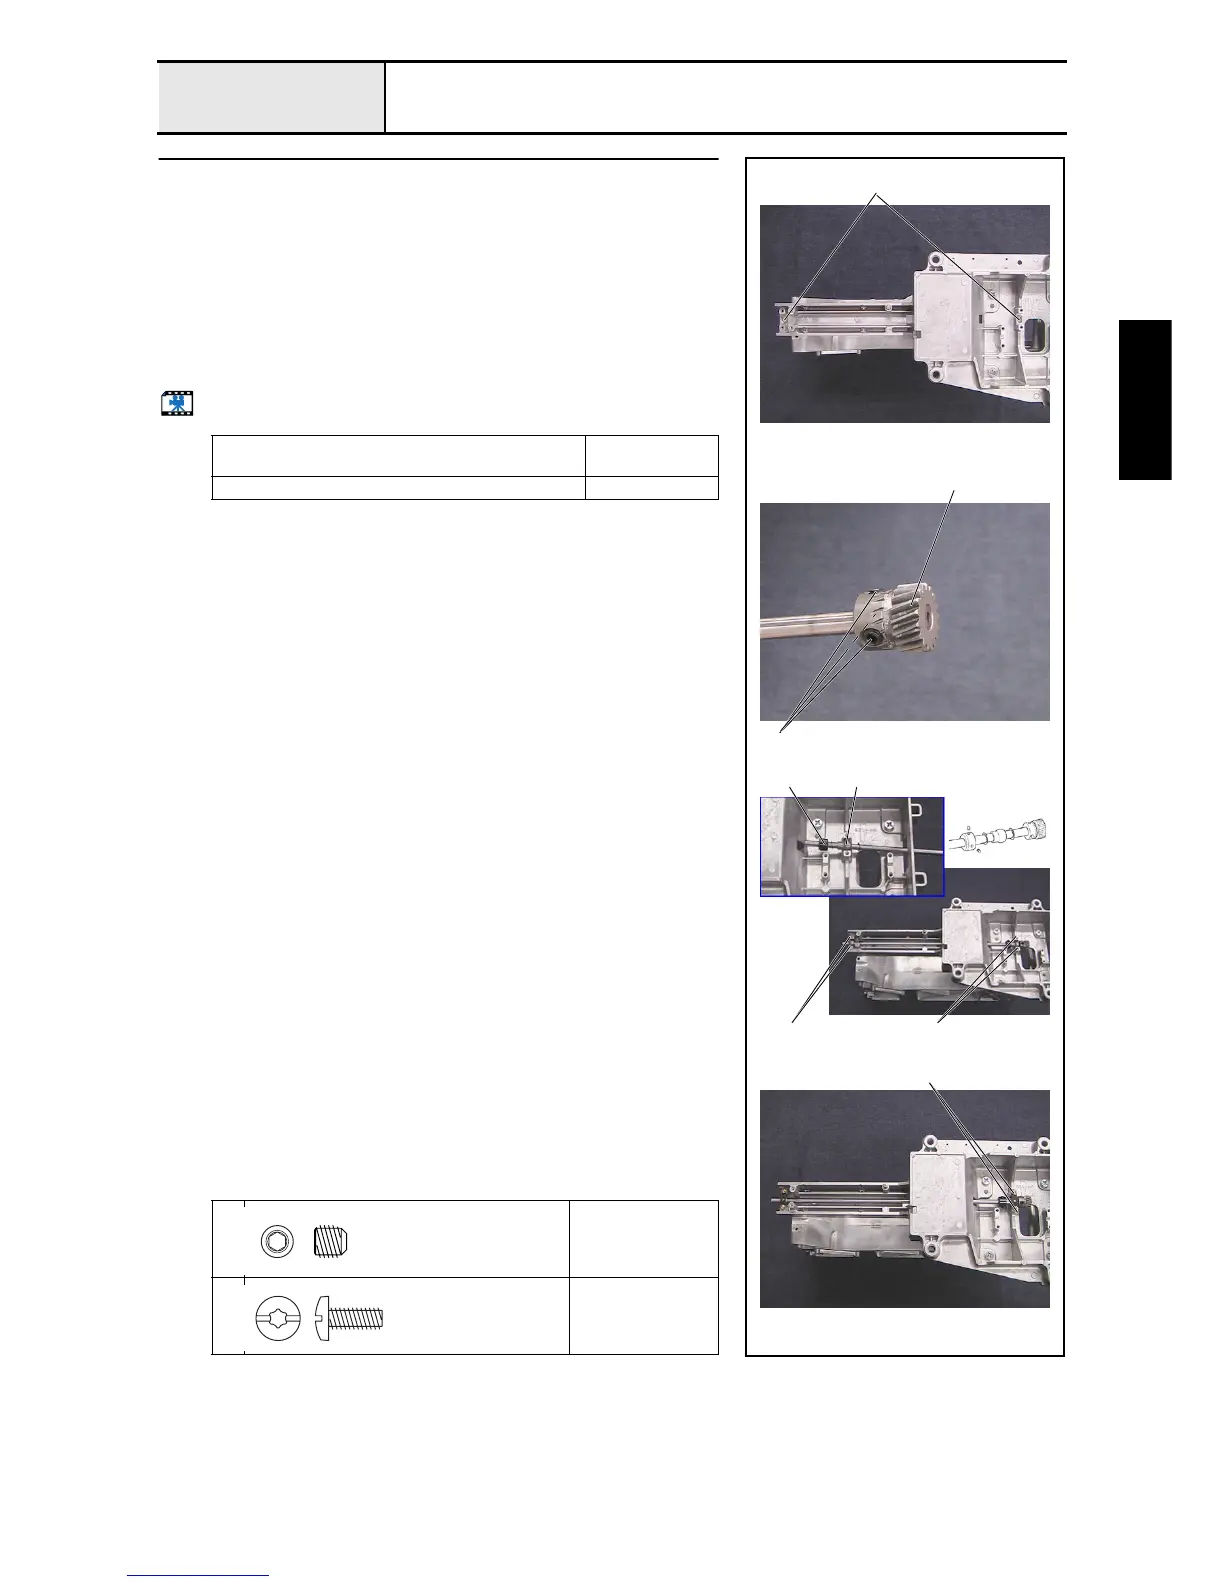
Lower shaft attachment
1. Apply turbine oil to the 2 felts 1.
2. Attach the felt to the lower shaft metal collars on the arm bed. (2 locations)
3. Thread the lower shaft gear 2 through the lower shaft, align the lower shaft
end face with the lower shaft gear end face, and tighten the 3 screws 1.
4. Attach the lower shaft assembly, thrust washer (7.24), lower shaft metal R
3, thrust washer (7.24), collar 4, and lower shaft metal F.
5. Secure the 2 lower shaft metal pressers with the 4 screws 2.
6. Move the lower shaft to the front and the collar to the rear, and then secure
the collar with the 2 screws 3.
Start movie clip (CD-ROM version only)
Apply turbine oil to the 2 felts.
Soak the felts in
turbine oil.
Apply sewing-machine oil to the lower shaft metal. 1 to 2 drops
1
3
Torque
1.18 –
1.57 N-m
2
Torque
1.47 –
1.96 N-m
1
4
2
1
3
3
22
Set Screw, Socket (CP)
M6X6
Color; Black
Taptite, Bind S
M4X10
Color; Gold

 Loading...


