2 - 40
Needle bar unit
Main unit
9
Case positioning plate disassembly
1. Remove the nut (2, M4) 1, spring washer (2-4), and plain washer (M4),
and then remove the ball bearing (694) and the case positioning shaft from
the case positioning plate.
1
10
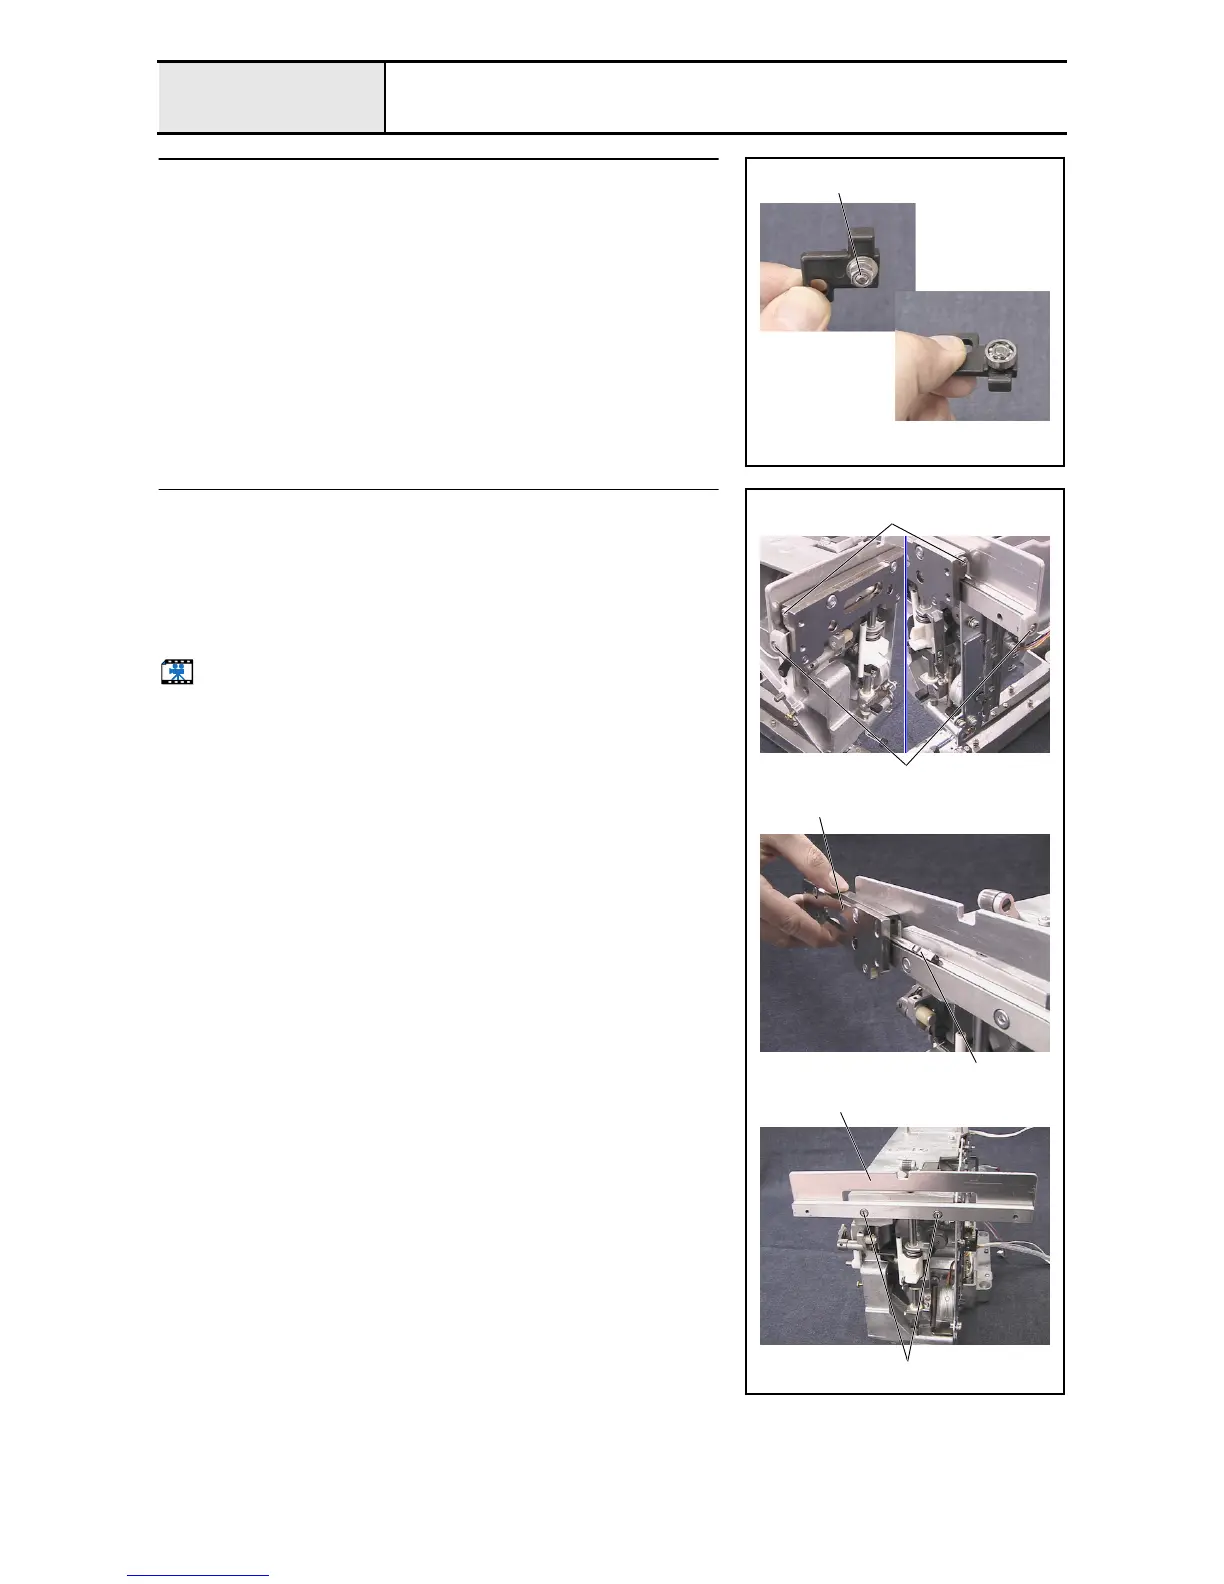
Case bracket assembly removal
1. Remove the screw 1, and then remove the case guide cover UL.
(2 locations)
2. Remove the screw 2, and then remove the slide roller stopper.
(2 locations)
3. Remove the case bracket assembly 1 and the slide roller 2.
4. Remove the 2 screws 3, and then remove the case guide UL assembly 3.
Start movie clip (CD-ROM version only)
1
1
2
2
3
3

 Loading...


