3 - 25
Thread cut unit
Main unit
Assembly
3
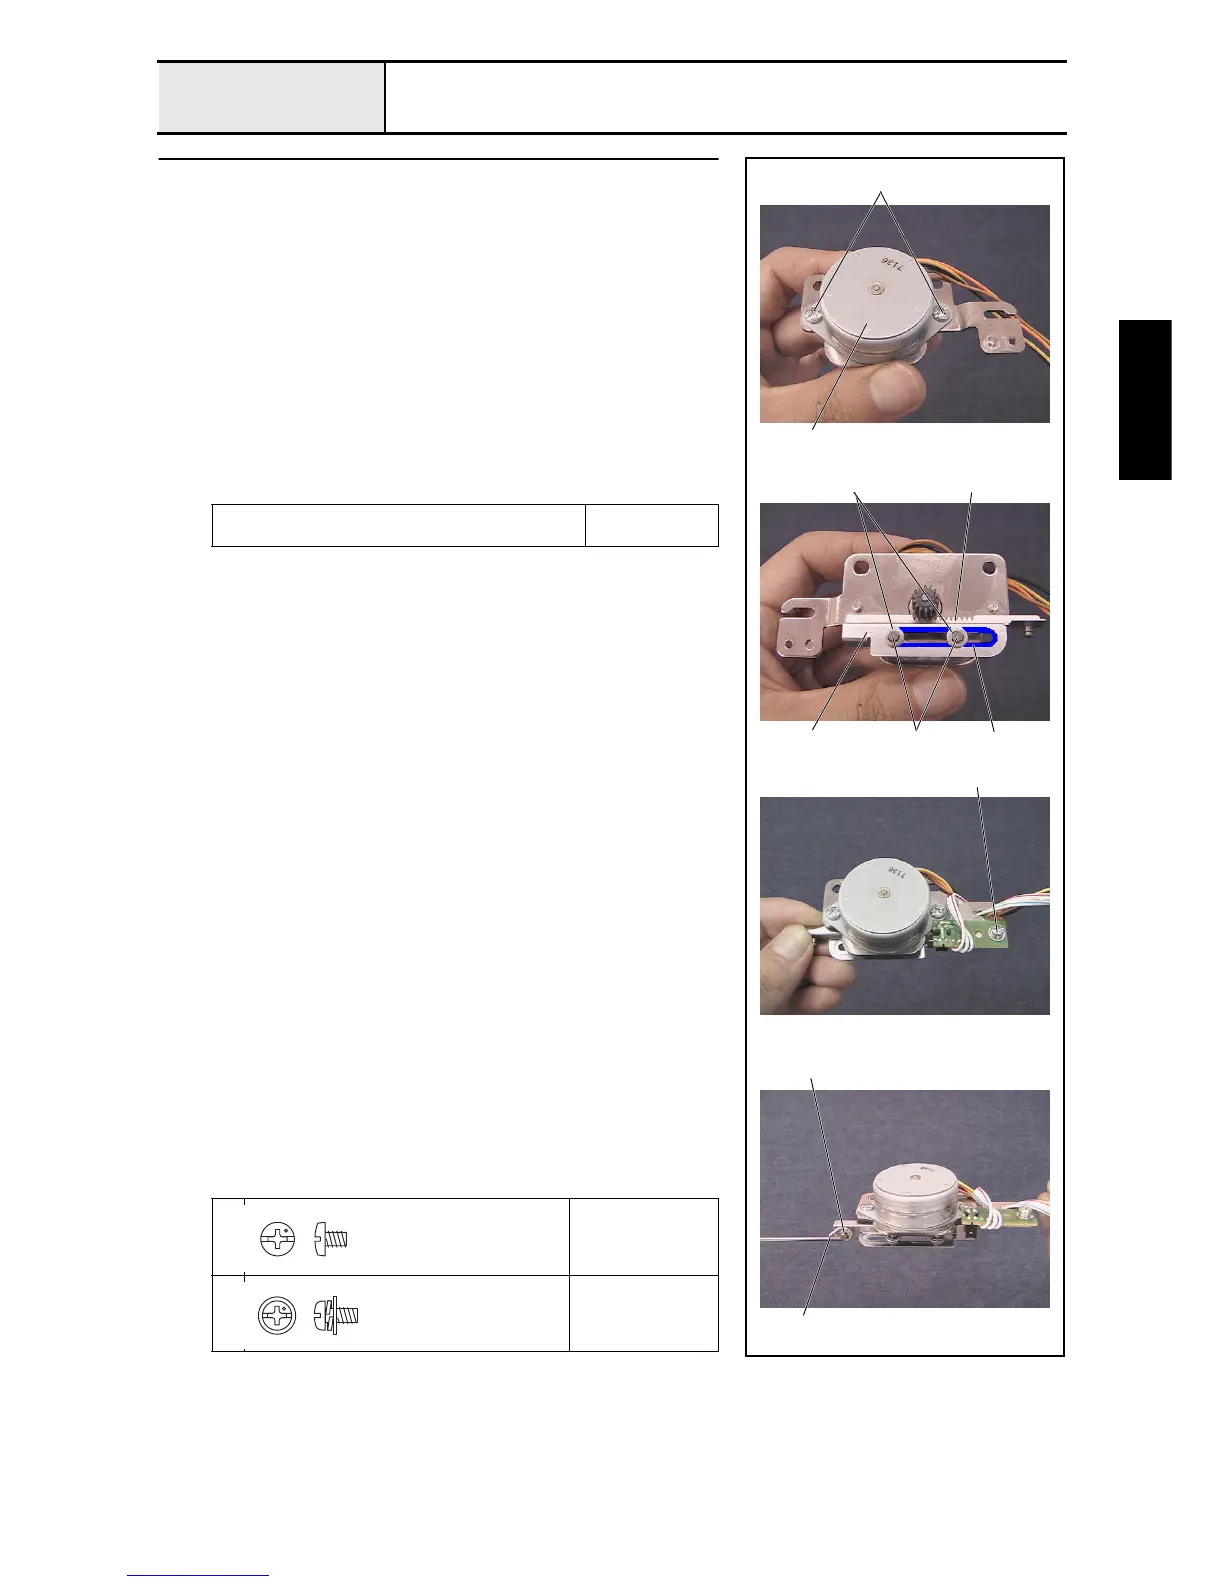
Picker assembly
1. Attach the picker motor assembly 1 to the PK motor bracket assembly
with the 2 screws 1.
2. Attach the 2 retaining rings E2 to the PK motor bracket's shaft 2 (2
locations).
3. Apply MOLYKOTE EM-30L grease to the rack assembly's moving
surface 3 and the gear 4.
4. Attach the 2 plain washers (S3), rack assembly 5, and 2 plain washers
(S3) to the PK motor bracket assembly's shaft (2 locations), and then attach
the 2 retaining rings E2.
5. Attach the picker sensor assembly to the PK motor bracket assembly with
the screw 2.
6. Place the washer and the picker link's slot 6 on the rack assembly's shaft,
and then attach the retaining ring E2.
7. Paint the picker motor assembly's connector black.
Apply MOLYKOTE EM-30L grease to the rack
assembly's moving surface and the gear.
Size of a grain of
rice
1
Torque
0.78 –
1.18 N-m
2
Torque
0.59 –
0.78 N-m
2
1
253
Retaining ring E2
4
6
Retaining ring E2
1
Screw, Bind
M3X4
Color; Silver
Screw, Pan (S/P washer)
M3X6
Color; Silver

 Loading...


