4 - 19
Inspection and
Adjustment
Adjustment Needle position adjustment (right/left)
Right/left position adjustment
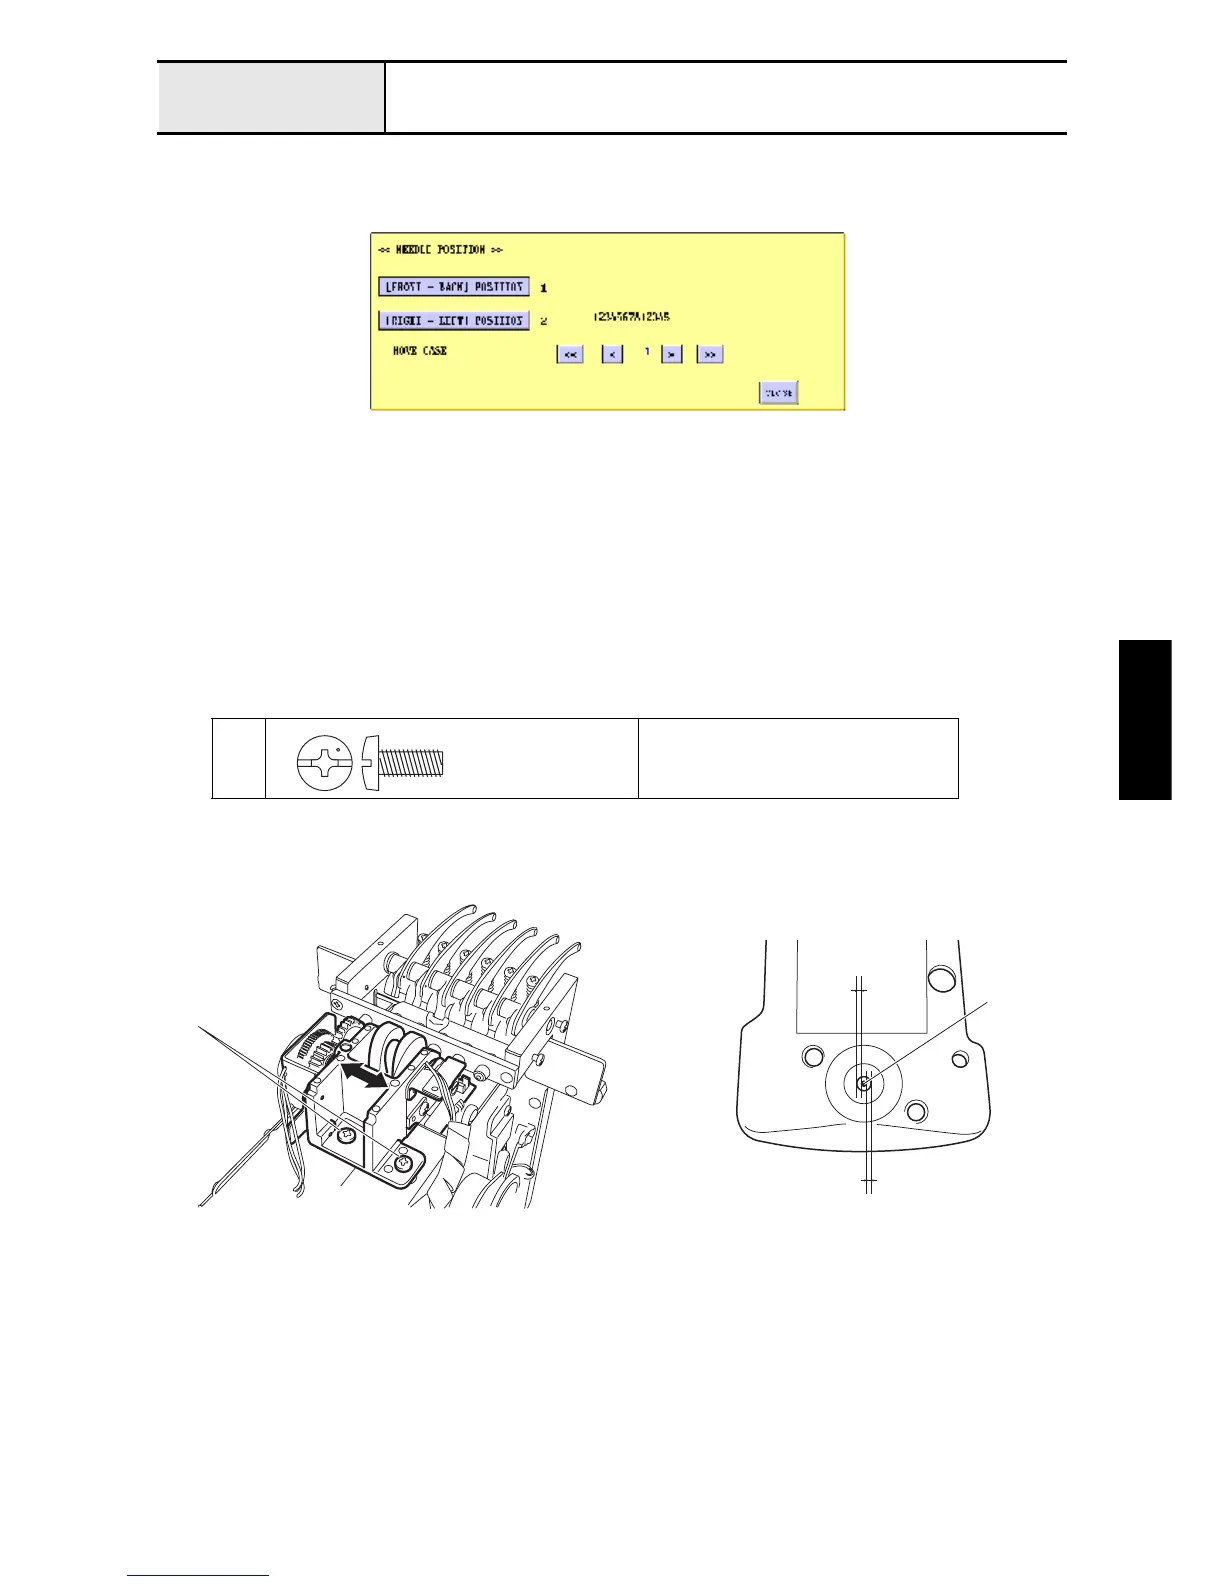
1. Enter the test mode, and press [MAIN BOARD TEST MODE] and then [NEEDLE POSITION].
2. Press [[RIGHT - LEFT] POSITION]]. The reference needle bar is selected and the needle bar case final assembly
moves.
3. Rotate the pulley manually to lower the needle bar until the needle tip enters the needle hole.
4. Loosen the 2 screws
1
.
5. Move the change box right and left to adjust the needle right/left position.
6. Tighten the 2 screws
1
.
7. Check the position for the other 5 needle bars.
*Key point
• Pressing [←] and [→] selects the other needle bars.
1
Torque
2.9 - 3.2 N-m
Screw, Bind
M5X12
Color; Silver
The change box should be parallel to the needle bar
case final assembly.
Clearance between the needle hole and
the needle right /left position should be
at least 0.3 mm.
1
least 0.3mm
Needle
least 0.3mm

 Loading...


