3 - 21
Thread tension unit
Main unit
Assembly
13
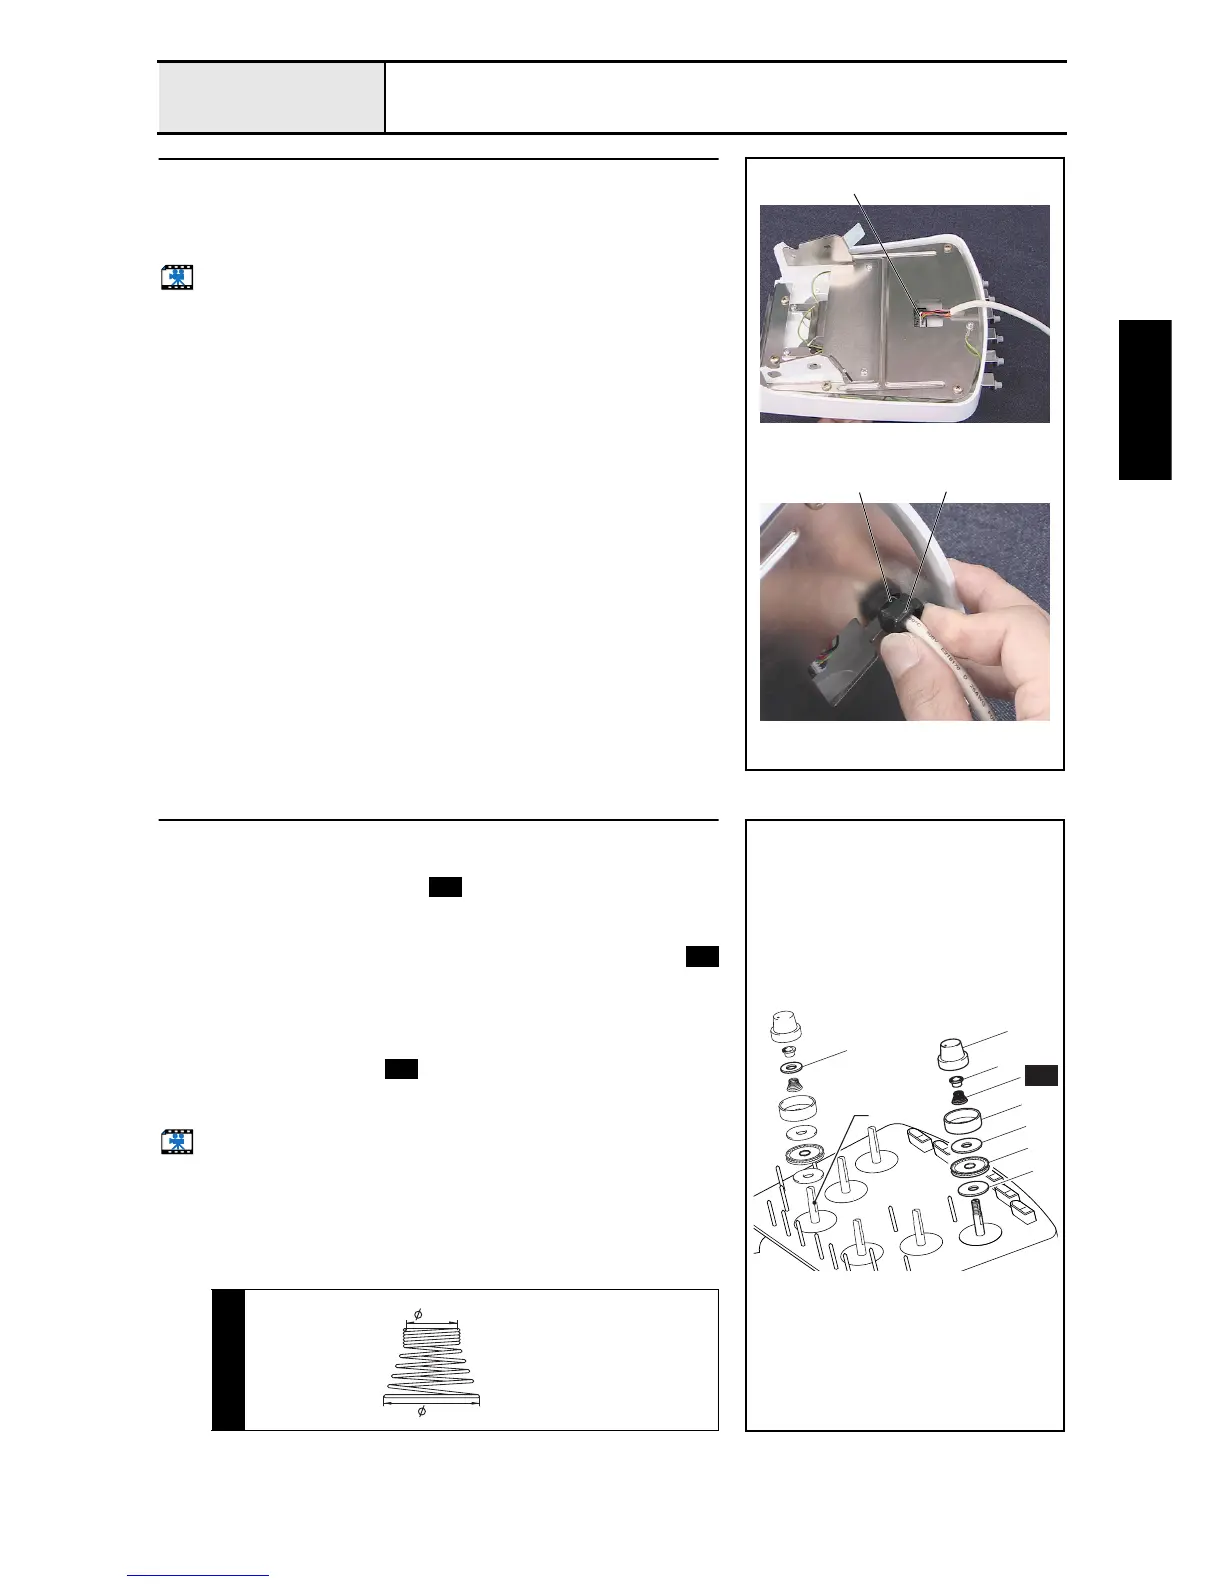
Tension base lead wire assembly attachment
1. Connect the tension base lead wire assembly 1 to the head PCB assembly.
2. Attach the cord bush (KR51) 2 to the tension base lead wire assembly,
and then push it into the groove 3 on the tension base bracket.
Start movie clip (CD-ROM version only)
1
32
14
Tension nut attachment
1. Attach the tension disc felt 1, rotary disc assembly 2, tension disc felt 1,
tension disc presser 3, spring , washer 4, and tension nut 5. (6
locations)
NOTE
• Insert the thread tension washer 6 between the spring
and the washer 4 only for thread tension A.
*Key point
• Attach the rotary disc assembly so that the magnetic surface
is facing down.
• Attach the spring so that the larger diameter end is at the
bottom.
• Tighten the tension nut 5 two turns clockwise.
Start movie clip (CD-ROM version only)
S51
A
5
6
4
3
1
2
1
S51
S51
S51
S51
THREAD SPRING
XC6232***
9.5
18

 Loading...


