3 - 17
Thread tension unit
Main unit
Assembly
6
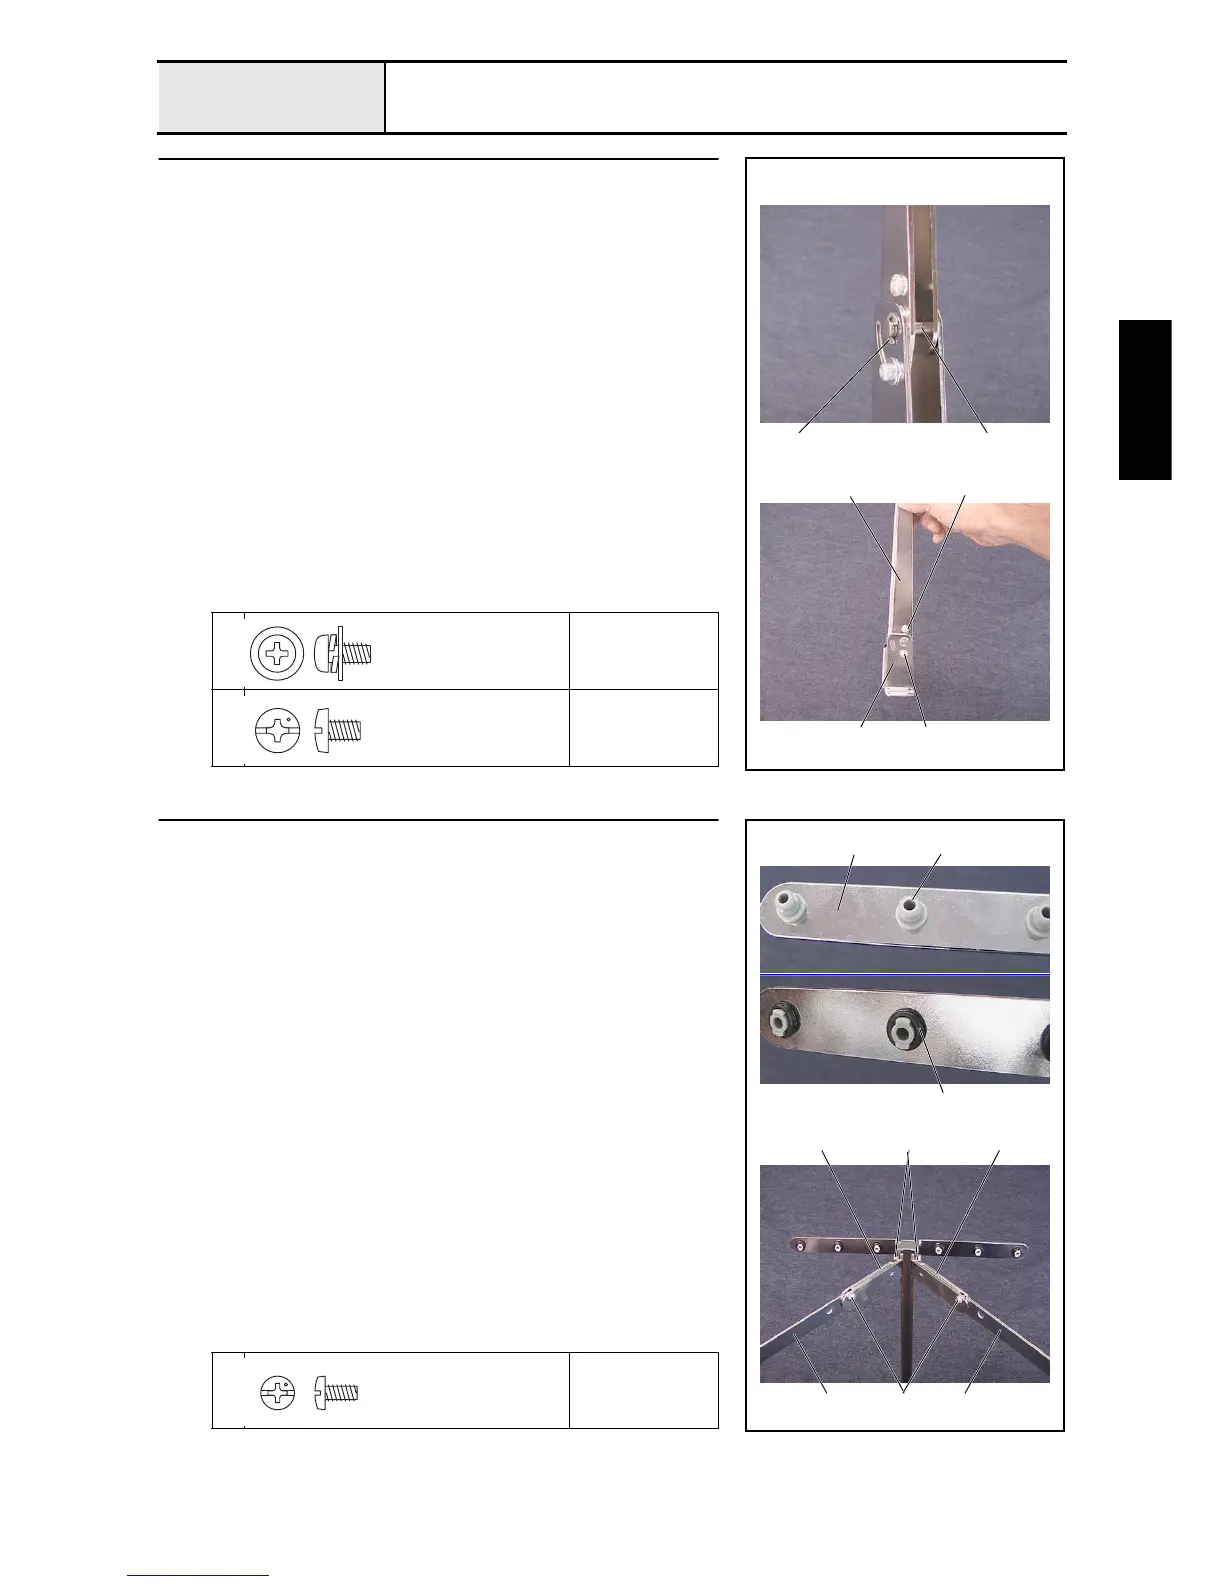
Antenna assembly (Step 1)
1. Attach the retaining ring E5 to the antenna shaft 1.
2. Attach the antenna C assembly 3 to antenna D 2, thread the antenna shaft
assembly through them, and then attach the retaining ring E5
3. Secure the antenna C assembly with the screws (1 2).
1
Torque
1.18 –
1.57 N-m
2
Torque
1.18 –
1.57 N-m
Retaining rings CS5
1
1
2
3
2
Screw, Pan (S/P washer)
M4X8DB
Color; Silver
Screw, Bind
M4X6
Color; Silver
7
Antenna assembly (Step 2)
1. Attach pipe bush A 2 to antenna E 1, and then attach the O-ring (P5) 3
to the tip of pipe bush A. (6 locations)
*Key point
• Turn pipe bush A 90 degrees after it has been attached to
antenna E.
2. Attach the 2 antennas A 4, 2 antennas B 5, and the antenna E assembly
to the antenna C assembly with the 4 screws 1.
*Key point
• Tighten the antenna E assembly together with antenna A.
1
Torque
0.78 –
1.18 N-m
1 2
3
1
1
5 5
4 4
Screw, Bind
M3X6
Color; Silver

 Loading...


