GE MEDICAL SYSTEMS PROPRIETARY TO GE
D
IRECTION 2294854-100, REVISION 3 LOGIQ™ 9 PROPRIETARY MANUAL
Chapter 4 Functional Checks 4-15
4-3-11 Backup and Restore Database, Preset Configurations and Images
4-3-11-1 Formatting Media
1.) To format the backup media, CD-ROM or MOD, select the UTILITY
tab on the Touch Panel.
2.) Select CONNECTIVITY
, then TOOLS. Properly label and Insert the backup media.
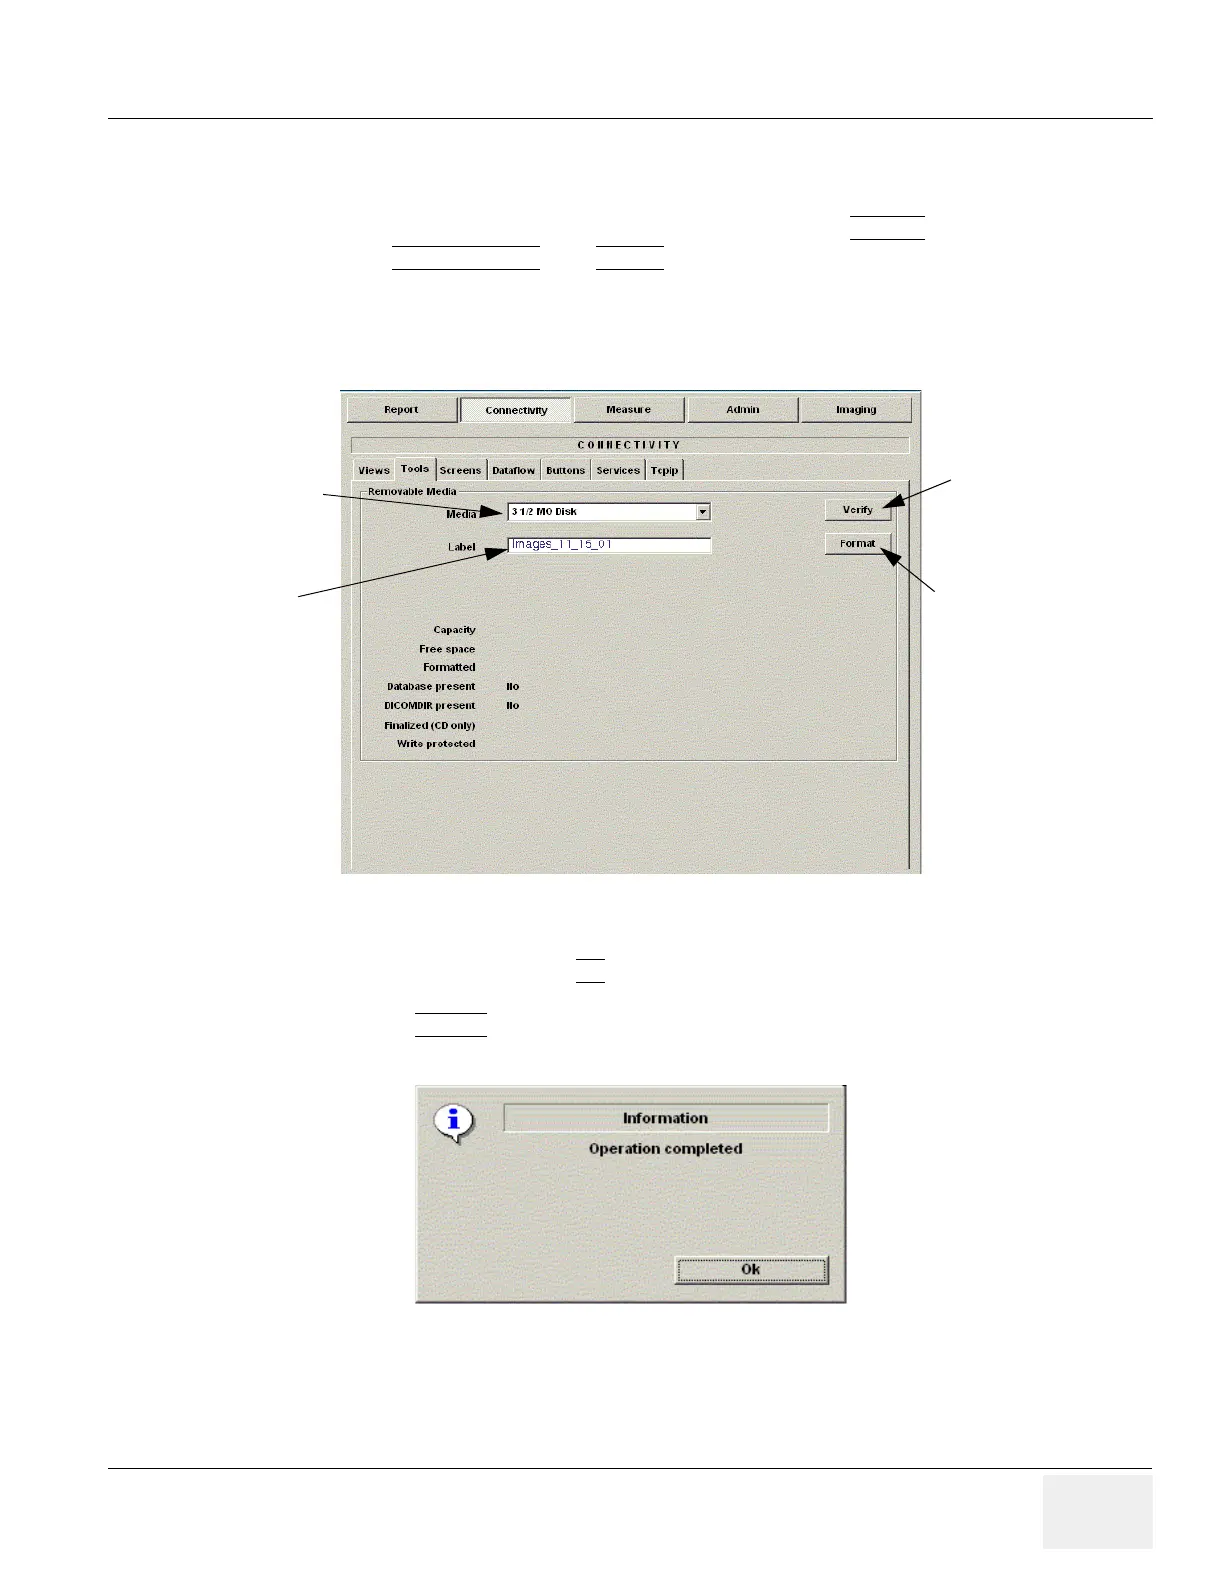
3.) Select the media type from the drop down menu.
4.) Enter the label for the media as shown in Figure 4-11. It is best to use all capital letters with no
spaces or punctuation marks.
5.) The Ultrasound system displays a pop-up menu, as shown in Figure 4-12. When the formatting
has been completed, press OK
to continue.
6.) If desired, verify that the format was successful by returning to Utility>Connectivity>Tools and
selecting VERIFY
as shown in Figure 4-11.
Figure 4-11 Format and Verify Media
Figure 4-12 Format Successful Pop-up Menu
Verify Format
Format
Media Selection
Media Label
 Loading...


