GE MEDICAL SYSTEMS PROPRIETARY TO GE
D
IRECTION 2294854-100, REVISION 3 LOGIQ™ 9 PROPRIETARY MANUAL
3-6 Section 3-5 - Completing the Installation
Section 3-5
Completing the Installation
3-5-1 Power On / Boot Up
NOTE: After turning off a system, wait at least ten seconds before turning it on again. The system may not be
able to boot if power is recycled too quickly.
3-5-1-1 Scanner Power On
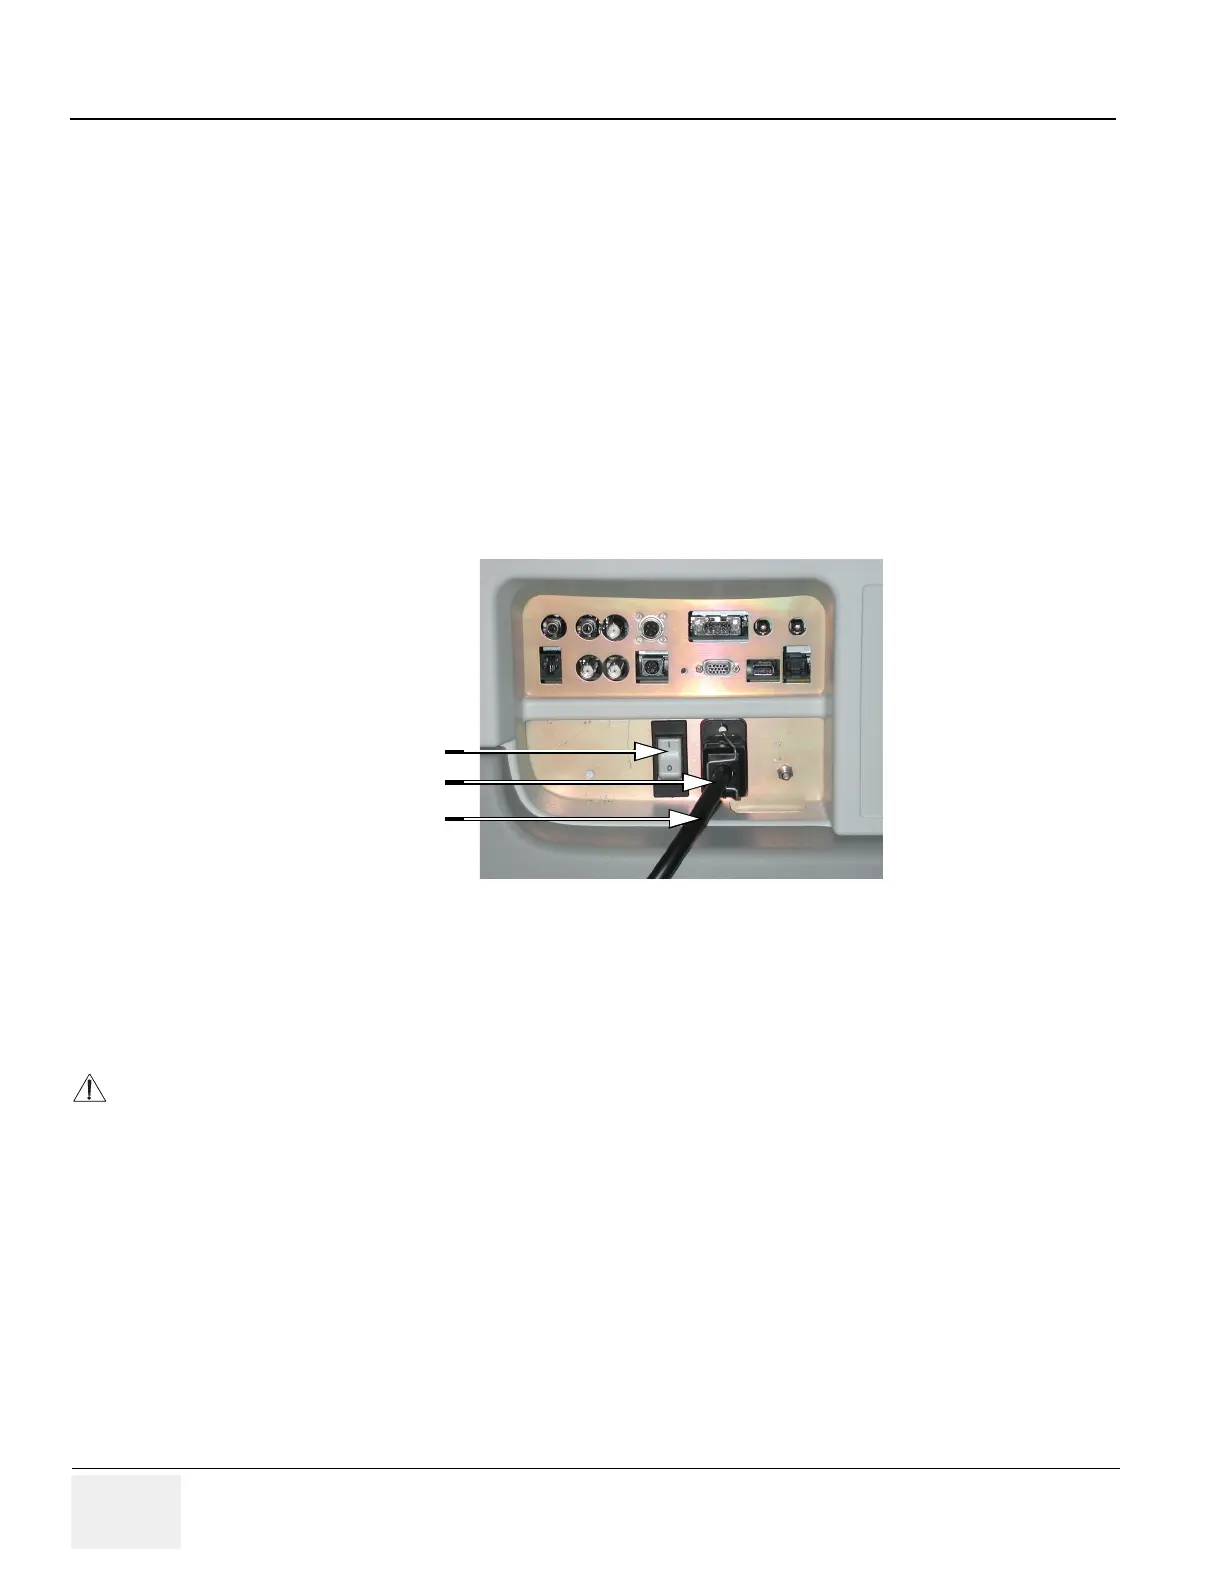
1.) Connect the Power Cable to the back of the system.
2.) Ensure the Cable Clip slips securely over the shoulders on the molded plug.
3.) Connect the Main Power Cable to a hospital grade power receptacle with the proper rated voltage.
Never use an adapter that would defeat the safety ground.
4.) Switch ON the Circuit Breaker at the rear of the system.
When power is applied to the scanner and the rear Circuit Breaker is turned ON, power is distributed to
the Cooling Unit, Control Panel, Monitor, Internal and External I/O Boards, Peripherals and the Back-
end Processor.
Figure 3-3 Circuit Breaker and Power Cable on Back of Scanner
NOTICE
When AC power is applied to the scanner, the Standby switch on the Control panel illuminates amber,
indicating the Back End Processor is in standby mode.
Circuit Breaker
Mains Power Cable
Cable Clip
 Loading...


