GE MEDICAL SYSTEMS PROPRIETARY TO GE
D
IRECTION 2294854-100, REVISION 3 LOGIQ™ 9 PROPRIETARY MANUAL
8-160 Section 8-41 - Frogleg Replacement Procedure
8-41-4 Frogleg Removal Procedure
1.) Put a piece of strong paperboard or carpet on top of Top Cower (to put Top Console Assembly on).
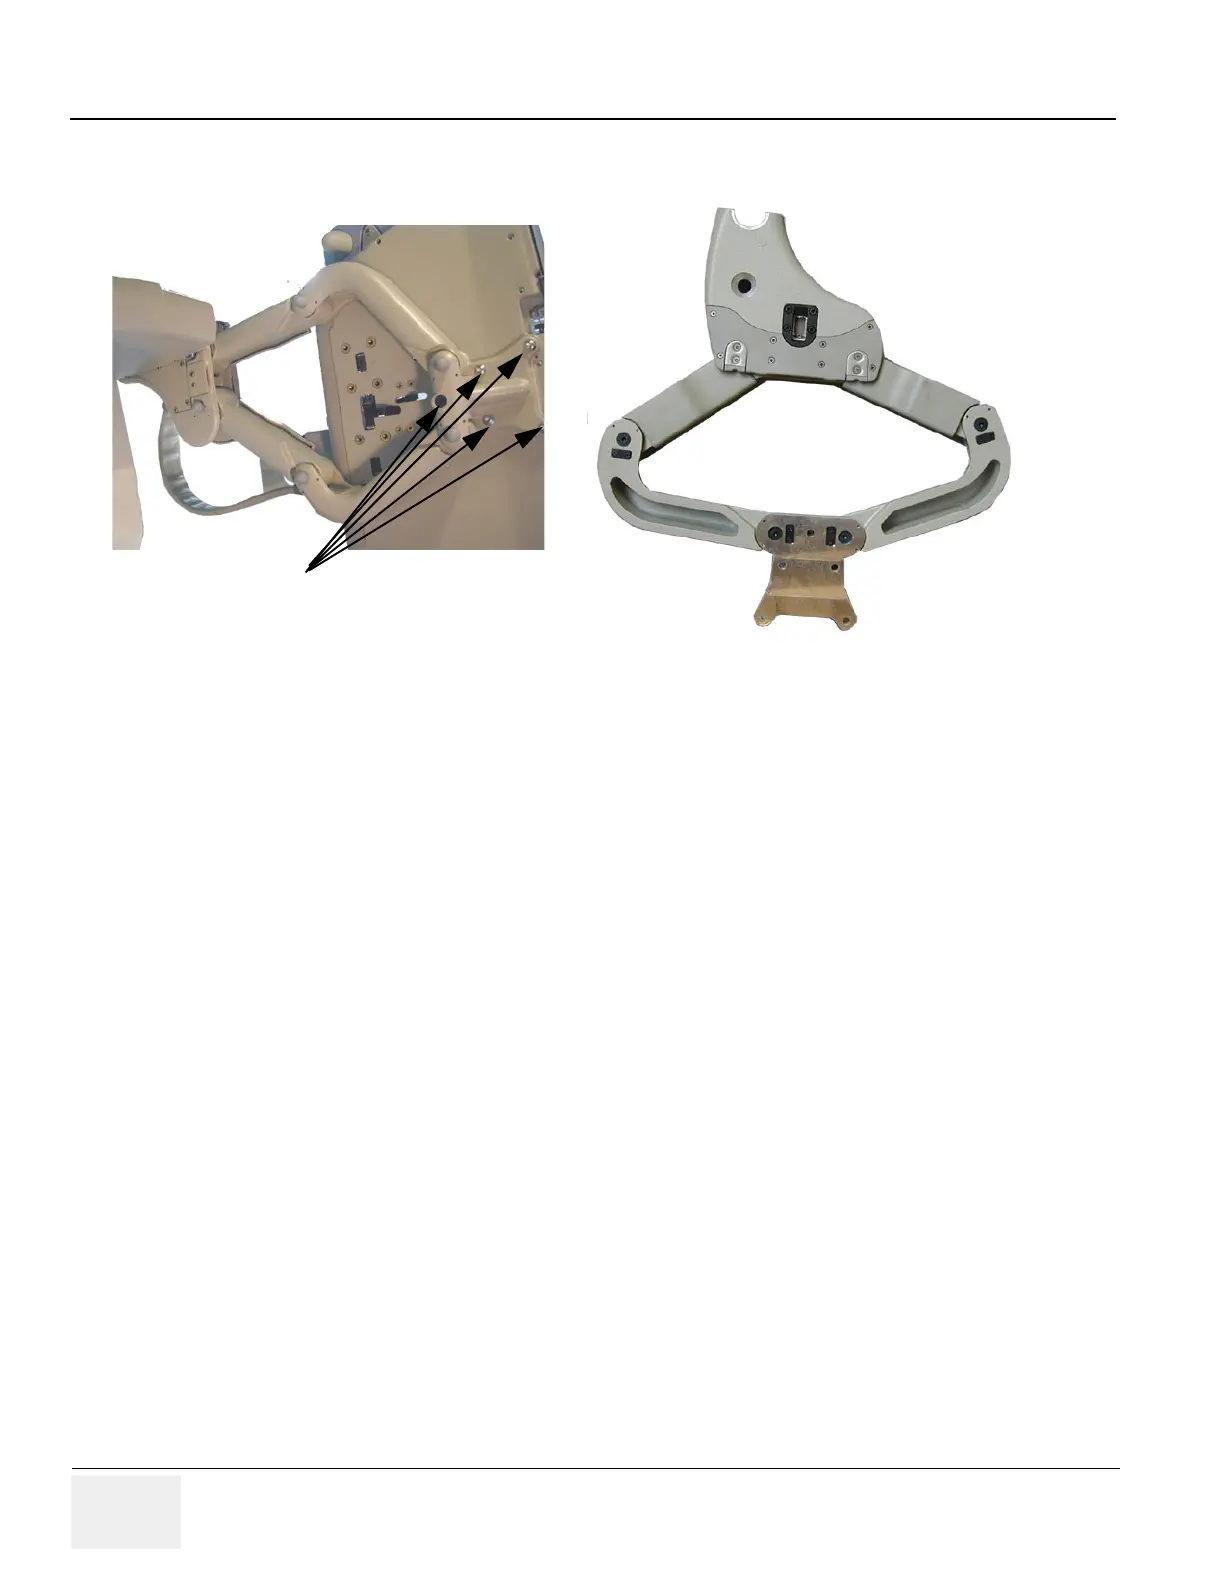
2.) Unscrew five (5) hexagon screws (5 and 6 mm) to loosen the Top Console from the front end of the
Frogleg. Lift the still attached console assembly carefully from the Frogleg. Turn it backwards and
put it on the paperboard. Make sure it lays stabile.
3.) Unscrew the 10 mm hexagon bolt on Frogleg.
Figure 8-166 Frogleg
Frogleg removed
Screws
 Loading...


