GE MEDICAL SYSTEMS PROPRIETARY TO GE
D
IRECTION 2294854-100, REVISION 3 LOGIQ™ 9 PROPRIETARY MANUAL
8-166 Section 8-46 - Upper and Lower Column Cover Replacement Procedure
Section 8-46
Upper and Lower Column Cover Replacement Procedure
8-46-1 Manpower
2 persons, 3 hours
8-46-2 Tools
• Hexagon key, 10 mm, with torque/momentum controller
• Hexagon keys, 4,5 and 6 mm
• Phillips screwdriver, size 1 and 3
8-46-3 Preparations
1.) Shut down the system as described in Power Off / Shutdown on page 4-3.
2.) Move Top Console to down position.
3.) Unscrew 4 screws on the Upper Column Cover.
4.) Remove monitor as described in Monitor Assembly Replacement Procedure on page 8-92.
5.) Remove Frogleg as described in Frogleg Replacement Procedure on page 8-159.
8-46-4 Upper and Lower Column Cover Removal Procedure
1.) Unscrew 2 Phillips screws on each side of Upper Column Cover.
2.) Lift Frogleg off its axle.
3.) Remove column covers.
8-46-5 Upper and Lower Column Cover Installation Procedure
1.) Thread on replacement cover(s) in correct order.
2.) Install Frogleg described in Frogleg Installation Procedure on page 8-161.
3.) Fasten 4 screws on Upper Column Cover.
4.) Install Monitor as described in Monitor Replacement on page 8-94.
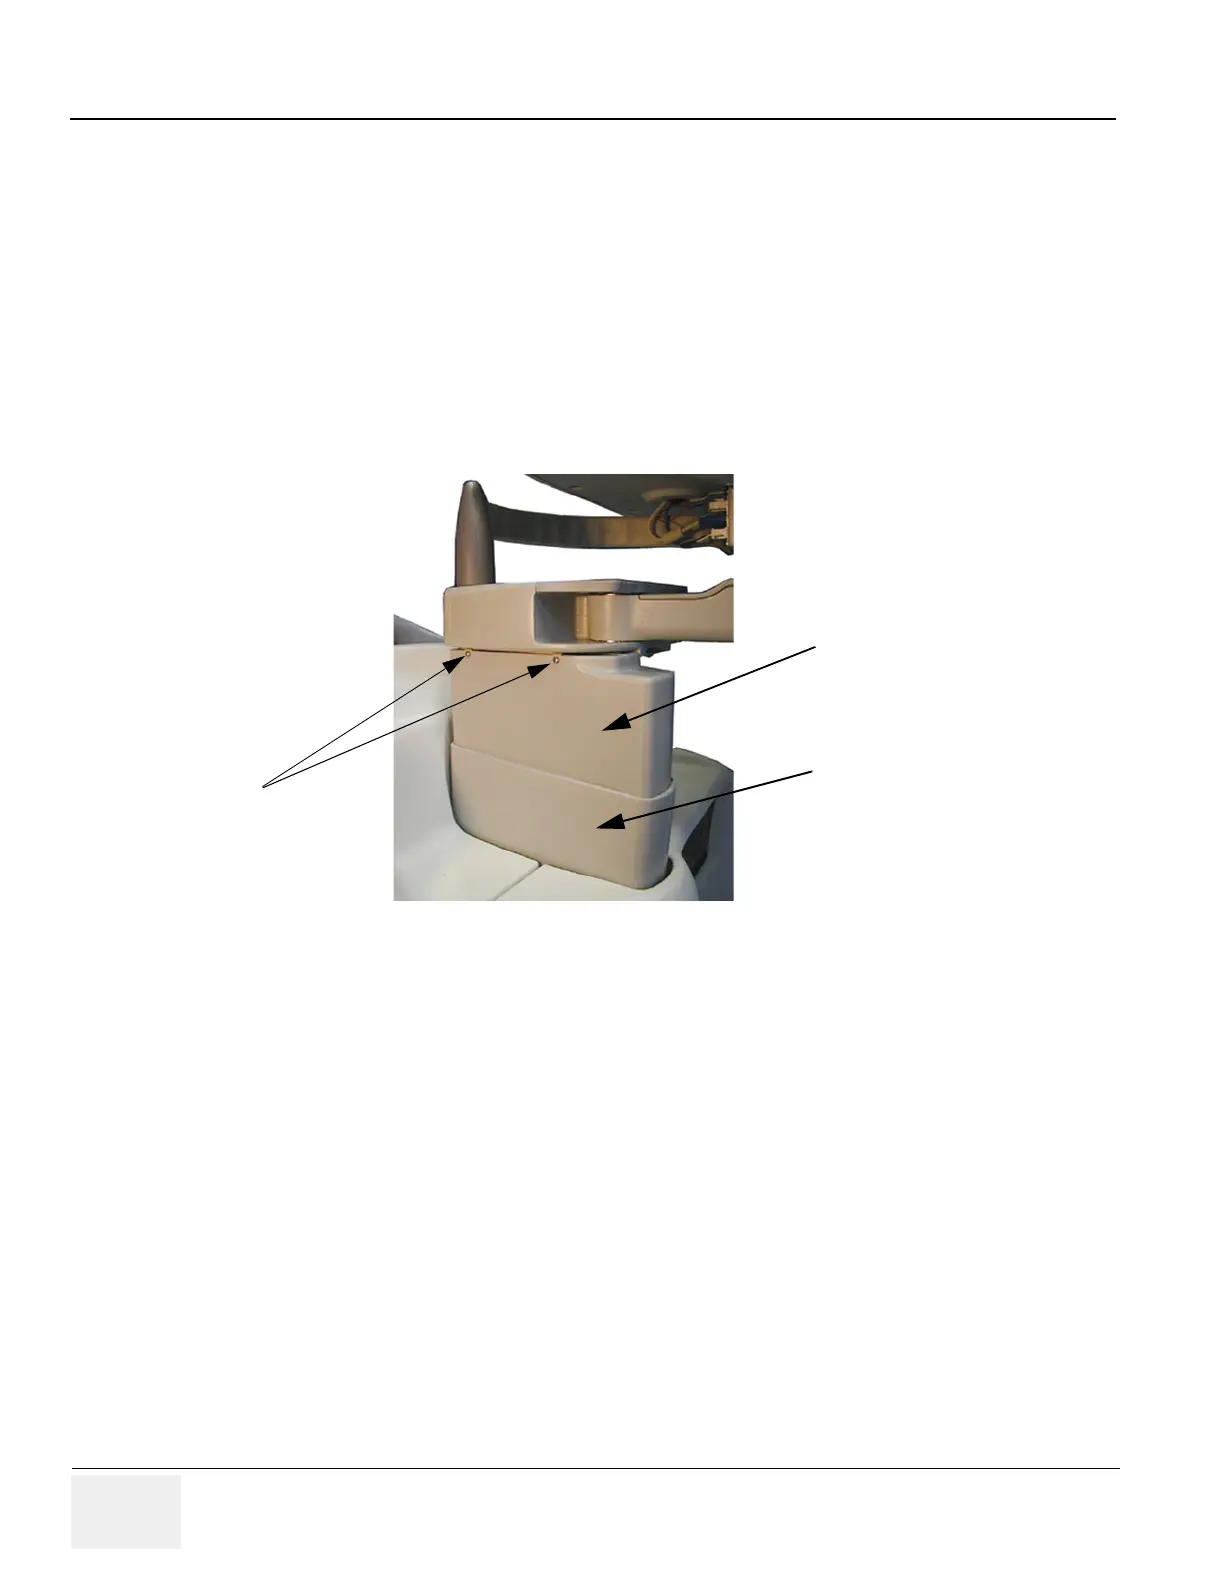
Figure 8-172 Upper and Lower Column Cover
Screws
Upper Column Cover
Lower Column Cover
 Loading...


