GE MEDICAL SYSTEMS PROPRIETARY TO GE
D
IRECTION 2294854-100, REVISION 3 LOGIQ™ 9 PROPRIETARY MANUAL
8-98 Section 8-20 - Monitor Shelf Replacement Procedure
Section 8-20
Monitor Shelf Replacement Procedure
8-20-1 Manpower
2 persons, 1 hour
8-20-2 Tools
10 or 12 MM wrenches
Allen/Unbraco wrenches
8-20-3 Preparations
1.) Power Down/Shutdown the system as described in Section 4-3-2 on page 4-3.
8-20-4 Removal Procedure
1.) Raise the operator panel to its highest position.
2.) Release the X-Y lock and pull the operator panel out as far as it goes.
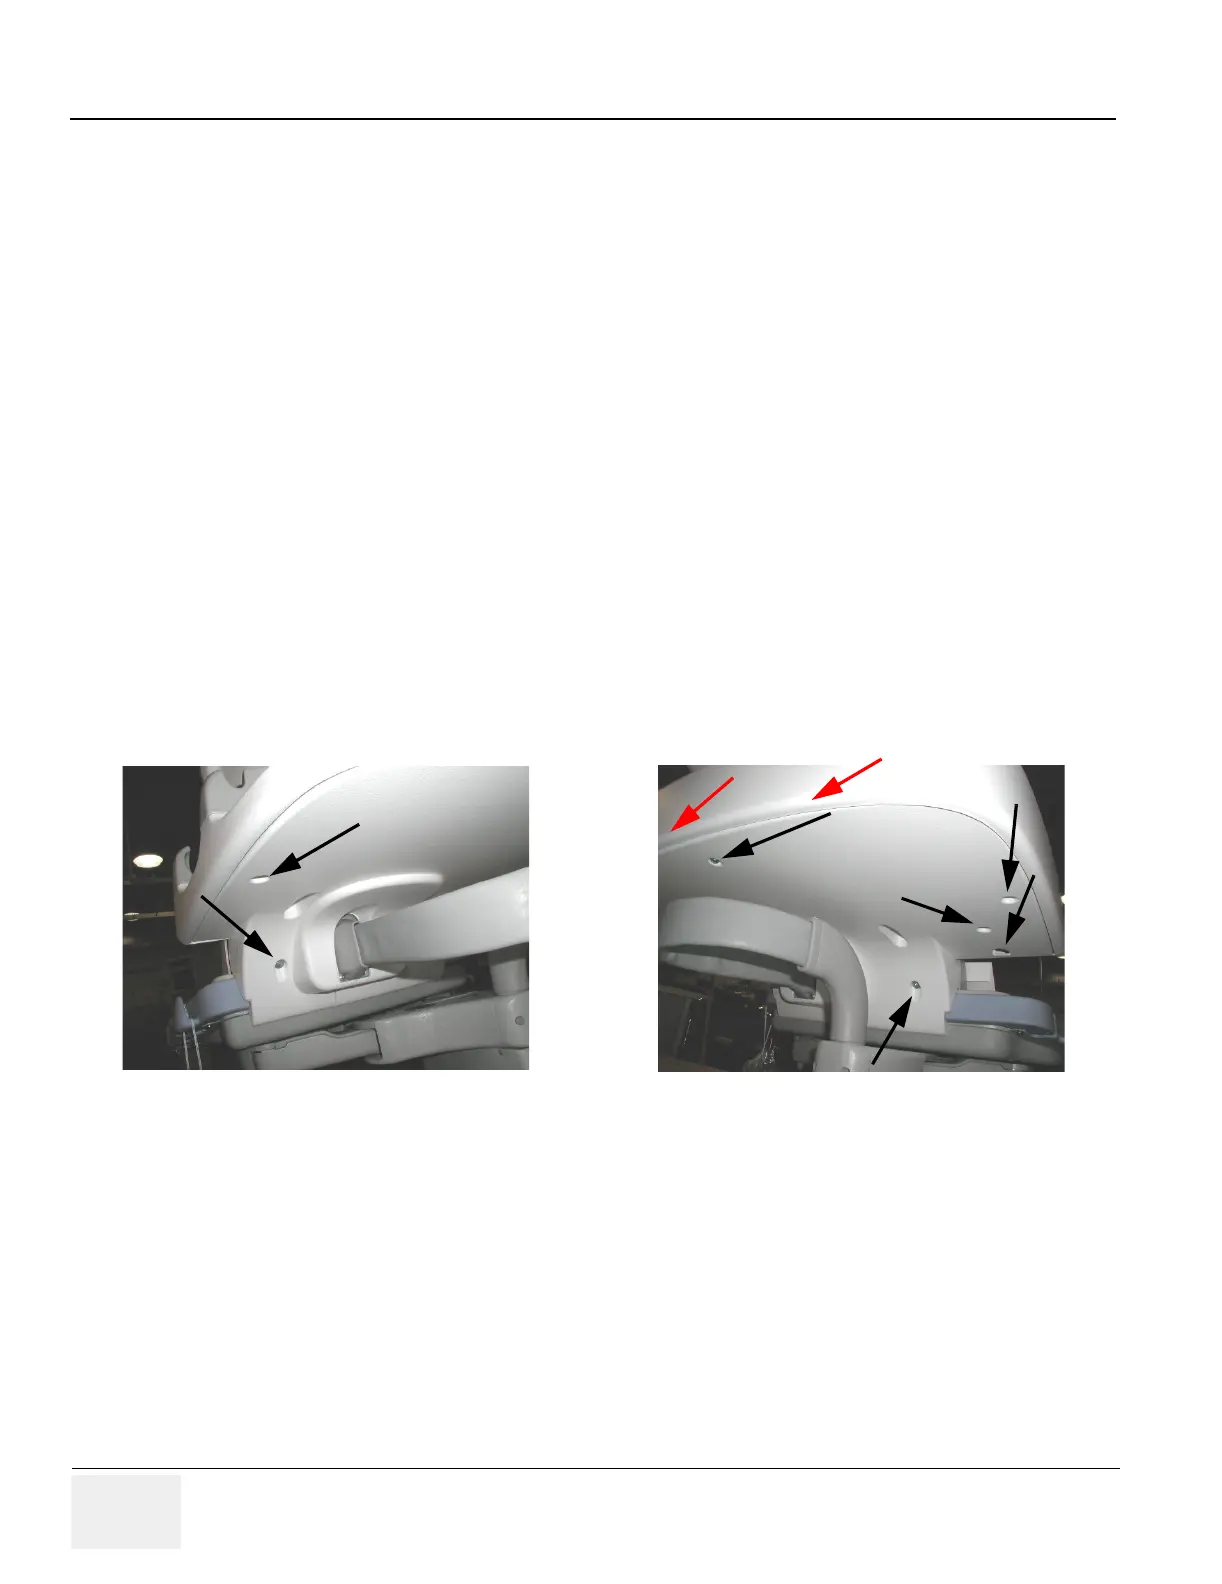
3.) Remove any screws from the following locations. On some systems, screws may not be in all
locations.
4.) “Pop” the Undershelf Cover from out of the Shelf Cover, running a screwdriver between the covers
may help here.
5.) Slide the undershelf along the main cable to get it out of the way.
6.) Remove the Monitor as described in Section Section 8-18 on page 8-92.
Figure 8-109 Right and Left Side Screw Locations
 Loading...


