GE MEDICAL SYSTEMS PROPRIETARY TO GE
D
IRECTION 2294854-100, REVISION 3 LOGIQ™ 9 PROPRIETARY MANUAL
Chapter 8 Replacement Procedures 8-187
8-50-4-2 Transmitter Adjustment
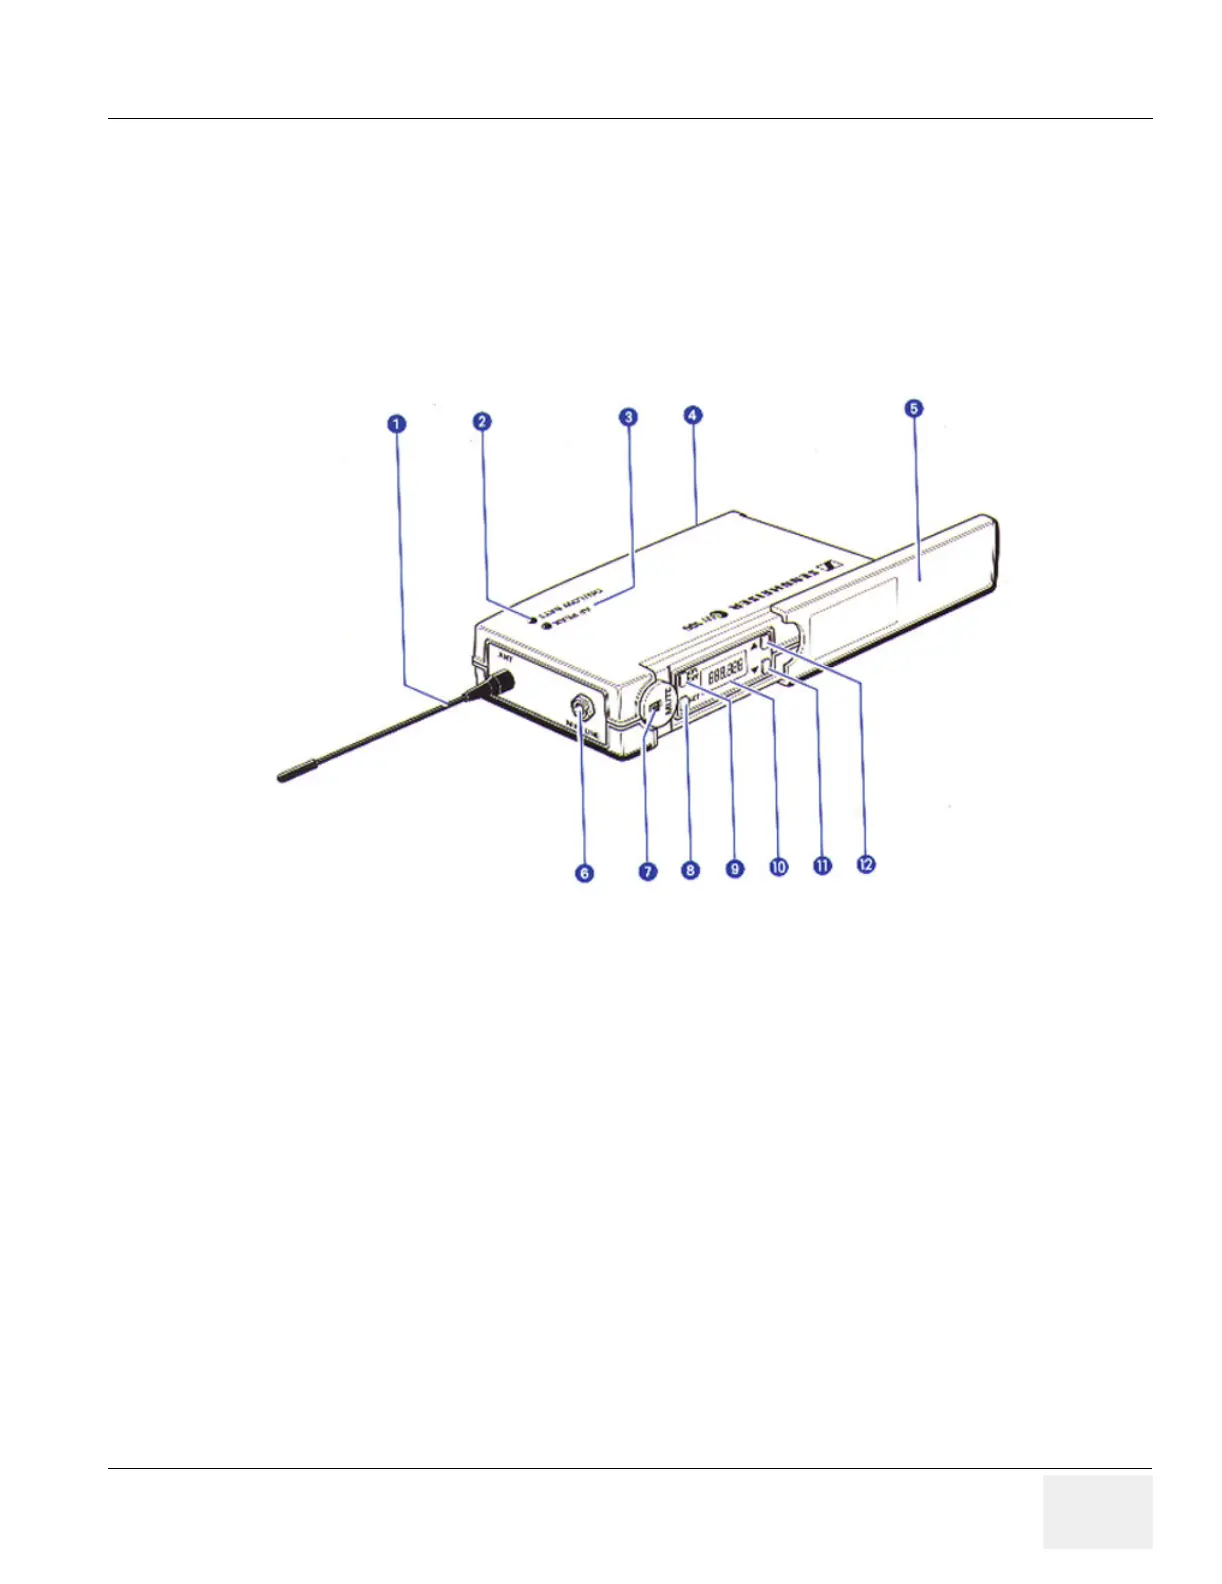
1.) Slide the control panel door open.
2.) Push the red button to turn power on. The ON/Low Batt LED should illuminate.
NOTE: When the battery is low, the On/Low Batt LED will start to blink. This will only last for 5min or
so. When the battery is dead, the unit will shut off and LED will be extinguished.
3.) Scroll thru the Menu by pushing the SET button, make sure it is set as follows:
- Sensitivity = -10 db
- Lock = off
- Display = Freq (if Channel is selected here, the unit will display the preset channel 1, 2, 3, or
4)
- Tune = to the same frequency as the LOGIQ™ 9 receiver.
Use the Arrow buttons to change the settings if necessary. When changed, the new setting will
blink. To accept the change, push the set button.
4.) Check the RF LED on the receiver in the LOGIQ™ 9…it shold now be illuminated.
Figure 8-199 Transmitter

 Loading...