GE MEDICAL SYSTEMS PROPRIETARY TO GE
D
IRECTION 2294854-100, REVISION 3 LOGIQ™ 9 PROPRIETARY MANUAL
Chapter 8 Replacement Procedures 8-99
8-20-4 Removal Procedure (cont’d)
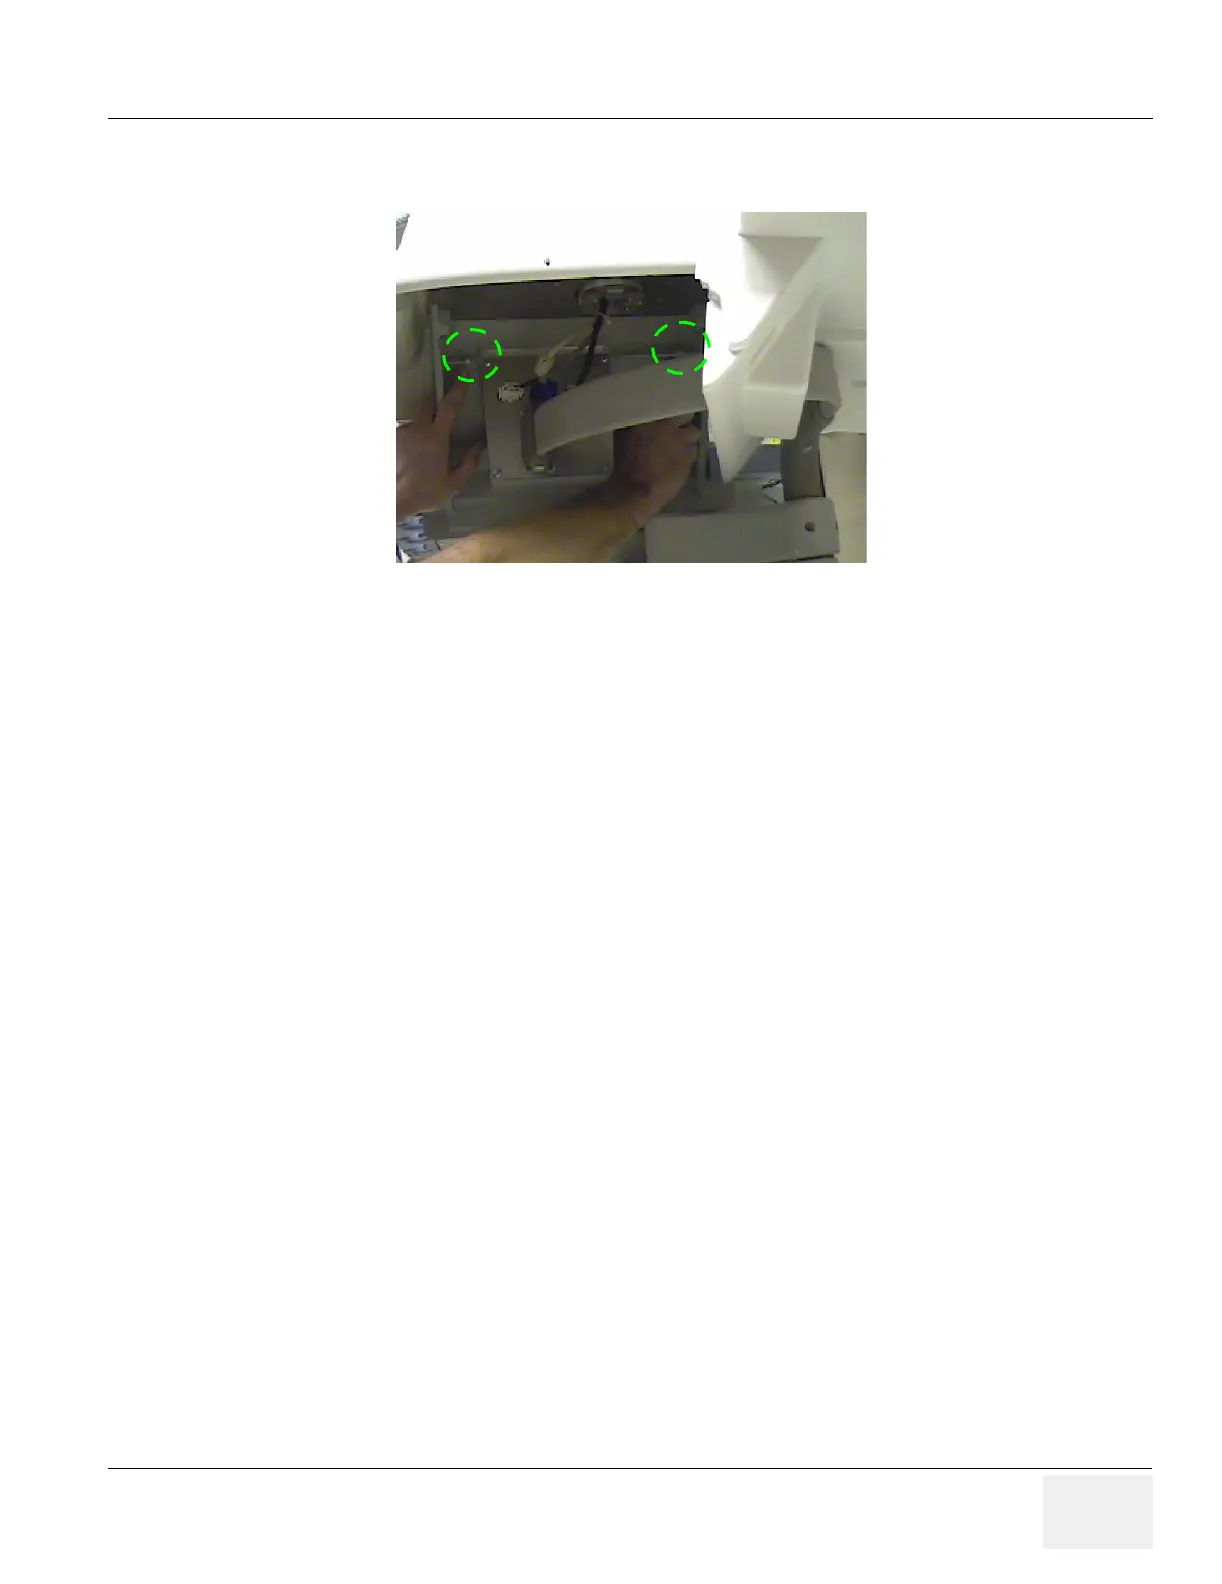
7.) Remove the two screws holding the Touch Panel (Figure 8-110). Lean the Touch Panel forward.
8.) Remove the two screws along the top/front and the two screws from the pocket tray.
9.) From underneath, remove any remaining screws from brackets attaching the Monitor Shelf Cover.
10.)Remove the cover, then remove the TV/TR Probe Holders and Gel Warmer from the Monitor Shelf
Cover.
8-20-5 Mounting Procedure
1.) Replace the TV/TR Probe Holders and Gel Warmer from the Monitor Shelf Cover.
2.) Position the Cover on the system.
3.) From the underside, replace the screws through brackets attaching the Monitor Shelf Cover.
4.) Replace the two screws along the top/front and the two screws from the pocket tray.
5.) Reposition the Touch Panel over the monitor cover. Replace the two screws holding the Touch
Panel (Figure 8-110).
6.) Replace the Monitor Assembly.
7.) Reposition the Under Shelf Cover and secure with the screws previously removed.
Figure 8-110 Touch Panel Screws (2)
 Loading...


