GE MEDICAL SYSTEMS PROPRIETARY TO GE
D
IRECTION 2294854-100, REVISION 3 LOGIQ™ 9 PROPRIETARY MANUAL
8-48 Section 8-8 - BEP Patient I/O Replacement Procedure (BEP 2.x and above only)
8-8-4 Patient I/O Removal Procedure (cont’d)
5.) Remove the two screws in the front of the Patient I/O as shown in Figure 8-51 on page 8-47 .
6.) Slide the Patient I/O out the front of the BEP.
7.) Remove the interface cable from the back of the Patient I/O.
8-8-5 Patient I/O Replacement Procedure
1.) Attach the interface cable to the back of the new Patient I/O.
2.) Insert the new Patient I/O and cable into the drive bay and secure it in the front with the two screws
previously removed. refer to Figure 8-51 on page 8-47 .
3.) Attach the one screw to the side of the Patient I/O through the rack. refer to Figure 8-
50 on page 8-47 .
4.) Attach the Patient I/O interface cable to the BEP IO VIC Tray. Ensure all cables are properly
arranged and secure.
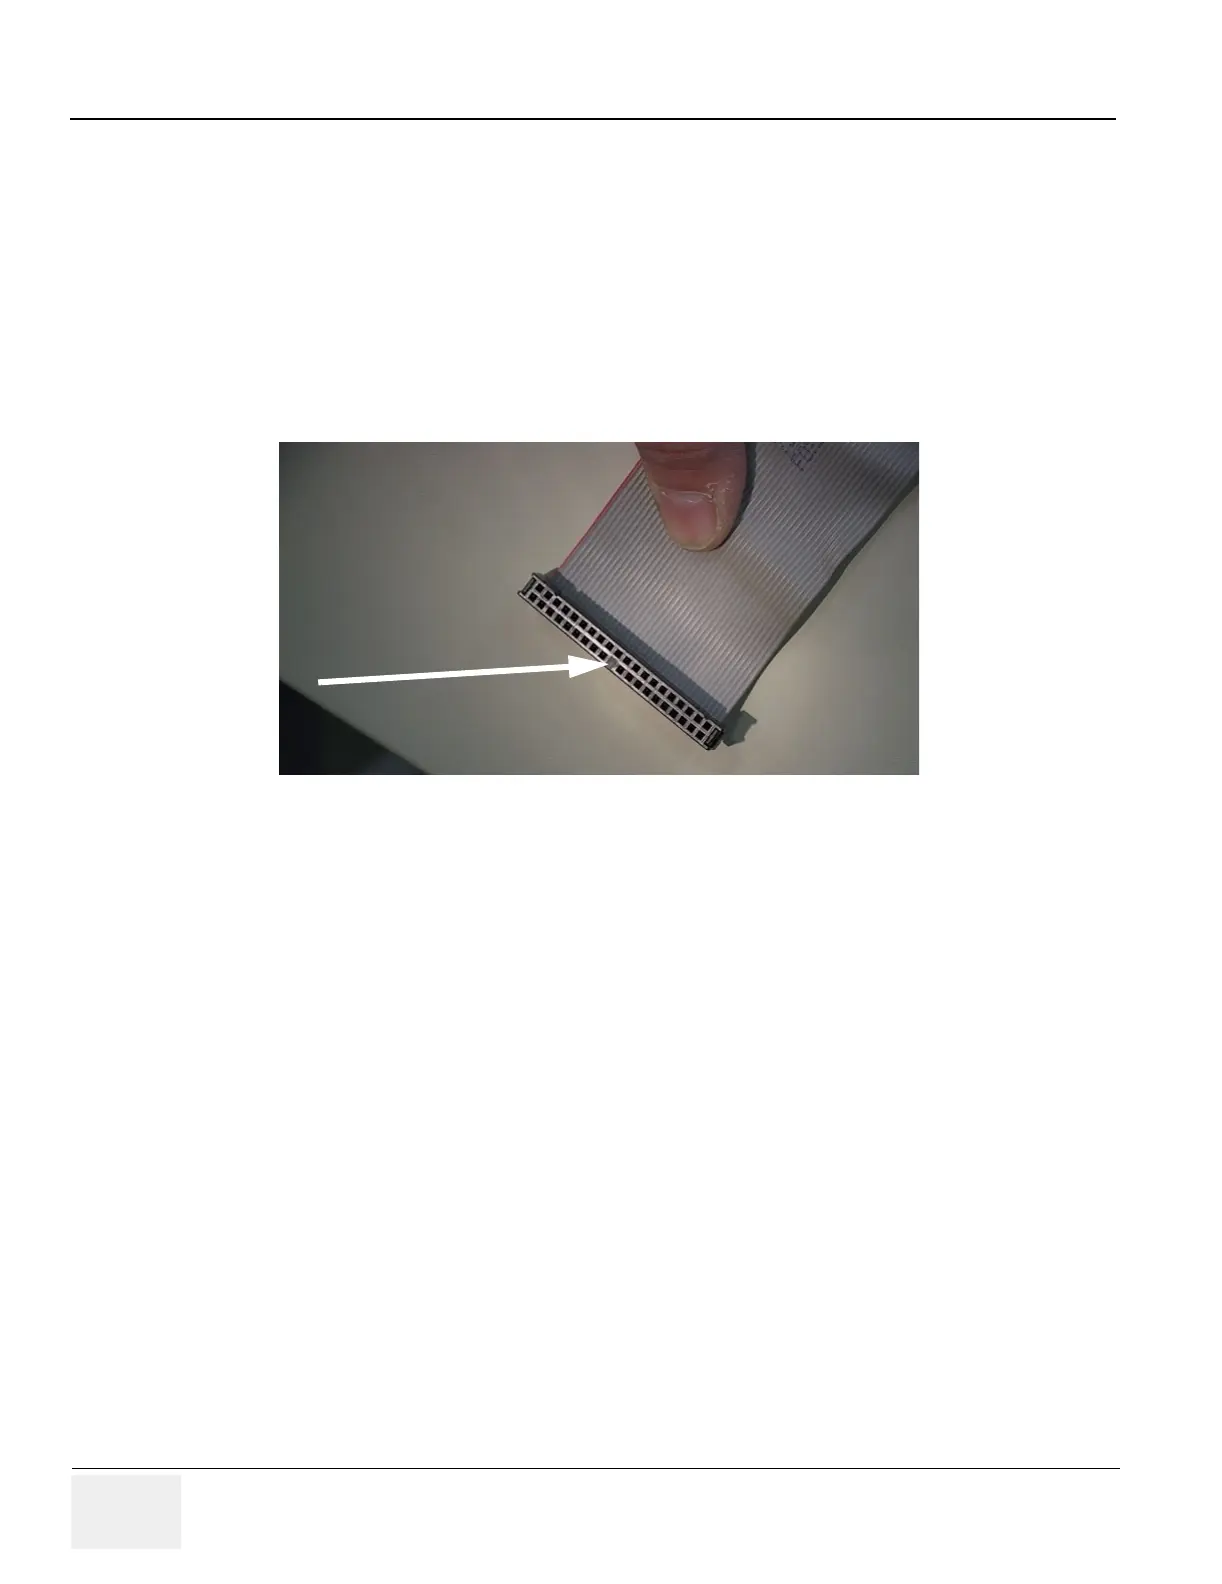
Figure 8-52 IDE Ribbon Connector
IDE Guide Pin
 Loading...


