GE MEDICAL SYSTEMS PROPRIETARY TO GE
D
IRECTION 2294854-100, REVISION 3 LOGIQ™ 9 PROPRIETARY MANUAL
Chapter 8 Replacement Procedures 8-163
Section 8-43
Rear Crash Bumper Replacement Procedure
8-43-1 Manpower
One person, 30 minutes
8-43-2 Tools
No special tool are needed
8-43-3 Rear Crash Bumper Replacement Procedure
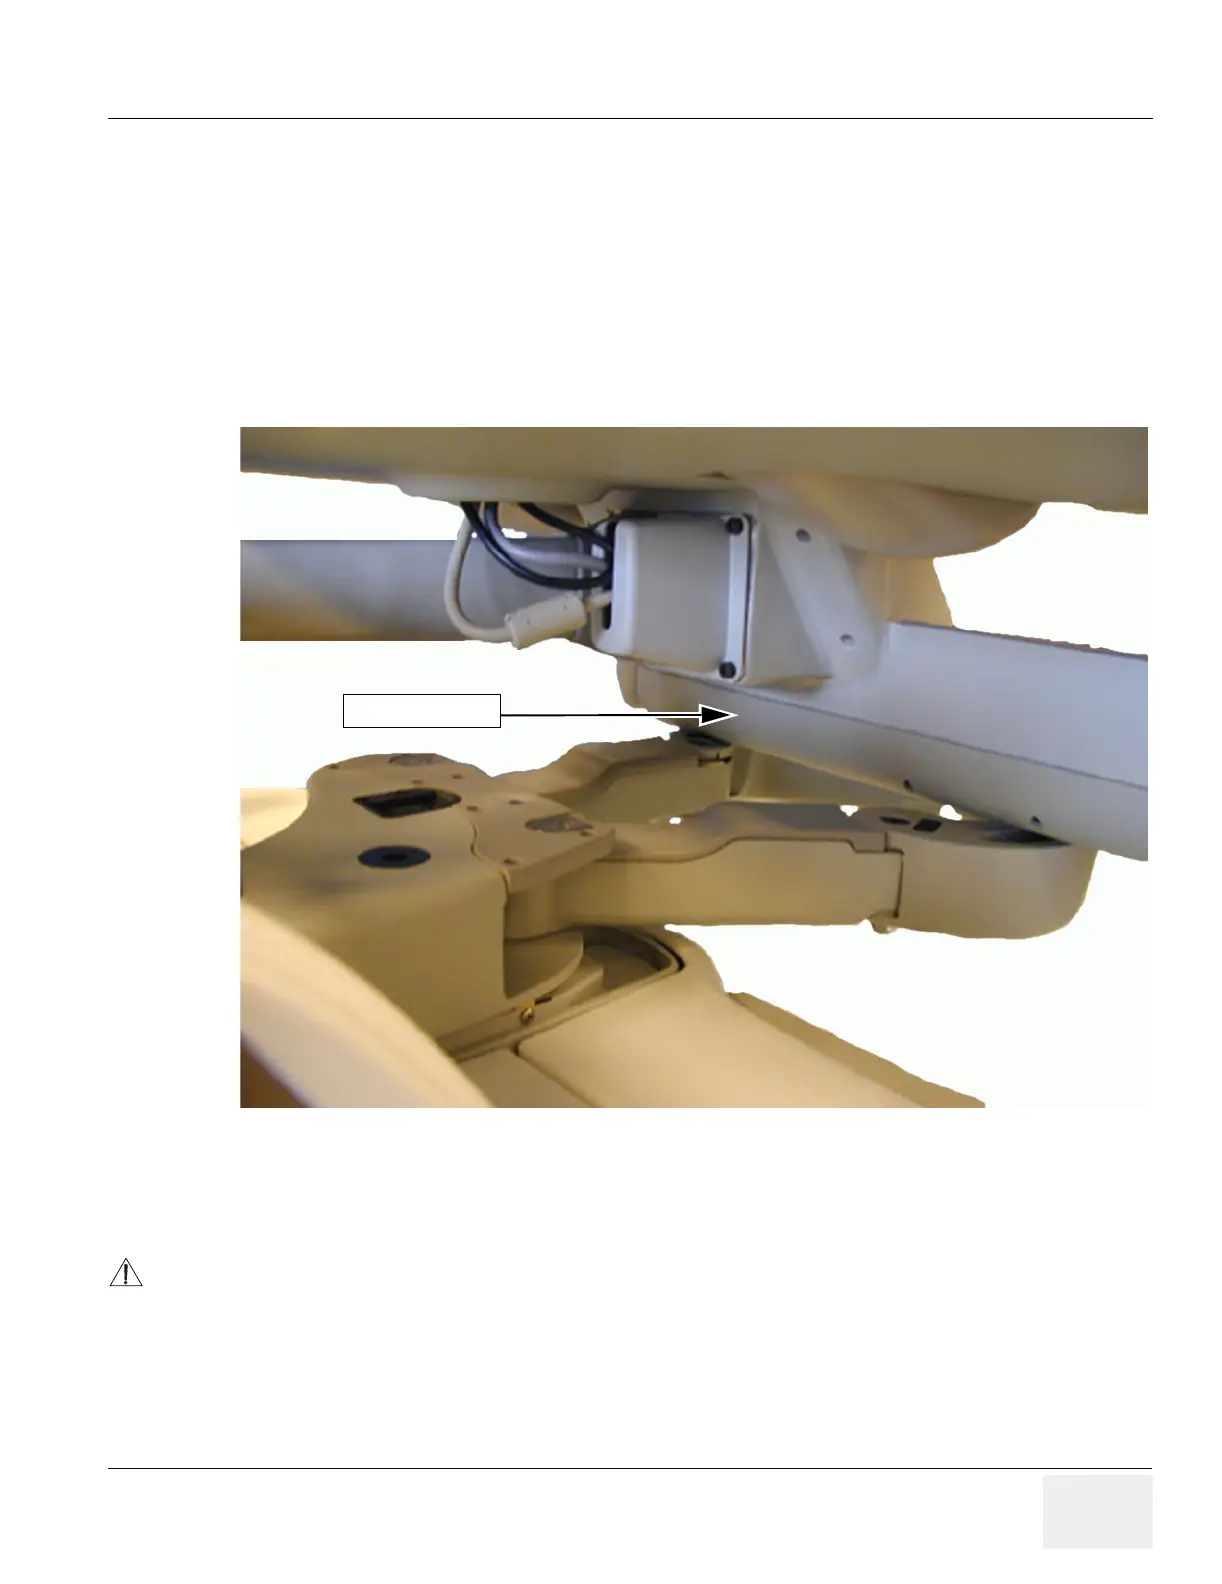
1.) Tear off the bumper.Be aware of the risk of squeezing fingers in Frogleg Assembly.
2.) Remove old glue from the console.
3.) Install new bumper. Use glue adhesive to paint and rubber (Araldite 2026).
Figure 8-169 Bumper Crash Rear
CAUTION
Be aware of the risk of squeezing fingers in Frogleg Assembly.
Rear Crash Bumper
 Loading...


