GE MEDICAL SYSTEMS PROPRIETARY TO GE
D
IRECTION 2294854-100, REVISION 3 LOGIQ™ 9 PROPRIETARY MANUAL
Chapter 8 Replacement Procedures 8-59
Section 8-12
Loading Base Image Software
NOTE: While it is believed to be unnecessary, It would not hurt to disconnect the system from the
network and remove all transducers.
NOTE: If the user has an HP990, HP970, UP-D50, UP-D895, UP-D21 or Talley printers, connect the
printer and turn it on. If a printer is plugged in at this time it will automatically install and you
won’t have to go back to windows to install it.
NOTE: If the system has any digital peripherals, be sure that they are turned on.
1.) Insert the disk labeled “Base System Software Load Image” into the CDROM drive.
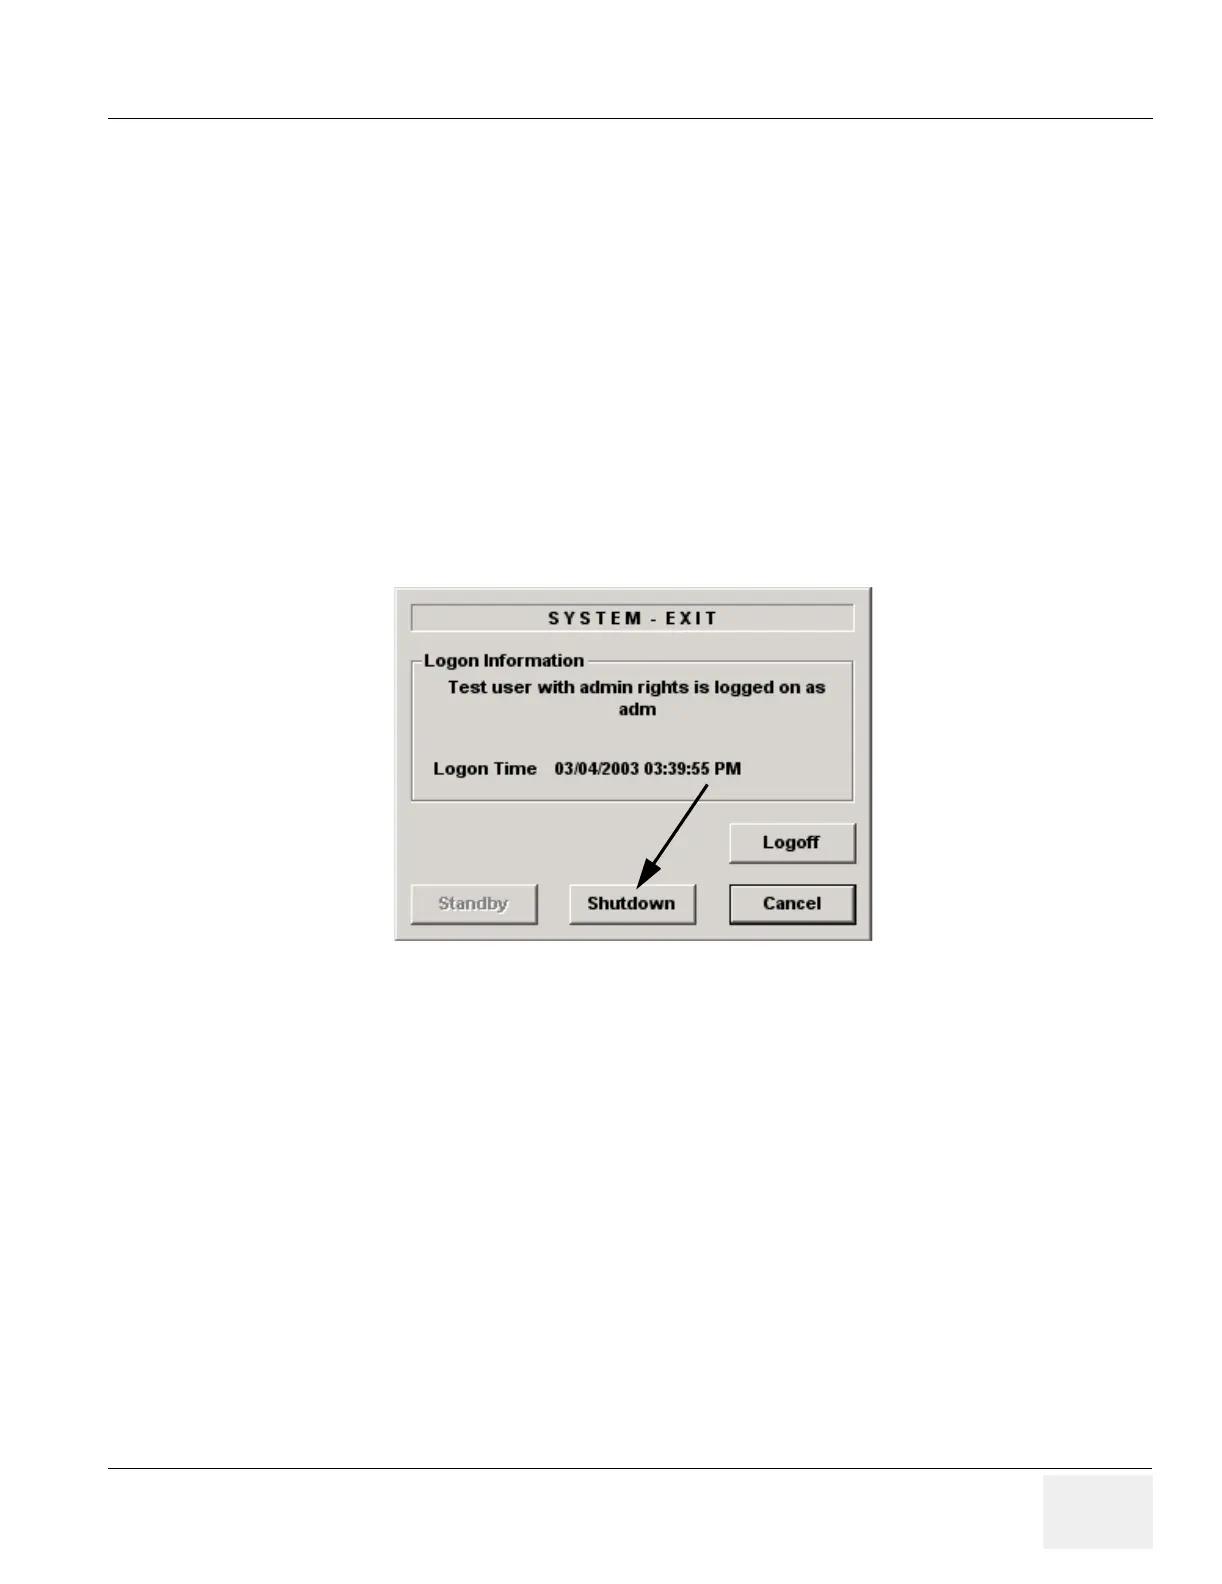
2.) Properly turn off the scanner by momentarily pressing the Standby (ON/OFF) Switch. Select
Shutdown from the System Exit menu. Wait for the Standby Switch to turn amber.
3.) If the system will not shutdown normally, hold down the Standby Switch until the light turns
from green to amber.
4.) Turn on the scanner. You will see a message displayed on the Touch Panel screen as shown
in Figure 8-65 on page 8-60 .
Figure 8-64 Shutdown Dialog Box
 Loading...


