GE MEDICAL SYSTEMS PROPRIETARY TO GE
D
IRECTION 2294854-100, REVISION 3 LOGIQ™ 9 PROPRIETARY MANUAL
8-174 Section 8-49 - VCR Replacement Procedure
Section 8-49
VCR Replacement Procedure
8-49-1 Manpower
One person, 0.5 hours + travel.
8-49-2 Tools
Long Phillips driver.
8-49-3 Preparations(click here to view the cover removal video)
1.) Power Down/Shutdown the system as described in Section 4-3-2 on page 4-3.
2.) Remove the Left and Right Side Covers as shown on Section 8-2-2 on page 8-5.
3.) Raise the Control Console to its upper position and as far forwards as possible.
4.) Remove the Air Filter Cover and Top Cover as described on Section 8-2-3 on page 8-7.
5.) Disconnect probes and remove Front Cover as described on Section 8-2-5 on page 8-9.
8-49-4 Removal Procedure
1.) Loosen the fastening belts for the VCR and disconnect all the cables from the VCR.
2.) Remove the VCR from the frame.
8-49-5 VCR Mounting Procedure
1.) Place the VCR in the scanners frame and connect all the cables to the rear of the VCR.
2.) Fasten and tighten the straps to secure the VCR.
3.) Boot Up and test the system.
4.) Replace the covers (Top Cover, Front Cover and Side Covers). (click here to view the cover
installation video)
Click on the movie camear icon to view the video illustrating the
removal and replacement of the VCR.
2 minutes and 9 seconds
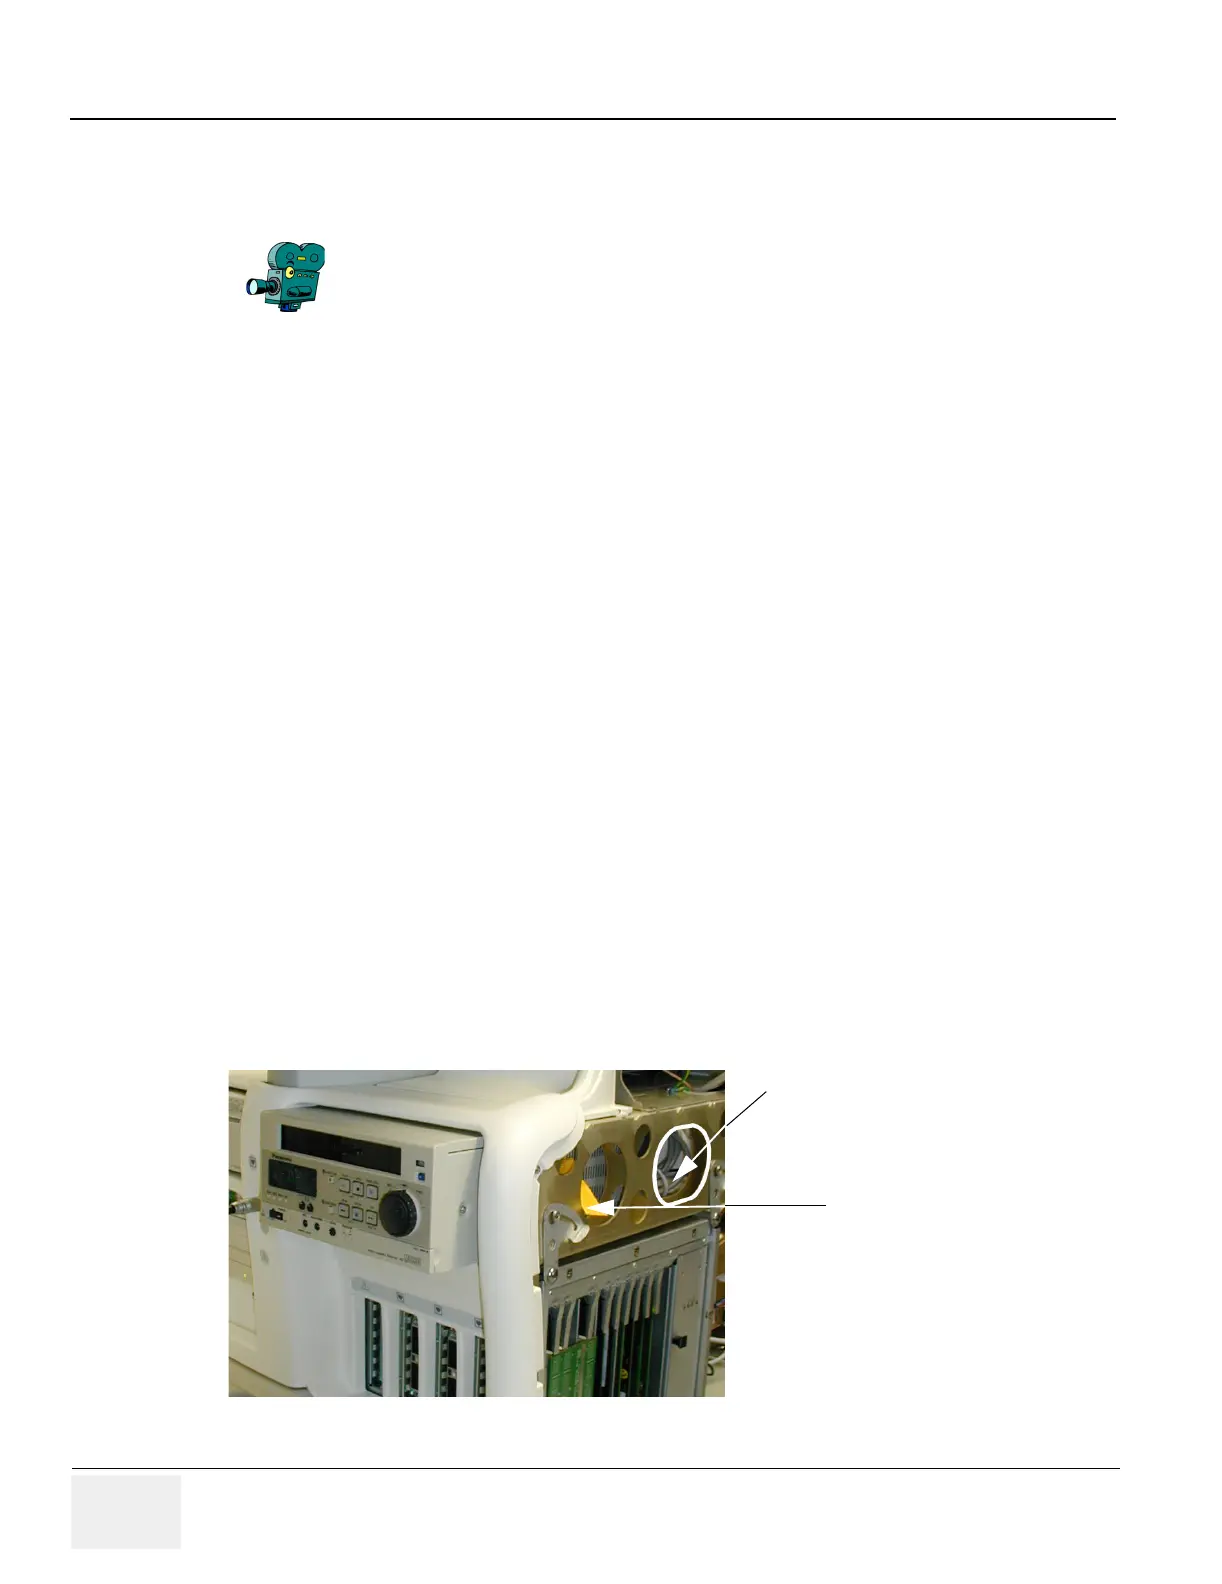
Figure 8-181 The VCR’s Placement in the Scanner
Fastening belt
Disconnect cables at rear
side of VCR
 Loading...


