GE MEDICAL SYSTEMS PROPRIETARY TO GE
D
IRECTION 2294854-100, REVISION 3 LOGIQ™ 9 PROPRIETARY MANUAL
Chapter 3 Installation 3-33
3-15-3 Optional Procedure for Changing (Re-mapping) Drive Letters
An automated process was developed for this. It was implemented in Base Image Load -9 or later.
NOTE: If you are using a Base Image Load of -8 or earlier, or the -9 and later Base Image Load fails
to properly map the drives, prodeed with manually assigning the proper drive letters.
1.) First check to see if you need to change the drive letters on the CDROM drive and the Magneto
Optical drives – they SHOULD
be G: and H: respectively.
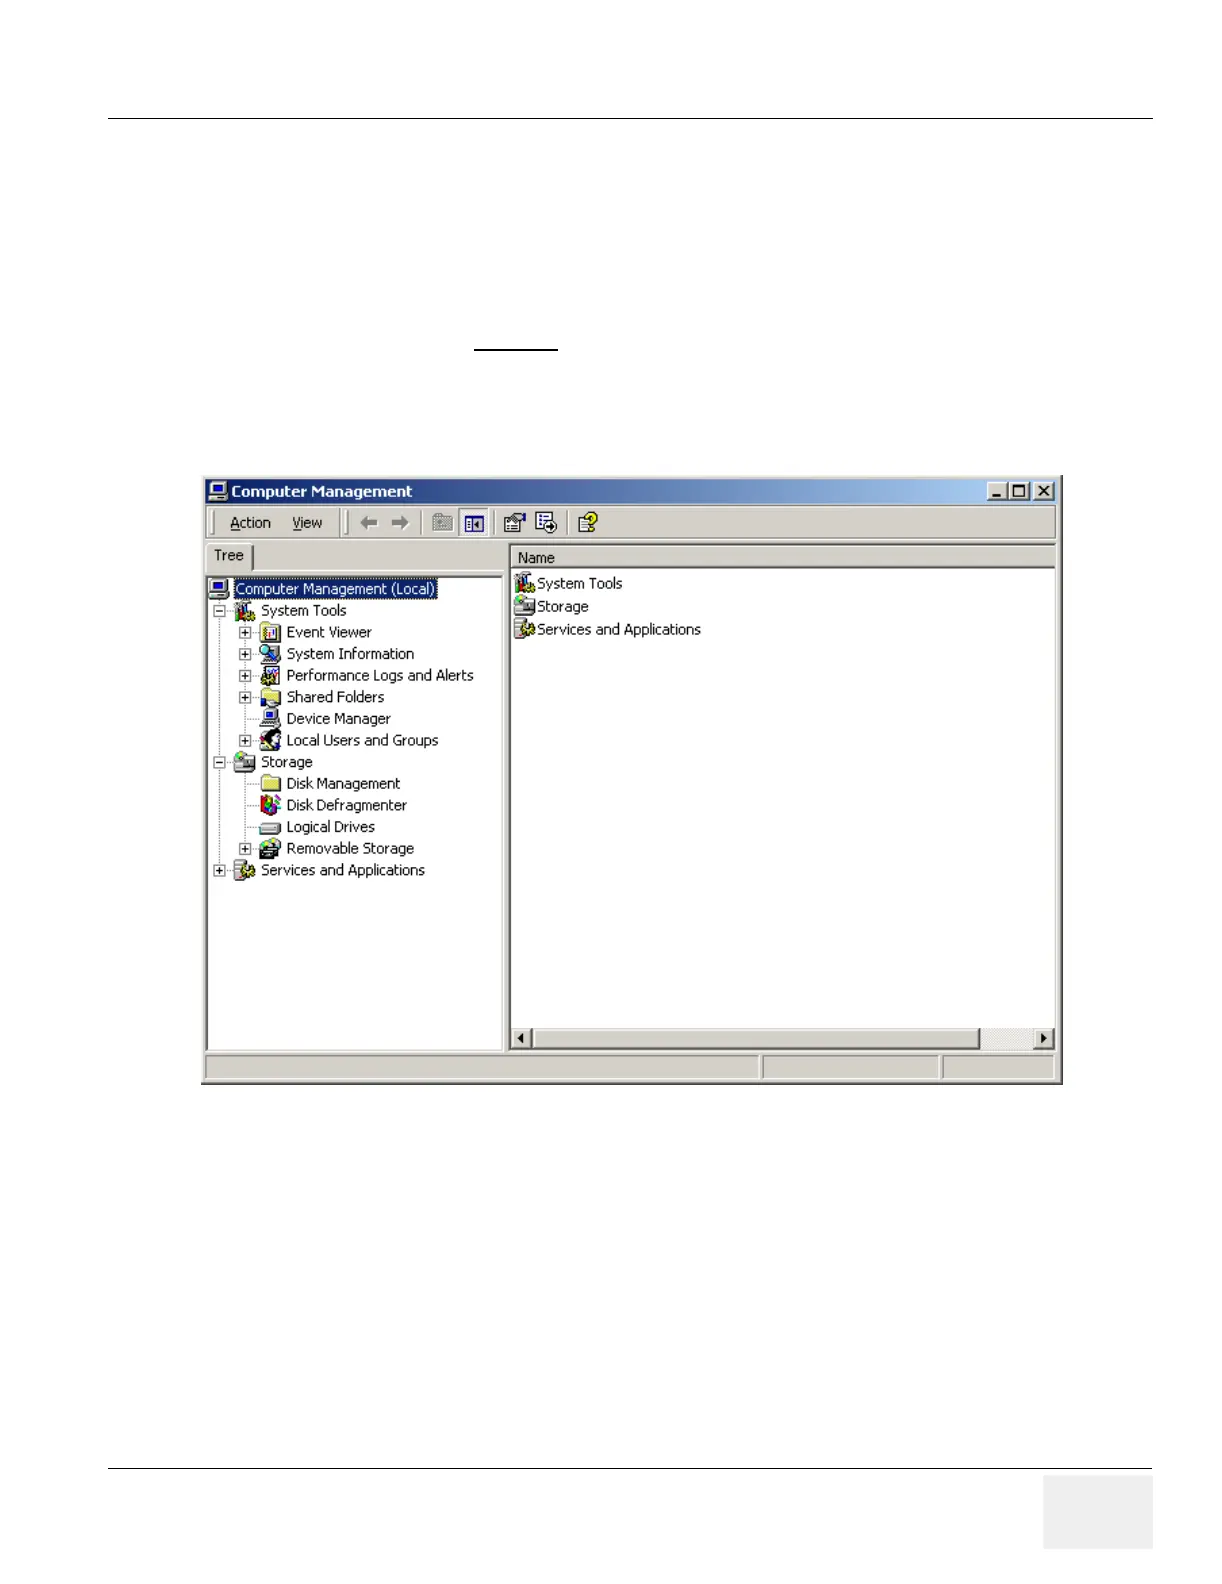
2.) Right-click on the “My Computer” icon on the Windows desktop.
3.) Select “Manage” you should see a screen like Figure 3-24.
4.) Click on the “Disk Management” icon on the left side of the screen under “Storage”. You’ll see this
screen like Figure 3-25.
Figure 3-24 Computer Management
 Loading...


