Error Troubleshooting
Xerox Internal Use Only Phaser 7100 Service Manual 2-45
Adjustment
DC131 NVM Read/ Write
The DC131 NVM Read/ Write routine provides access to read and modify specific NVM values within
the I/P Board and access and read IOT NVM.
CAUTION: Be careful when making changes to the NVM value. Always write down the original
NVM value (for reference) prior to making any changes. Incorrect changes to an NVM value could
make the printer inoperable.
1. Enter Service Diagnostics menu (Entering Service Diagnostics on page 2-14).
2. Press Down Arrow and navigate to Diagnostics Adjustment.
3. Press Right Arrow and navigate to Adjustment DC131 NVM R/W.
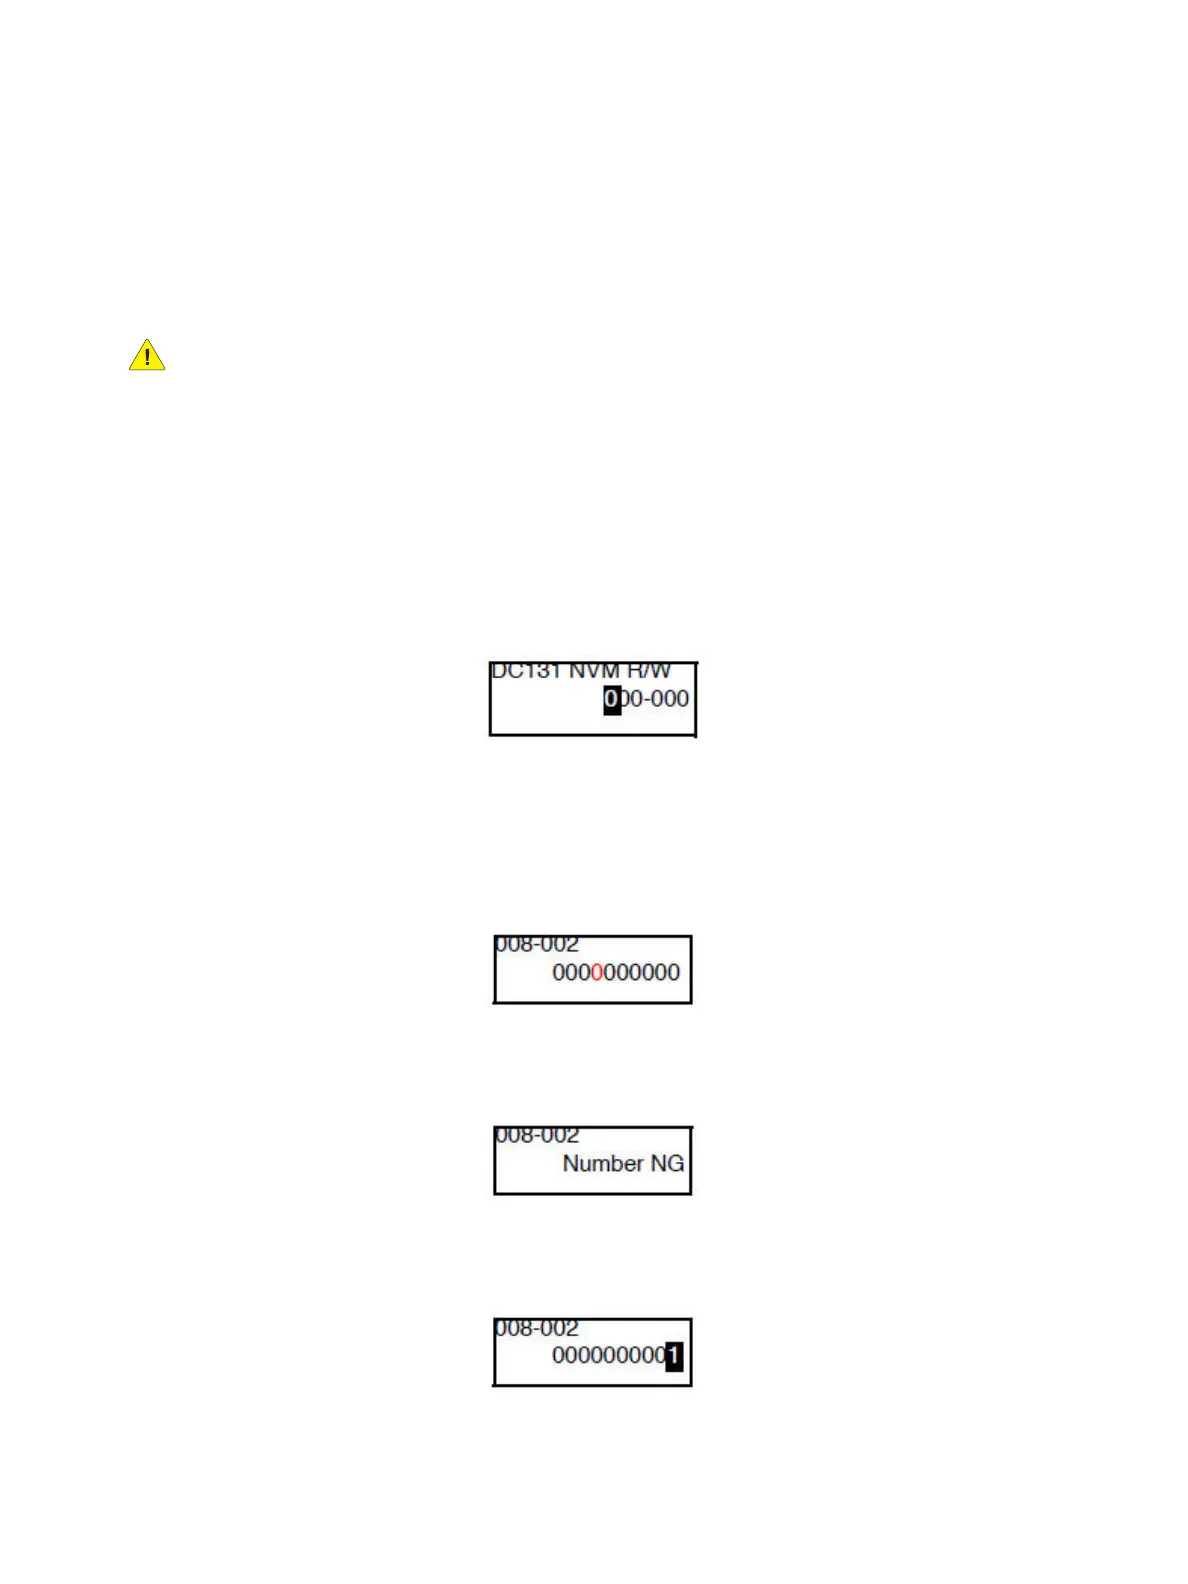
4. Press Right Arrow to display the DC131 NVM R/W 000-000 Chain-Link No. input screen.
Note: To set the Chain-Link No., use Left/ Right Arrow to move the cursor and Down/ Up Arrow to
change the number.
Note: When the cursor is at the left end of the Chain-Link No., pressing Left Arrow returns to the
Adjustment - DC131 NVM R/W screen at the previous level.
5. Press OK to confirm the Chain-Link No.
If the Chain-Link No. is applicable, the current NVM value and the cursor will be displayed.
If the Chain-Link No. is not applicable, the NG screen will be displayed. Press OK to return to the
Chain-Link No. input screen.
6. To change the current NVM value, use Left/ Right to move the cursor and Down/ Up Arrow to
change the number.
 Loading...


