Service Parts Disassembly
Xerox Internal Use Only Phaser 7100 Service Manual 4-41
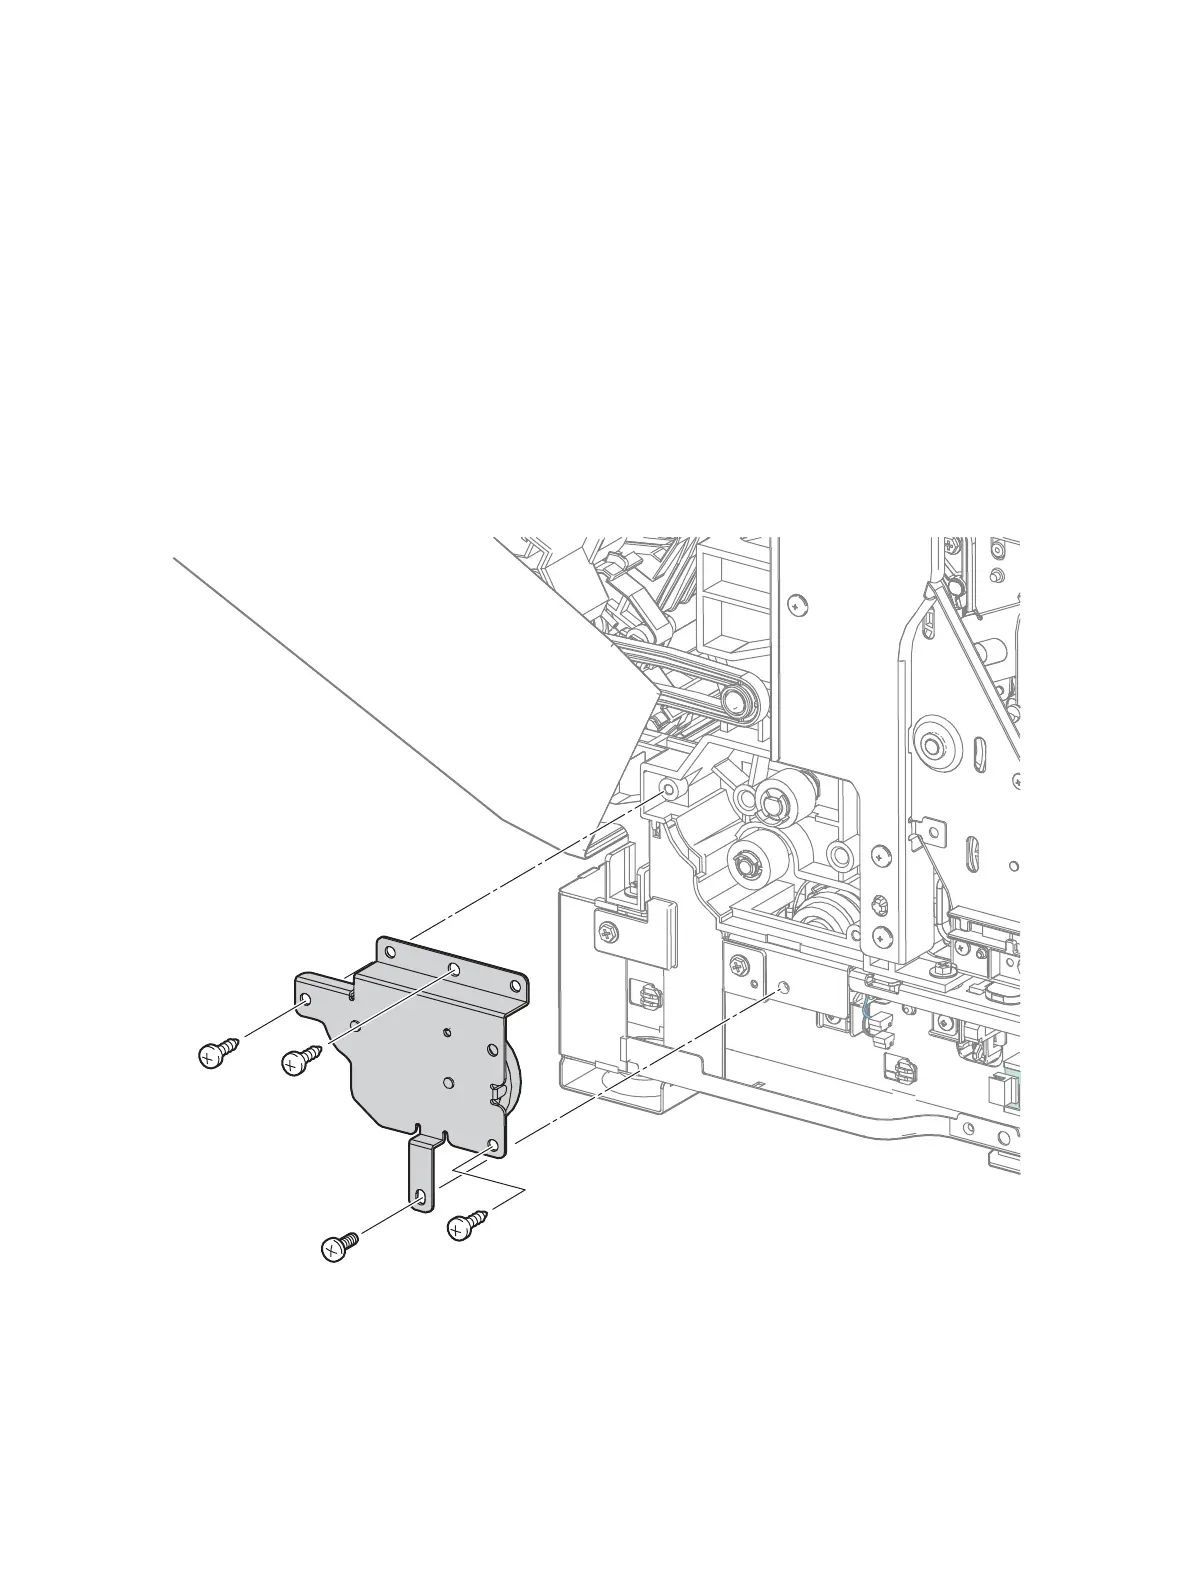
REP 2.4 Right Turn Bracket Assembly
PL 2.1.4
1. Remove Tray 1.
2. Remove the I/P PWB Cover Assembly (REP 1.5 Image Processor (I/P) PWB Cover Assembly on
page 4-19).
3. Remove the Rear Cover (REP 1.6 Rear Cover on page 4-20).
4. Remove the Right Side Cover (REP 1.11 Right Side Cover on page 4-27).
5. Remove the Right Feeder Cover (REP 2.3 Right Feeder Cover on page 4-40).
6. Remove 3 screws (silver, tapped, 12mm, plastic) and one metal screw (silver, tapped, 12mm) that
secure the Right Turn Bracket Assembly.
7. Remove the Right Turn Bracket Assembly.
 Loading...


