Service Parts Disassembly
Xerox Internal Use Only Phaser 7100 Service Manual 4-175
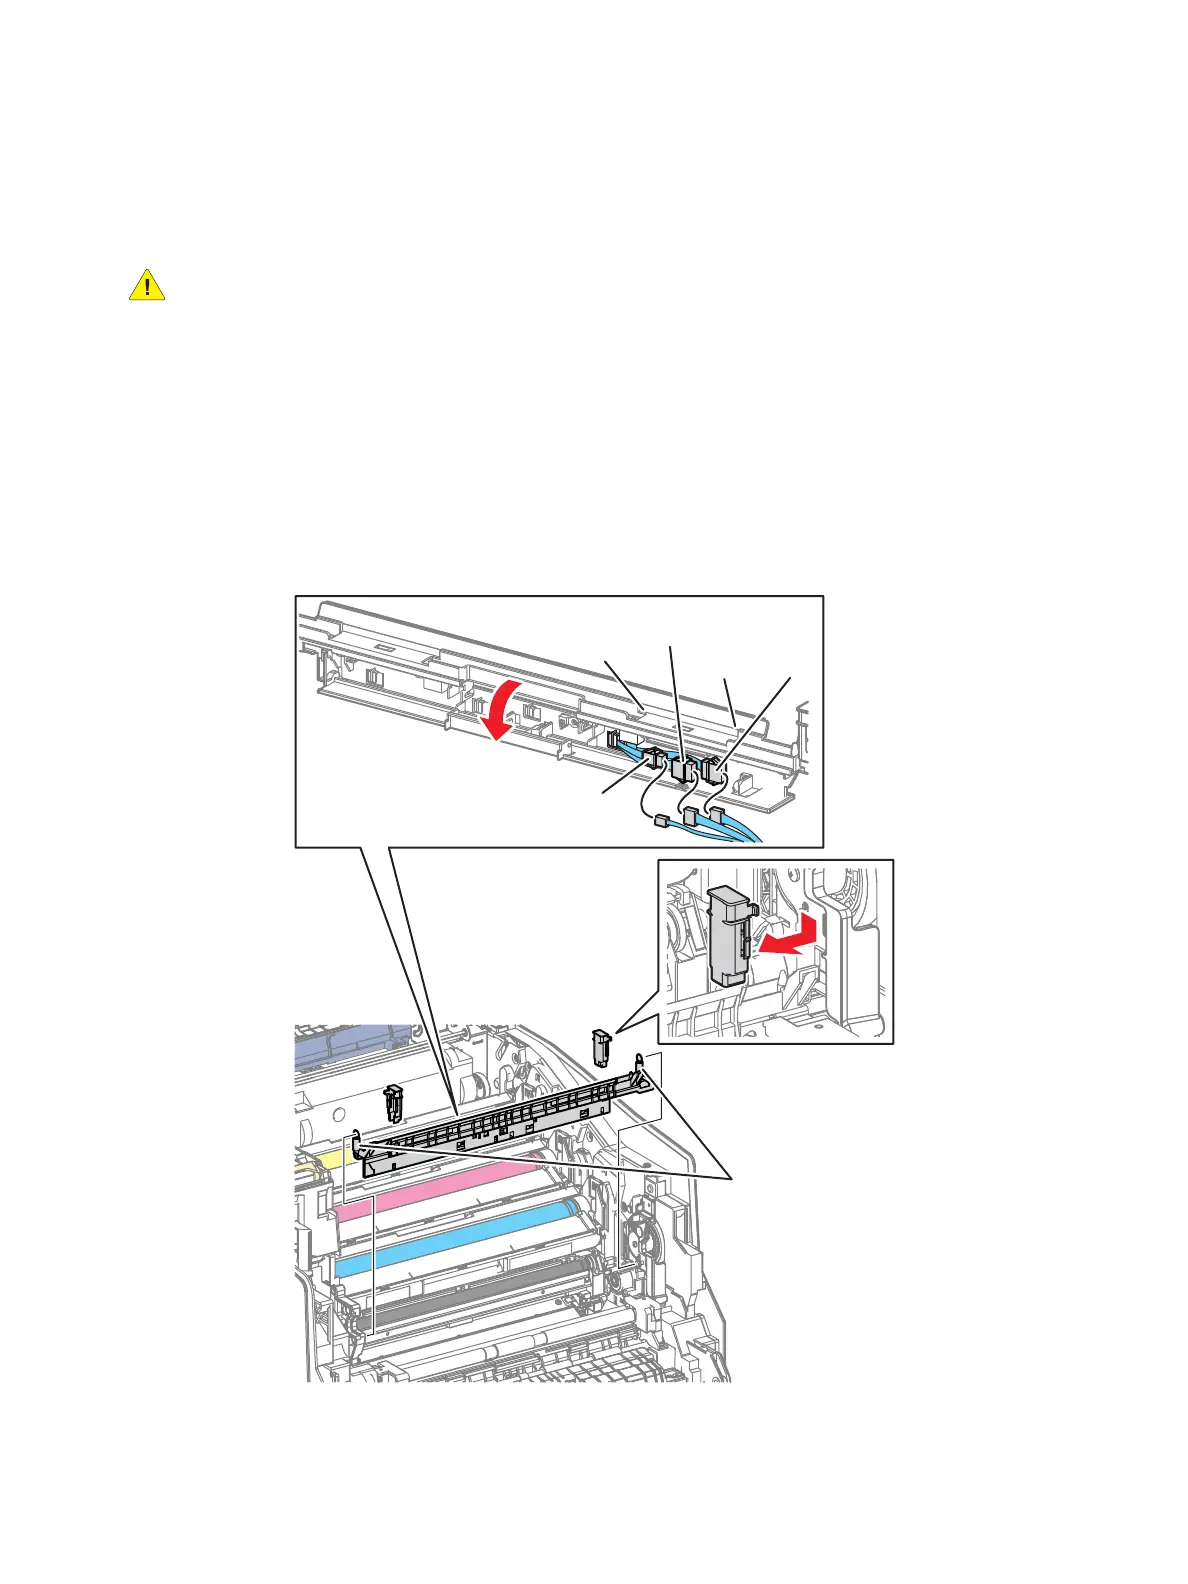
REP 9.9 CTD Sensor Assembly
PL 9.1.98
CAUTION: Do not expose the Imaging Unit to light for more than 5 minutes. Cover the Imaging
Unit to avoid damage. Do not touch the surface of the Imaging Unit.
1. Remove the Imaging Unit (Y/ M/ C/ K) (REP 6.0 Imaging Unit (Y/ M/ C/ K) on page 4-121).
2. Press down on the left and right Spring Caps (PL 9.1.11) and remove the Spring Caps.
Note: For the following steps, be careful not to drop or lose the CTD Hold Spring (PL 9.1.12).
3. Release the tabs to open the Cover on the rear of the CTD Sensor Assembly and disconnect the
wiring harness connectors (P/J4561, P/J4571, and P/J4572).
4. Release the left and right CTD Hold Springs from the screws that they are attached to.
5. Lift and remove the CTD Sensor Assembly.
s7100-267
P/J4571
P/J4572
Tab
Tab
P/J4561
Springs
 Loading...


