Service Parts Disassembly
Xerox Internal Use Only Phaser 7100 Service Manual 4-229
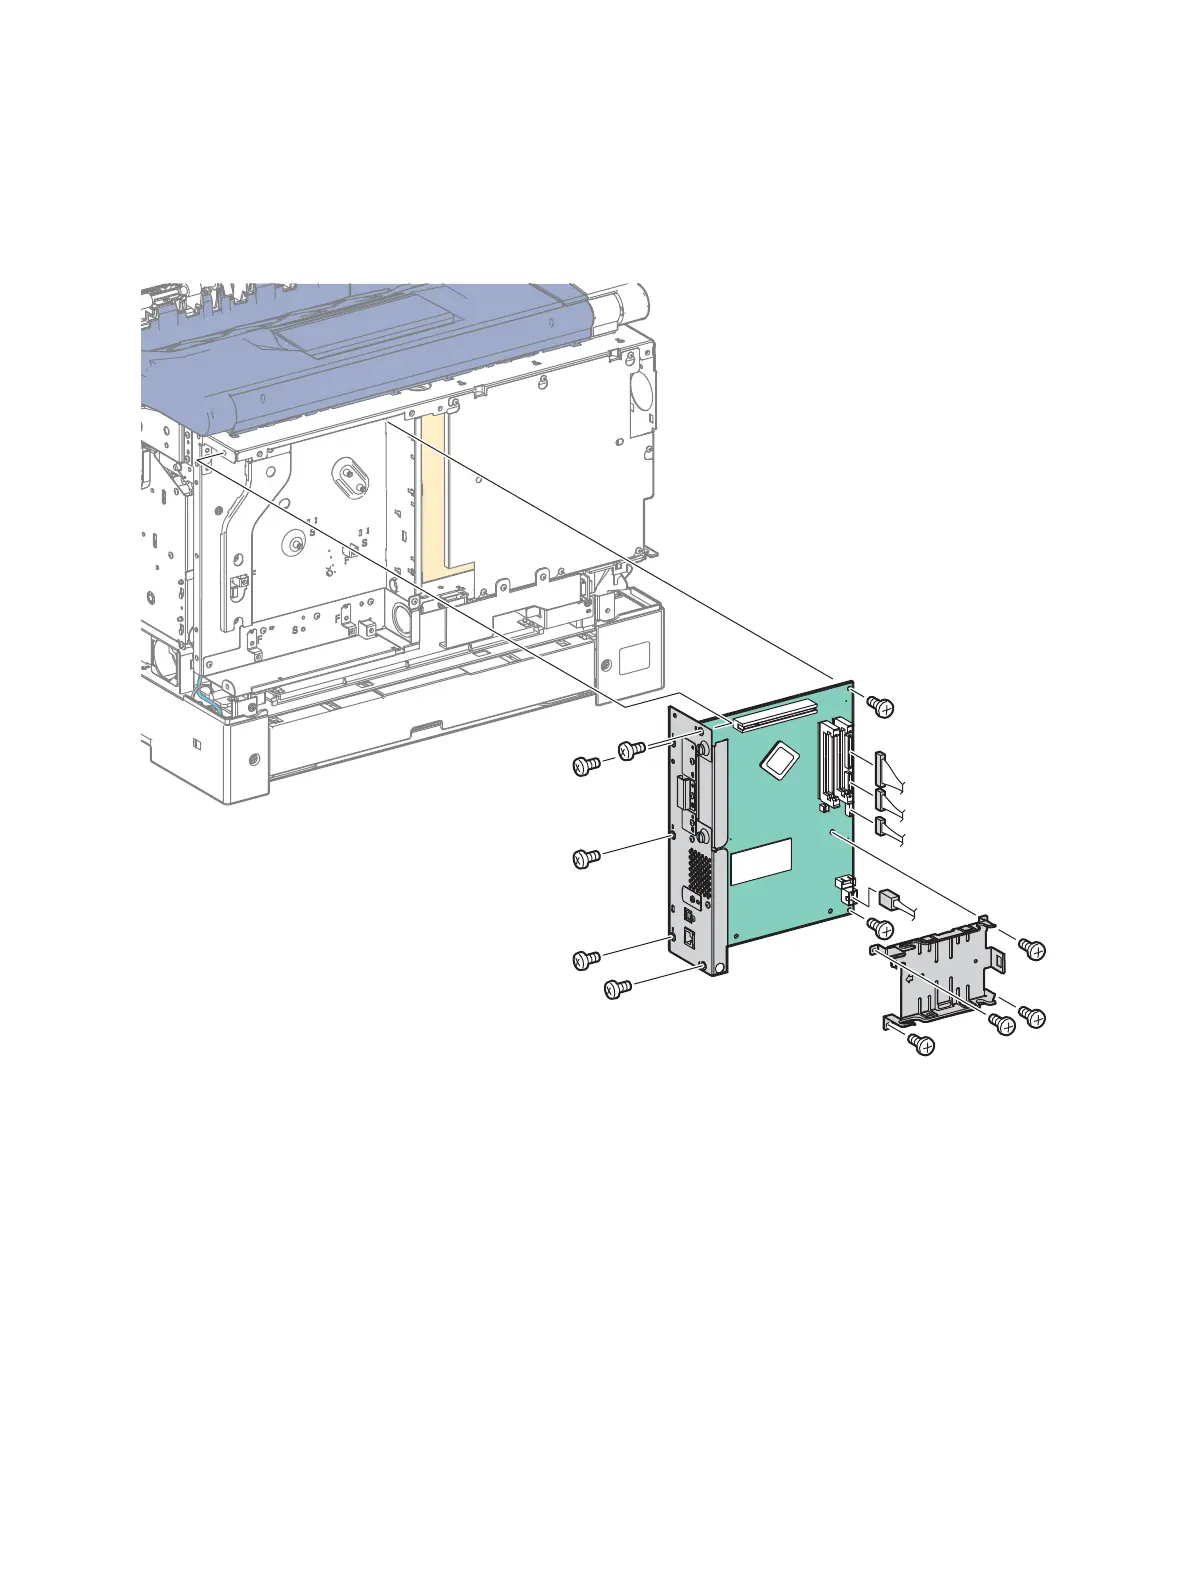
5. Remove 4 screws (silver, 6 mm) that secure the HDD Bracket and remove the HDD Bracket.
6. Remove 2 screws (silver, 6 mm) that secure Image Processor PWB to the printer.
7. Remove the 5 screws that secure the Interface I/P PWB Plate Assembly (PL 12.4.13).
8. Pull the I/P Board out away from the printer.
 Loading...


