ENGINE
3-7
Out of specification → Adjust.
Make sure that the vacuum pressure is within
specification.
9. Stop the engine and remove the measuring
equipment.
10.Adjust:
● Throttle cable free play
Refer to “ADJUSTING THE THROTTLE CA-
BLE FREE PLAY” on page 3-8.
11.Remove:
● Vacuum gauge
12.Install:
● Side cover (left and right)
● Center cover
Refer to “GENERAL CHASSIS” on page 4-1.
● Seat
Refer to “GENERAL CHASSIS” on page 4-1.
EAS20600
ADJUSTING THE EXHAUST GAS VOLUME
NOTE:
Be sure to set the CO density level to standard,
and then adjust the exhaust gas volume.
1. Turn the main switch to “OFF” and set the en-
gine stop switch to “ON”.
2. Simultaneously press and hold the “SE-
LECT” “1” and “RESET” “2” buttons, turn the
main switch to “ON”, and continue to press
the buttons for 8 seconds or more.
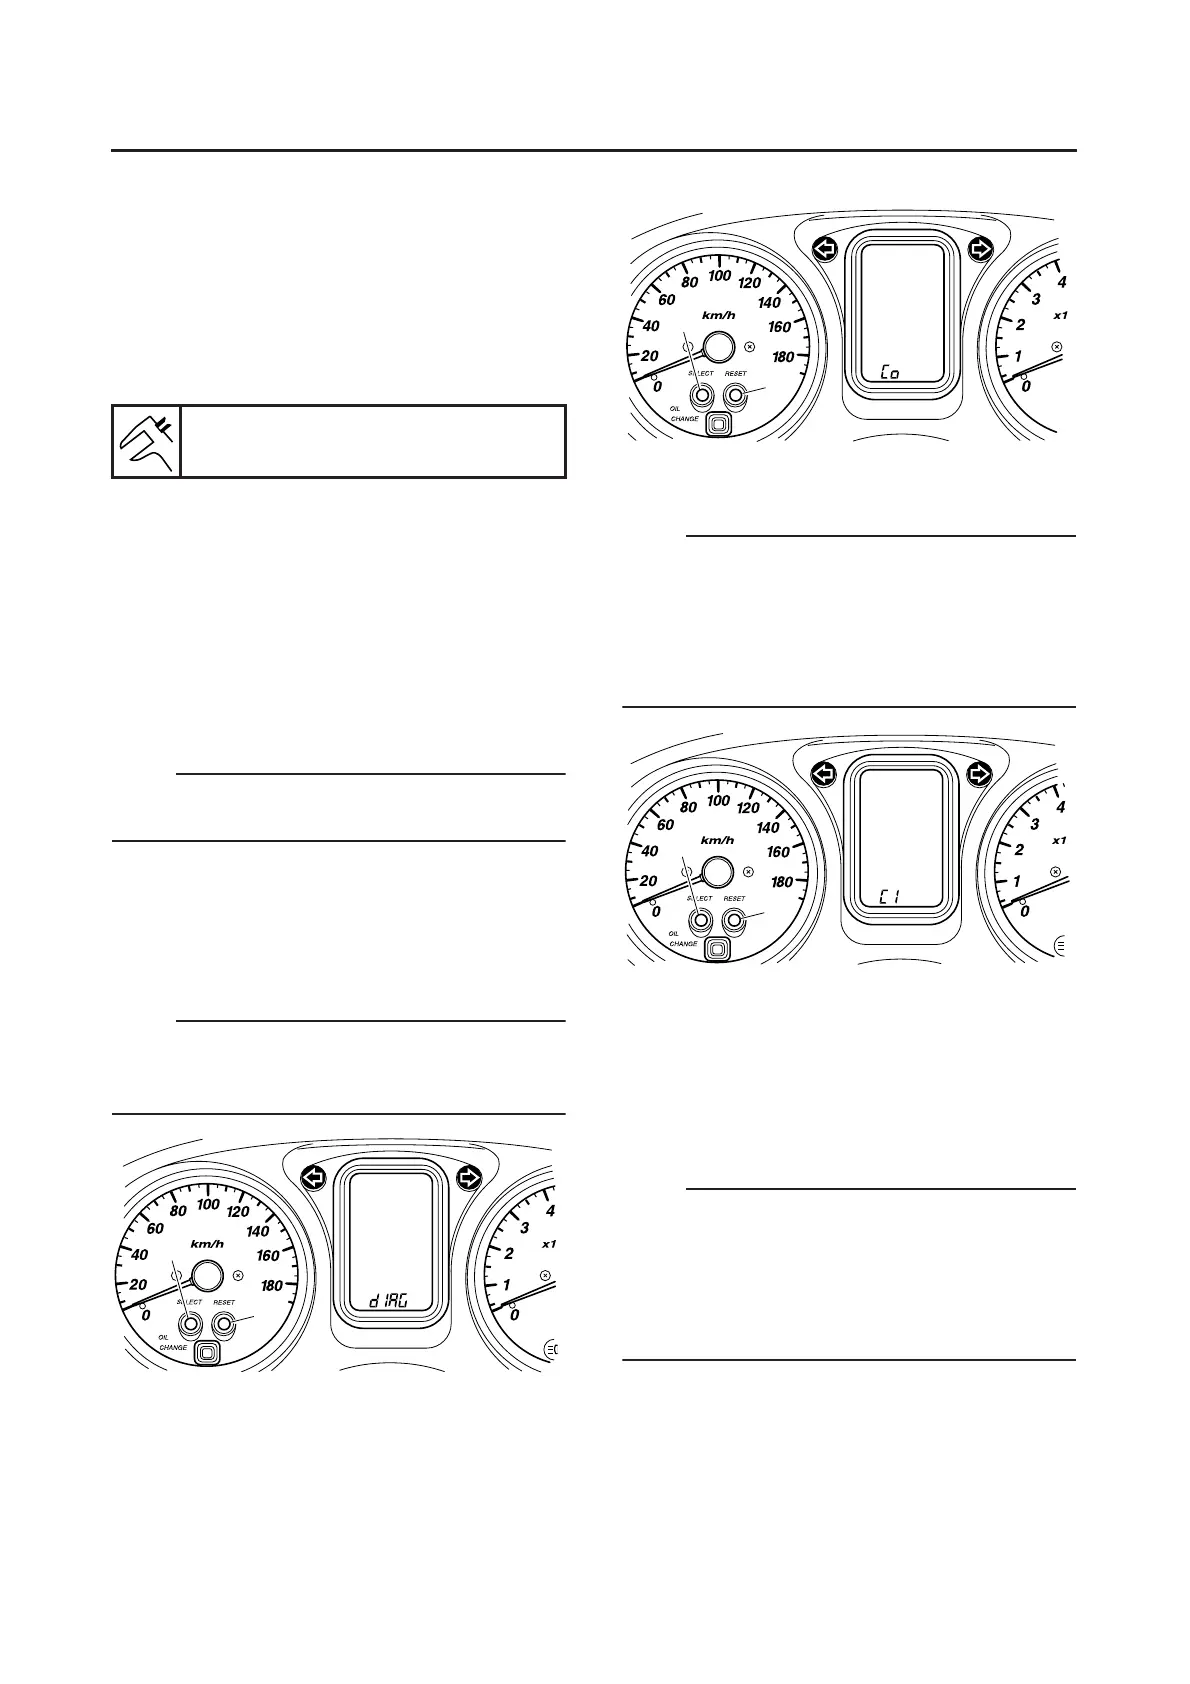
NOTE:
● All displays on the meter disappear except the
clock and tripmeter displays.
● “dIAG” appears on the clock LCD.
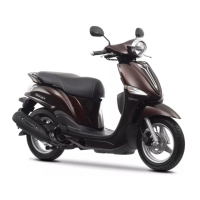
3. Press the “SELECT” button to select the CO
adjustment mode “CO” or the diagnostic
mode “dIAG”.
4. After selecting “CO”, simultaneously press
the “SELECT” “1” and “RESET” “2” buttons
for 2 seconds or more to execute the selec-
tion.
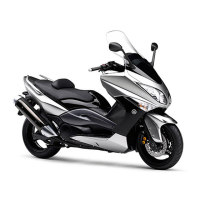
5. Press the “SELECT” “1” and “RESET” “2”
buttons to select a cylinder.
NOTE:
The selected cylinder number appears on the
clock LCD.
● To decrease the selected cylinder number,
press the “RESET” button.
● To increase the selected cylinder number,
press the “SELECT” button.
6. After selecting the cylinder, simultaneously
press the “SELECT” and “RESET” buttons
for 2 seconds or more to execute the selec-
tion.
7. Change the CO adjustment volume by press-
ing the “SELECT” “1” and “RESET” “2” but-
tons.
NOTE:
The CO adjustment volume appears on the
tripmeter LCD.
● To decrease the CO adjustment volume, press
the “RESET” button.
● To increase the CO adjustment volume, press
the “SELECT” button.
Throttle cable free play
3.0–5.0 mm (0.12–0.20 in)
1
2
1
2
1
2
 Loading...