FUEL INJECTION SYSTEM
8-38
EAS27400
TROUBLESHOOTING METHOD
The engine operation is not normal and the
engine trouble warning light comes on.
1. Check:
● Fault code number
▼▼▼▼▼▼▼▼▼▼▼▼▼▼▼▼▼▼▼▼▼
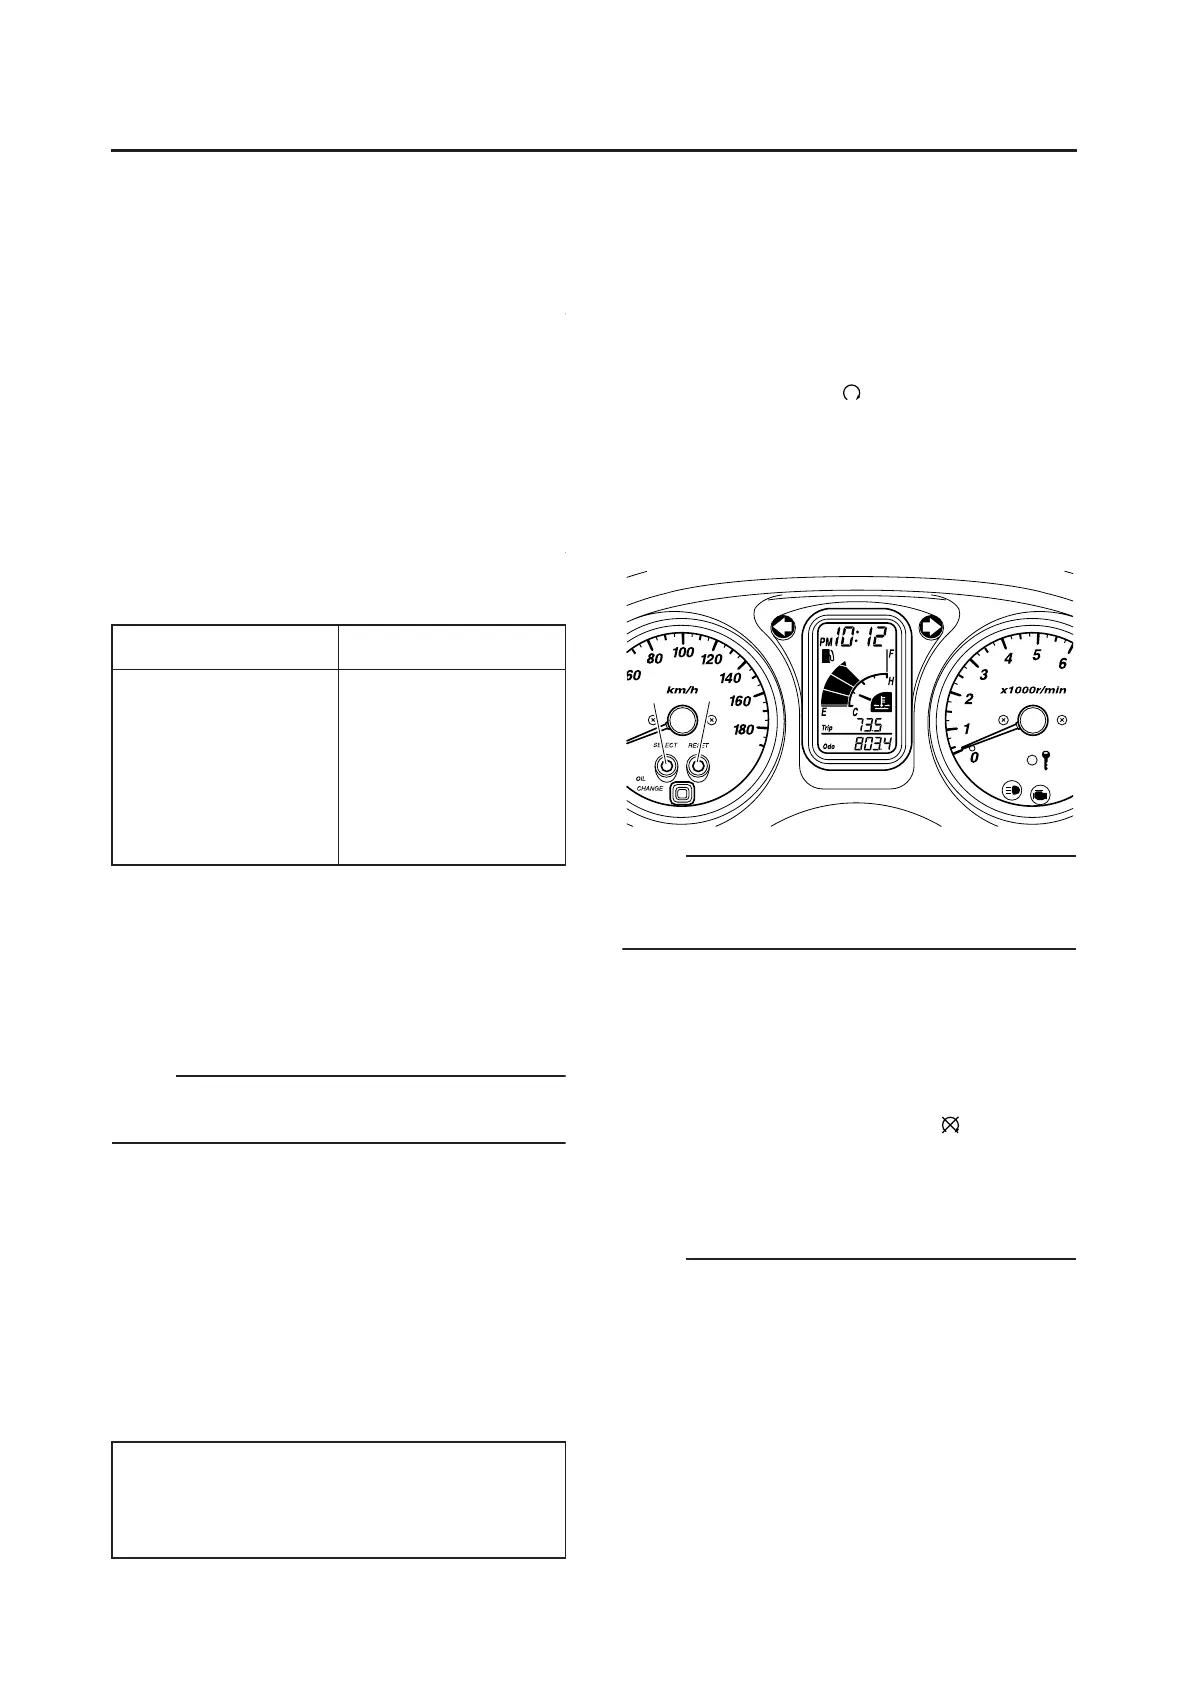
a. Check the fault code number displayed on
the meter.
b. Identify the system with the malfunction. Re-
fer to “Self-Diagnostic Function table”.
c. Identify the probable cause of malfunction.
Refer to “Diagnostic monitoring code table”.
▲▲▲▲▲▲▲▲▲▲▲▲▲▲▲▲▲▲▲▲▲
2. Checking and repair the probable case of
malfunction.
3. Perform ECU (engine) reinstatement action.
Refer to “Reinstatement method” of table in
“TROUBLESHOOTING DETAILS” on page
8-45.
4. Turn the main switch to “OFF” and back to
“ON”, then check the fault code number is not
displayed.
NOTE:
If other fault code displayed, repeat steps (1) to
(4) until all fault code number is not displayed.
5. The Malfunction history is stored even if the
main switch is turned OFF. The malfunction
history must be erased in the diagnostic
mode. Refer to “Sensor operation table (Di-
agnostic code No.62)”.
The engine operation is not normal but the
engine trouble warning light does not come
on.
1. Check the operation of following sensors and
actuators in the Diagnostic mode. Refer to
“Sensor operation table”.
If malfunction the sensors or actuators, repair
or replace it.
If not malfunction the sensors and actuators,
check and repair the engine inner parts.
EAS27431
DIAGNOSTIC MODE
Setting the diagnostic mode
1. Turn the main switch to “OFF” and set the en-
gine stop switch to “”.
2. Disconnect the wire harness coupler from the
fuel pump.
3. Simultaneously press and hold the “SE-
LECT”“1” and “RESET”“2” buttons, turn the
main switch to “ON”, and continue to press
the buttons for 8 seconds or more.
NOTE:
● All displays on the meter disappear except the
clock and tripmeter displays.
● “dIAG” appears on the clock LCD.
4. Press the “SELECT” button to select the CO
adjustment mode “CO” or the diagnostic
monitoring mode “dIAG”.
5. After selecting “dIAG”, simultaneously press
the “SELECT” and “RESET” buttons for 2
seconds or more to execute the selection.
6. Set the engine stop switch to “”.
7. Select the diagnostic code number that ap-
plies to the item that was verified with the fault
code number by pressing the “SELECT” and
“RESET” buttons.
NOTE:
The diagnostic code number appears on the
clock LCD (01–70).
● To decrease the selected diagnostic code
number, press the “RESET” button. Press the
“RESET” button for 1 second or longer to auto-
matically decrease the diagnostic code num-
bers.
● To increase the selected diagnostic code num-
ber, press the “SELECT” button. Press the
“SELECT” button for 1 second or longer to au-
tomatically increase the diagnostic code num-
Fault code No. YES Fault code No. NO
Check and repair. Refer
to “TROUBLESHOOT-
ING DETAILS” on page
8-45.
Monitor the operation of
the sensors and actua-
tors in the diagnostic
mode. Refer to “Sensor
operation table”.
Check and repair. Refer
to “TROUBLESHOOT-
ING DETAILS” on page
8-45.
01: Throttle position sensor (throttle angle)
30: Ignition coil
36: Injector #1
37: Injector #2
1
2
 Loading...