GENERATOR AND STARTER CLUTCH
5-33
● Starter clutch gear
Burrs/chips/roughness/wear → Replace the
defective part(s).
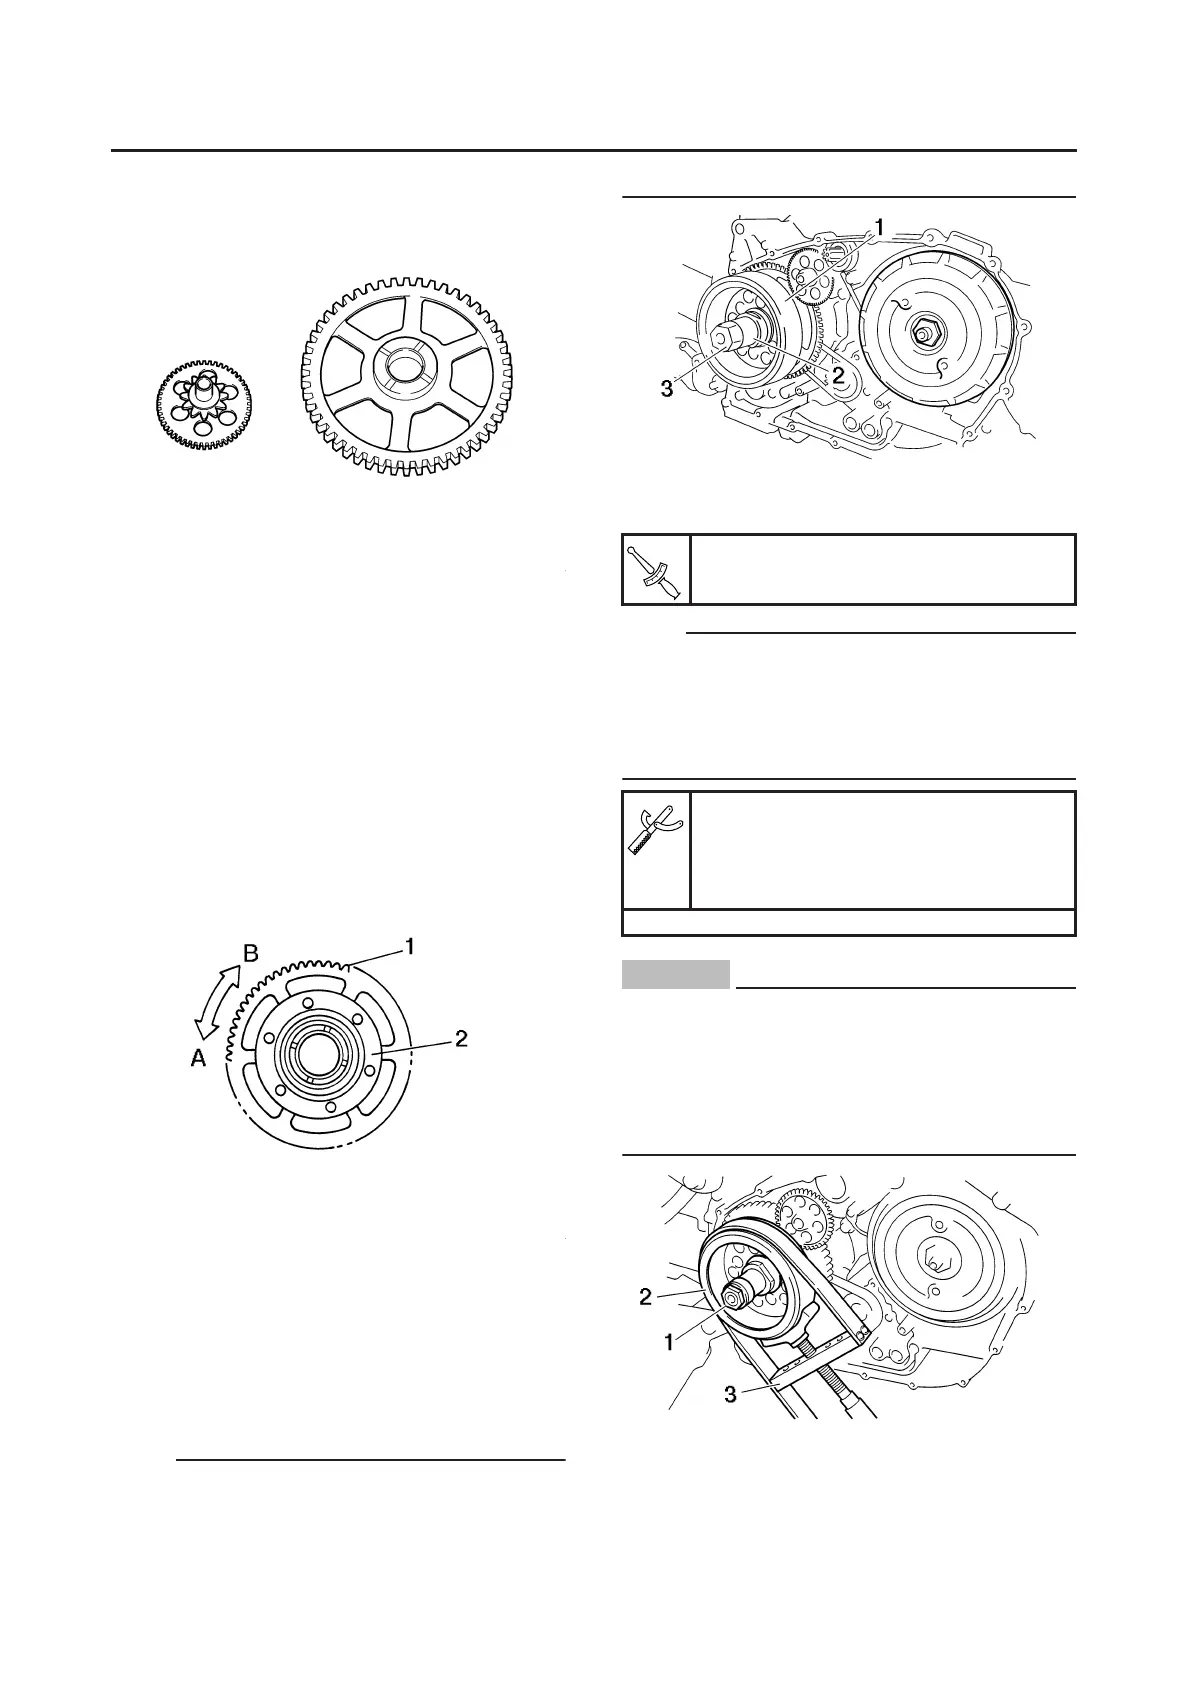
3. Check:
● Starter clutch operation
▼▼▼▼▼▼▼▼▼▼▼▼▼▼▼▼▼▼▼▼▼
a. Install the starter clutch drive gear “1” onto
the starter clutch “2” and hold the starter
clutch.
b. When turning the starter clutch drive gear
clockwise “A”, the starter clutch and the start-
er clutch drive gear should engage, other-
wise the starter clutch is faulty and must be
replaced.
c. When turning the starter clutch drive gear
counterclockwise “B”, it should turn freely,
otherwise the starter clutch is faulty and must
be replaced.
▲▲▲▲▲▲▲▲▲▲▲▲▲▲▲▲▲▲▲▲▲
EAS24540
INSTALLING THE A.C. MAGNETO ROTOR
1. Install:
● Woodruff key
● A.C. magneto rotor “1”
● Spacer “2”
● A.C. magneto rotor nut “3”
NOTE:
When installing the pickup coil rotor, align the
pin “2” in the crankshaft sprocket with the groove
“a” in the A.C magneto rotor.
2. Tighten:
● A.C magneto rotor nut “1”
NOTE:
● While holding the generator rotor “2” with the
rotor holding tool “3”, tighten the pickup coil ro-
tor bolt.
● Do not allow the sheave holder to touch the
projection on the A.C. magneto rotor.
CAUTION:
ECA15B1039
● When tightening the A.C. magneto rotor
nut, be sure to use an F-type torque
wrench.
● After tightening the A.C. magneto rotor nut,
to the specified torque, turn the A.C. mag-
neto rotor nut another + 120°.
A.C magneto rotor nut
60 Nm (6.0 m•kg, 43 ft•lb)
Sheave holder
90890-01701
Primary clutch holder
YS-01880-A
T
R
.
.
 Loading...