Phaser 7500 Printer Service Manual 11-15
Reference
Obtaining Serial Back Channel Traces
In some cases the printer may exhibit unusual behavior that is difficult to
troubleshoot. In such cases, if feasible, it can be useful to obtain a back channel
trace from the printer’s Serial Debug Port. The back channel trace, lists step-by-
step what the printer is doing up to the point that an error occurs and may show
error conditions that would not normally appear on the control panel. The trace
may offer clues to help troubleshoot the problem.
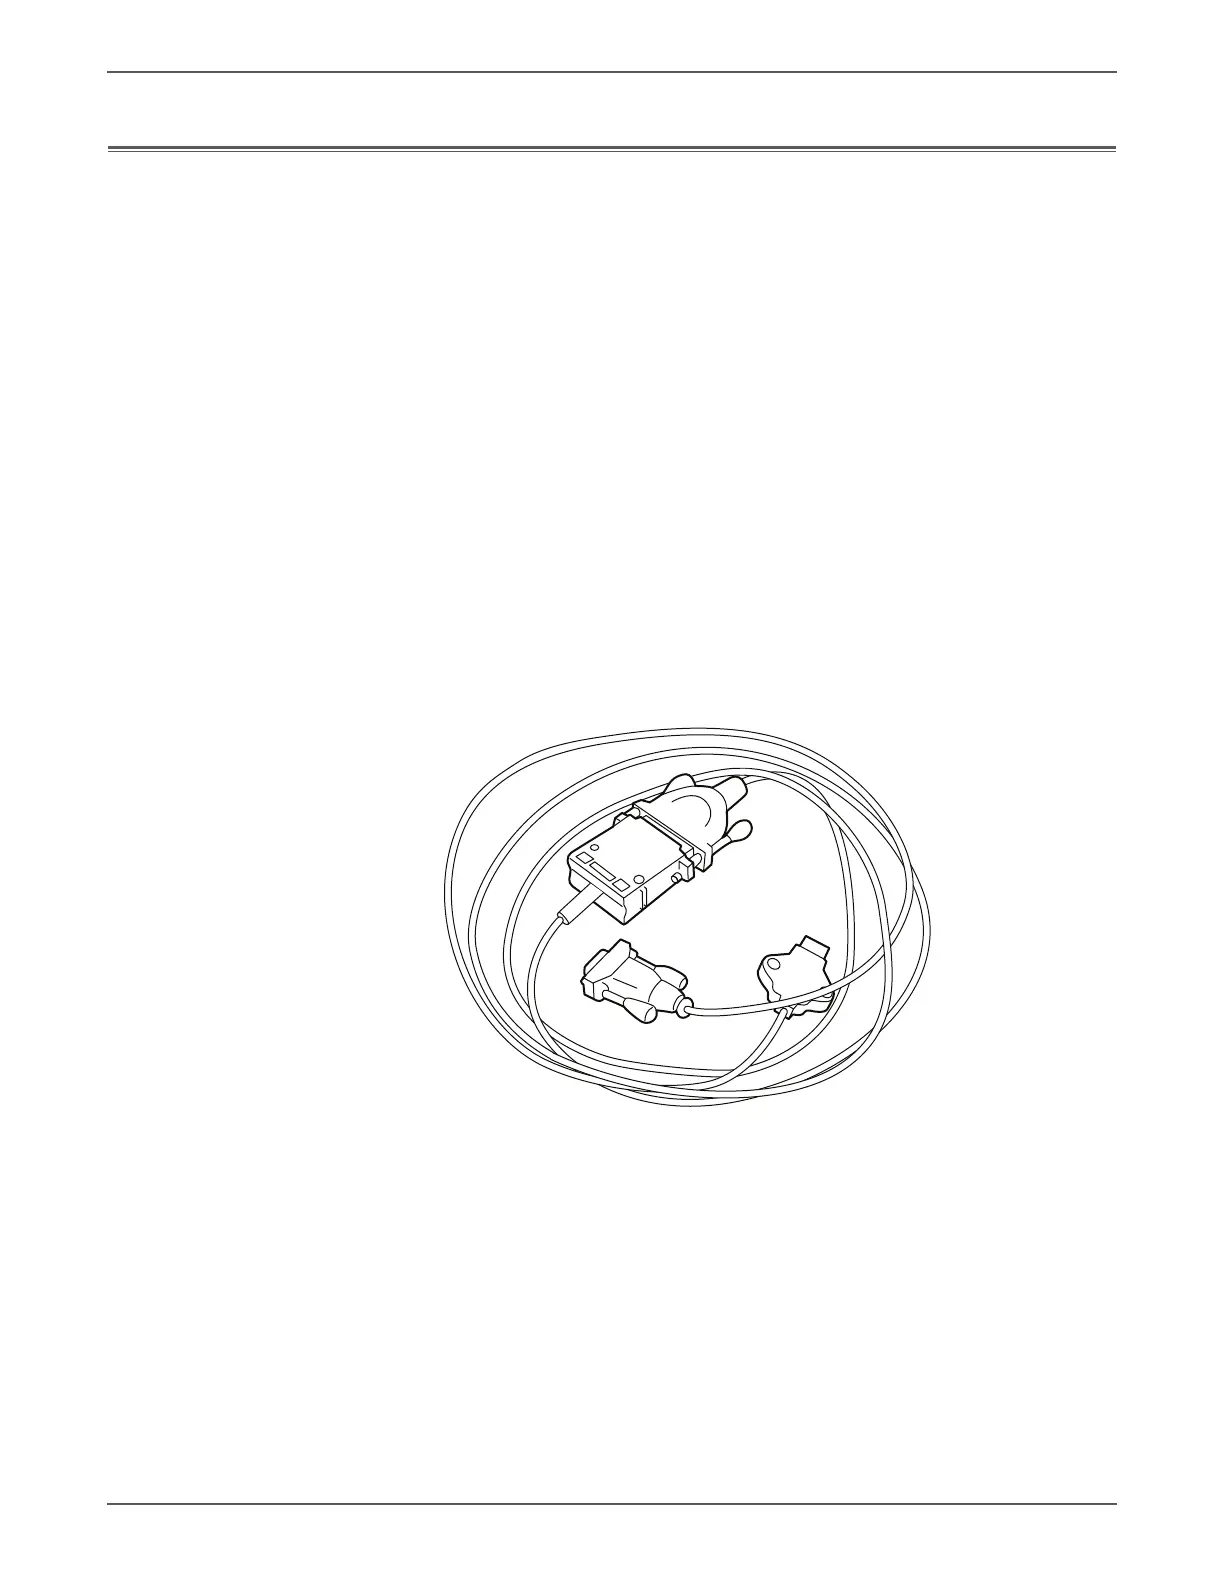
Required Equipment:
• Computer with a serial port
• Serial Cable, part number: 600T80375
• Level Adaptor, part number: 600T80374
• 3.5 inch IDE Hard Drive Jumper or similar
To obtain a trace:
1. Connect the Serial Cable and Level Adaptor, then connect the Serial Cable to
your PC.
2. Turn off the printer.
3. Connect the Level Adaptor with adapter’s THIS SIDE UP label facing upwards
to the Serial Debug Port located on the printer’s Rear Panel.
4. Start up a terminal program such as in Window’s HyperTerminal (usually
located in Programs -> Accessories -> Communications -> HyperTerminal).
Verify the serial port settings are correct. Serial port settings are COM1, 19.2
kbaud, 8 bits, no parity, 1 stop bit, and hardware control.
5. Set the printer to Service Mode by configuring by connecting pins 3 & 4 to
either pin 1 or 6.
Service Mode inhibits automatic Startup page printing. Also, the Mode
Select Port jumpers must remain in place to display the printer’s
operating system console.
Enable data capture by selecting "Capture Text" under the Transfer
menu.
 Loading...


