Lighting Systems: 9B-11
Turn Signal / Side-stand Relay Inspection
B718H19206017
Refer to “Electrical Components Location in Section 0A
(Page 0A-8)”.
NOTE
Make sure that the battery is fully charged.
Before removing the turn signal/side-stand relay, check
the operation of the turn signal light.
If the turn signal light does not illuminate, inspect the
bulb, turn signal switch and circuit connection.
If the bulb, turn signal switch and circuit connection are
OK, the turn signal relay may be faulty; therefore,
replace the turn signal/side-stand relay with a new one.
Refer to “Turn Signal / Side-stand Relay Removal and
Installation (Page 9B-11)”.
Turn Signal / Side-stand Relay Removal and
Installation
B718H19206018
Removal
1) Remove the left frame cover. Refer to “Exterior Parts
Removal and Installation in Section 9D (Page 9D-
6)”.
2) Remove the turn signal/side-stand relay (1).
Installation
Install the turn signal/side-stand relay in the reverse
order of removal.
Hazard Switch Inspection
B718H19206019
Inspect the hazard switch in the following procedures:
1) Remove the right frame head cover. (GSF1250/A)
Refer to “Exterior Parts Removal and Installation in
Section 9D (Page 9D-6)”.
2) Disconnect the left handlebar switch coupler (1).
3) Inspect the hazard switch for continuity with a tester.
If any abnormality is found, replace the left
handlebar switch assembly with a new one. Refer to
“Handlebar Removal and Installation in Section 6B
(Page 6B-3)”.
Special tool
: 09900–25008 (Multi-circuit tester set)
Tester knob indication
Continuity ( )
4) After finishing the hazard switch inspection, reinstall
the removed parts.
Turn Signal Switch Inspection
B718H19206020
Inspect the turn signal switch in the following
procedures:
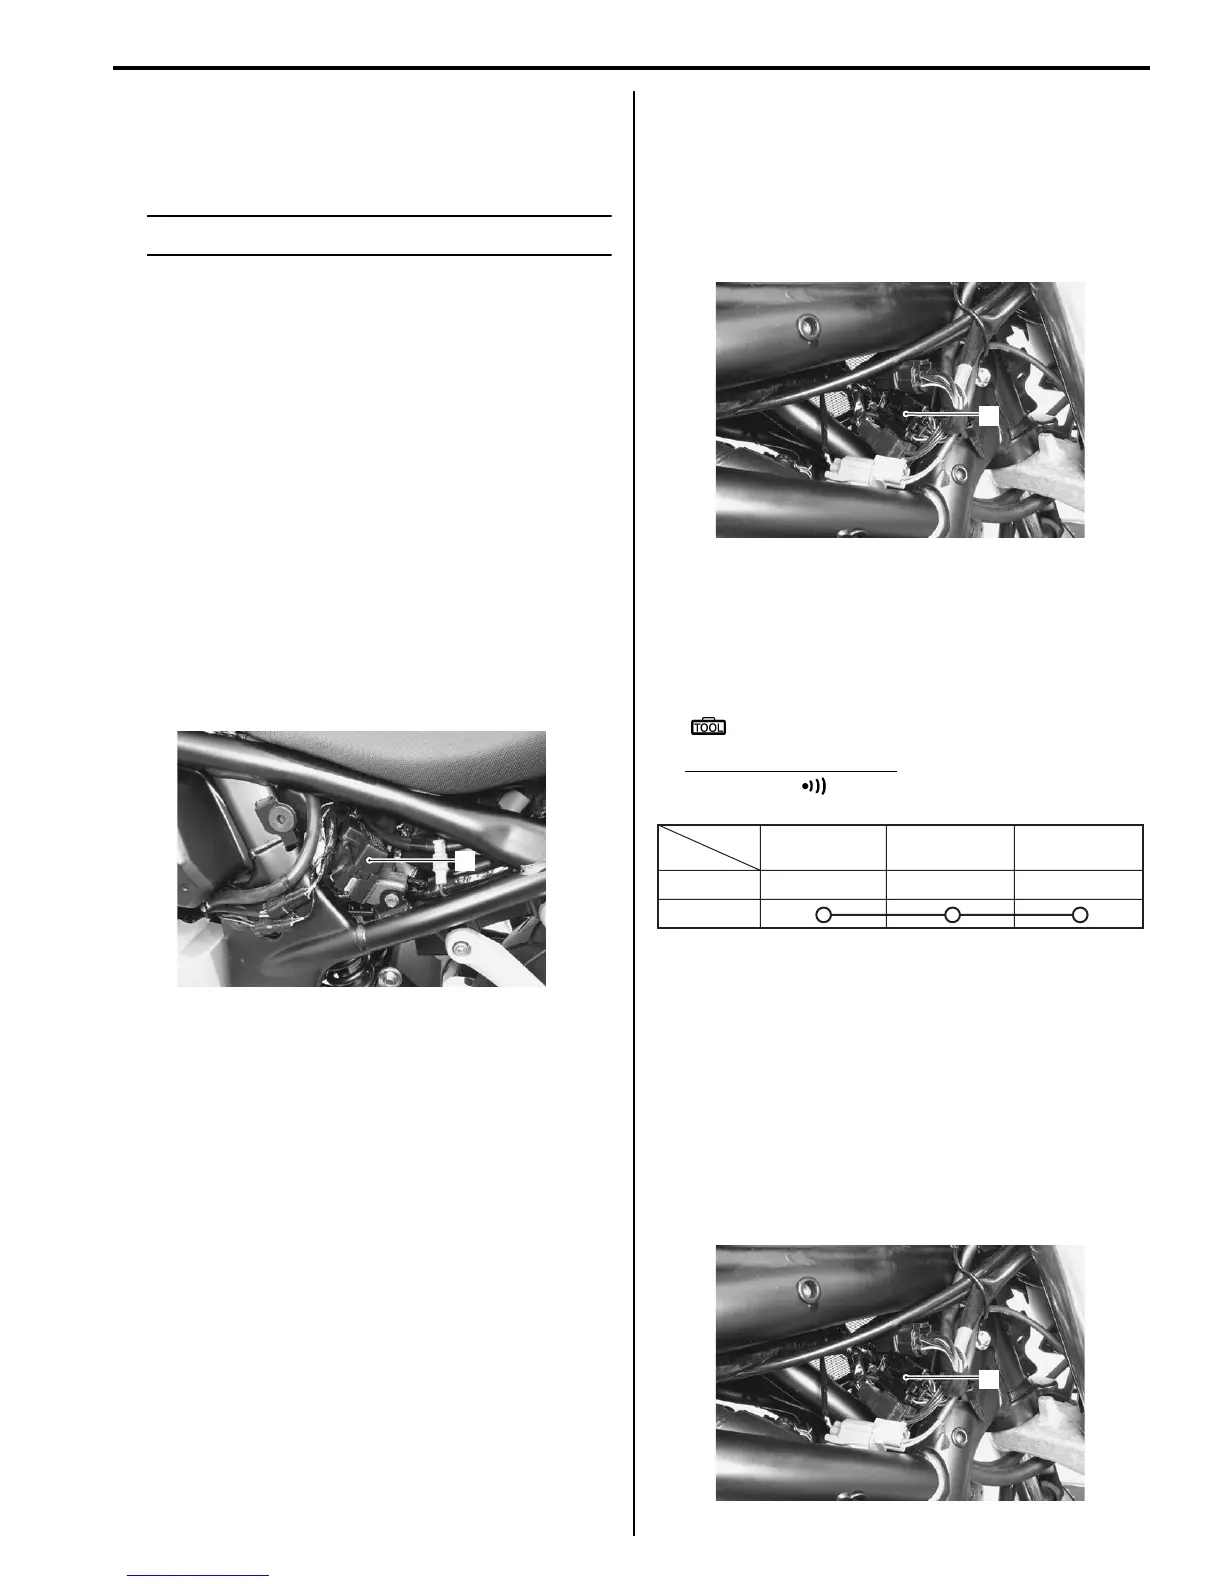
1) Remove the right frame head cover. (GSF1250/A)
Refer to “Exterior Parts Removal and Installation in
Section 9D (Page 9D-6)”.
2) Disconnect the left handlebar switch coupler (1).
1
I718H1920034-01
1
I718H1920035-01
Position
Color
B B/Br B/G
OFF
ON
I718H1920045-01
1
I718H1920035-01

 Loading...


