3 - 93
Main unit
Main unit
Assembly
Assembly
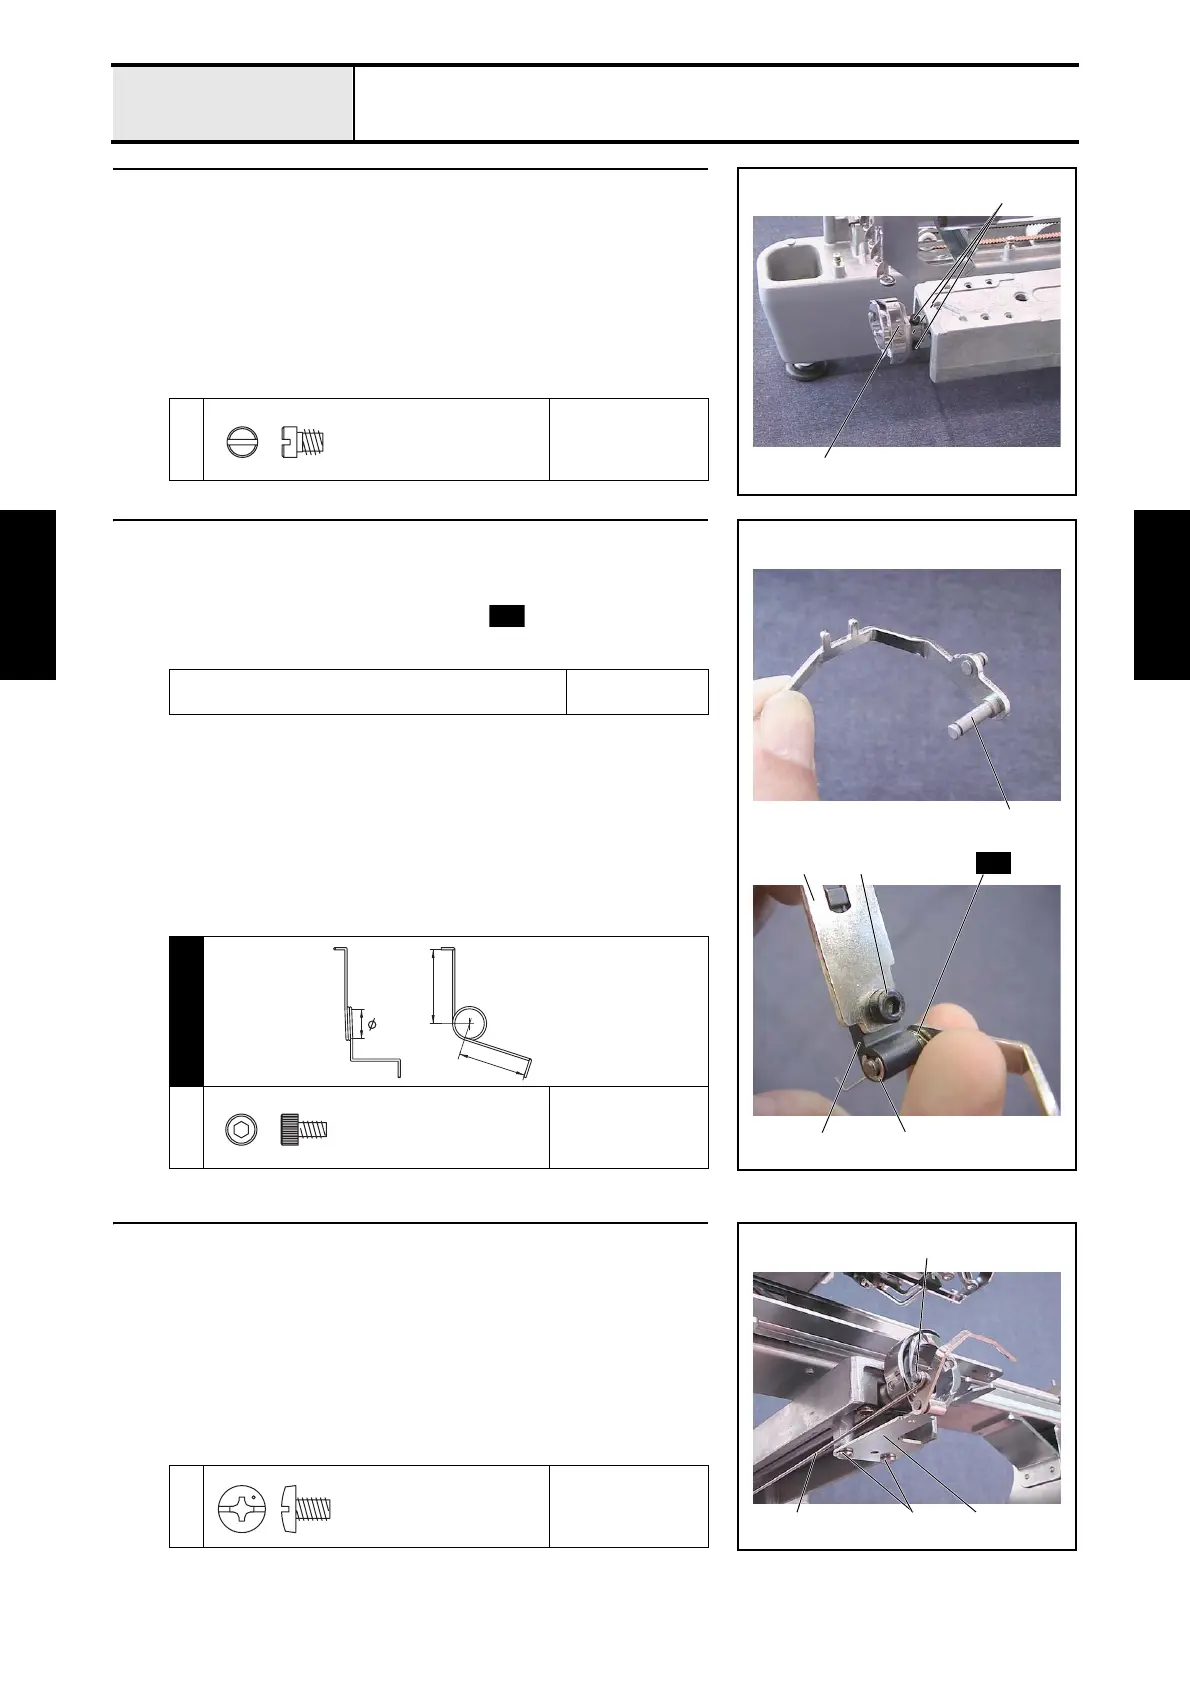
2 Rotary hook attachment
1. Attach the rotary hook 1 to the lower shaft with the 3 screws 1.
*Key point
• Temporarily tighten the 3 screws 1 first. Firmly tighten them
after completing 4 - 20 "Needle bar rising and Needle
clearance".
1
Torque
Hand start
1
1
Hook set screw
4.46
3 Picker bracket final assembly
1. Apply MOLYKOTE EM-30L to the picker assembly's shaft 1.
2. Attach the picker holder 2 to the picker bracket with the screw 1.
3. Attach the picker assembly and the spring to the picker bracket 3
and then attach the retaining ring E2.
Apply MOLYKOTE EM-30L to the picker assembly's
shaft.
Size of a grain of
rice
S54
1
Torque
0.59 — 0.78 N-m
1
Retaining ring E2
S541
2
3
S54
PICKER SPRING
XC5853***
13
5.2
12
Bolt, Socket
M3X5
4 Picker bracket final assembly attachment
1. Attach the picker bracket final assembly 1 to the arm bed with the 2
screws 1.
2. Attach the picker link 2 to the picker assembly's picker link attachment
shaft, and then attach the retaining ring E2.
1
Torque
1.18 — 1.57 N-m
1
Retaining ring E2
1
2
Screw, Bind
M4X6

 Loading...


