EasyManuals Logo

Brother PR655 Service Manual

Brother PR655
341 pages
To Next Page IconTo Next Page
To Previous Page IconTo Previous Page
Page #204 background imageLoading...
Page #204 background image
3 - 98
Main unit
Main unit
Assembly
Assembly
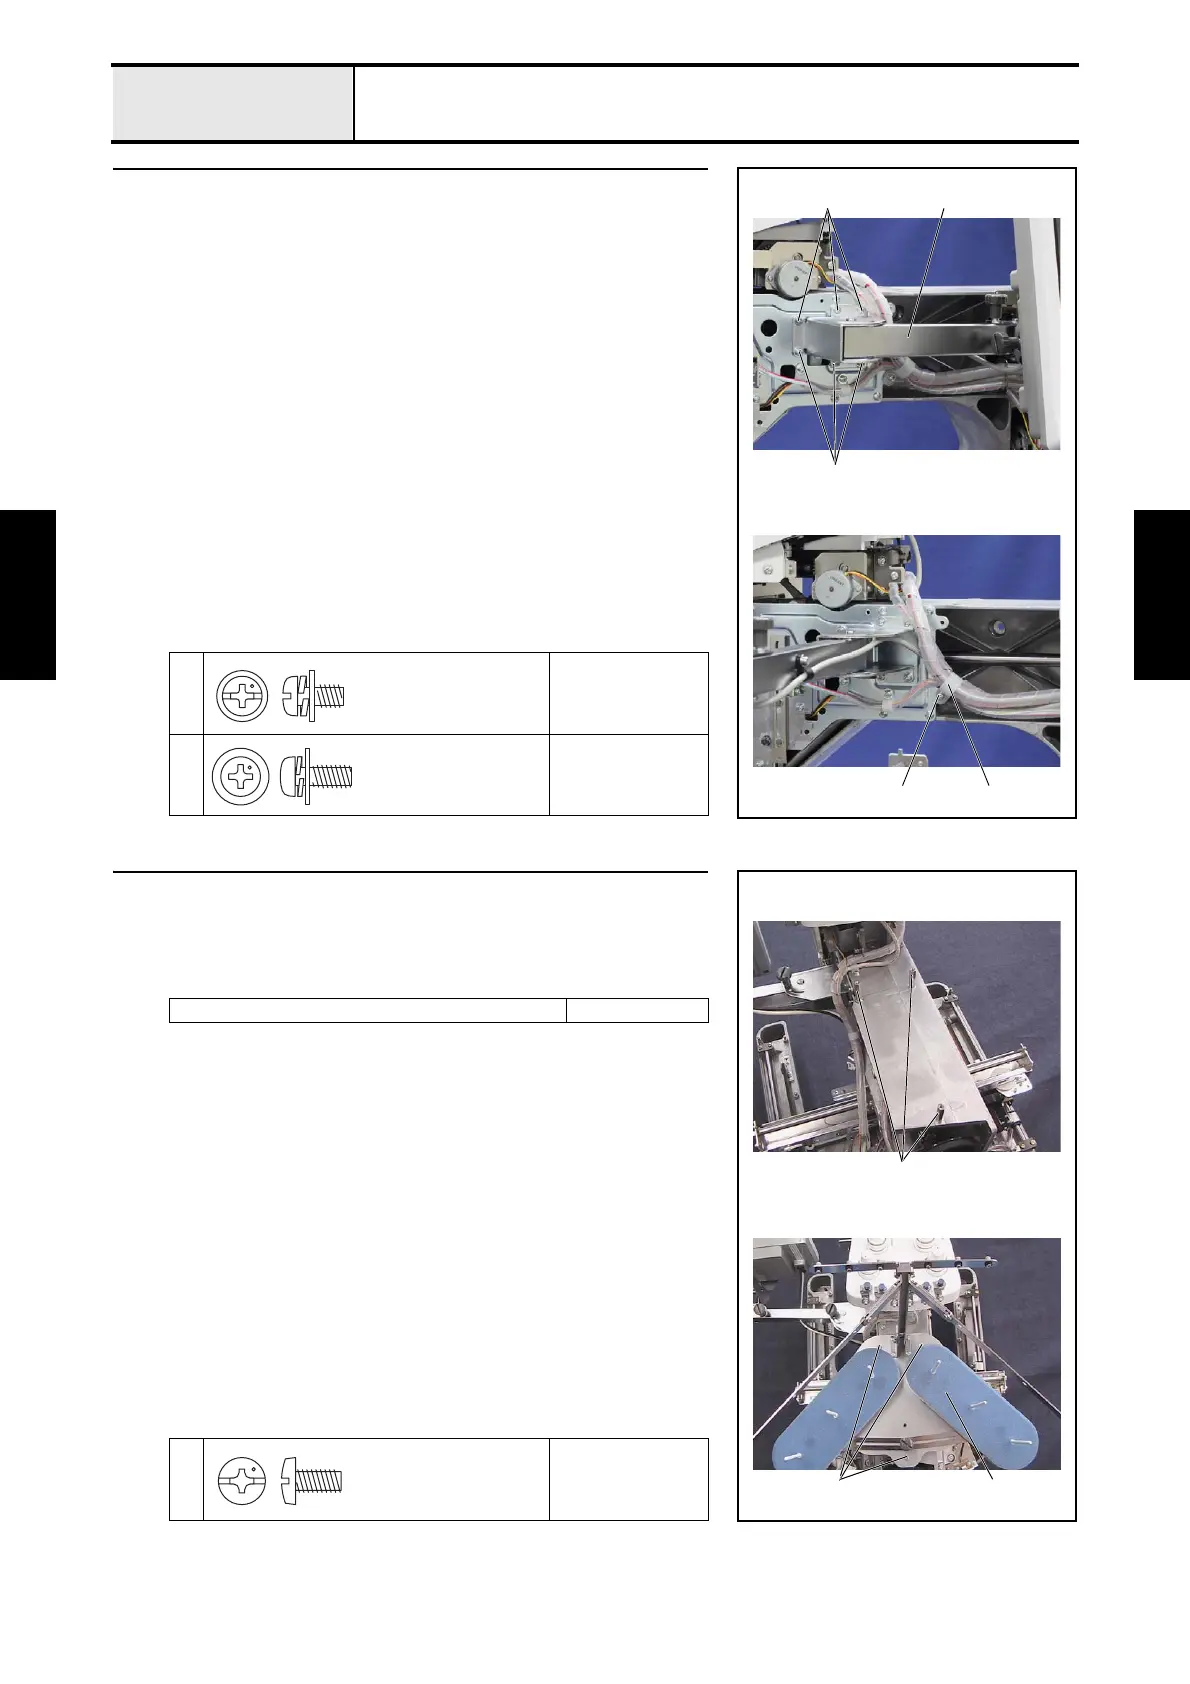
10 Operation panel assembly attachment
1. Attach the operation panel assembly 1 with the 6 screws 1.
2. Set the cord clamp 2 to the lead wires, and then attach the cord clamp 2
with the screw 2.
1
Torque
1.18 — 1.57 N-m
2
Torque
0.78 — 1.18 N-m
11
1
2 2
Screw, Pan (S/P washer)
M4X8
Screw, Pan (S/P washer)
M4X10
11 Spool stand frame final assembly attachment
1. Attach the 3 studs 1 to the top face of the arm bed.
2. Attach the spool stand frame final assembly 2 to the 3 studs with the 3
screws 1.
Tightening torque of stud: 1.18 - 1.57 N-m
1
Torque
1.18 — 1.57 N-m
1 2
1
Screw, Bind
M4X8

Table of Contents

Other manuals for Brother PR655

Questions and Answers:

Question and Answer IconNeed help?

Do you have a question about the Brother PR655 and is the answer not in the manual?

Brother PR655 Specifications

General IconGeneral
Number of Needles6
Built-in Designs25
USB PortYes
LCD DisplayYes
TypeEmbroidery Machine
Built-in Fonts28
Maximum Speed1000 stitches per minute
Embroidery Area300mm x 200mm

Related product manuals