1 - 10
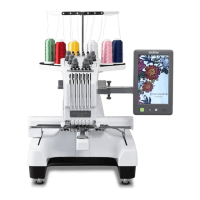
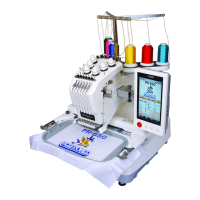
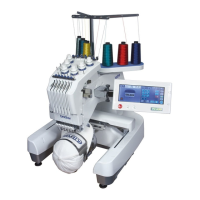
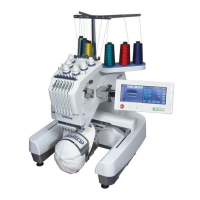
Outline of Mechanism
Outline of
Mechanism
Outline of
Mechanism
Operation of other electronic components
Start/stop switch . . . . . . . . . . . . . . . . . . . . . . This switch is used to start and stop the sewing machine.
Thread cutter switch . . . . . . . . . . . . . . . . . . . This switch is used to cut thread. Pressing this switch starts the
sewing machine, cuts thread, and stops the machine at the
position where the spindle stops.
Needle thread switch . . . . . . . . . . . . . . . . . . This switch is used to thread a needle. Pressing this switch
moves the needle bar to the thread guide position, and pressing it
again threads the needle and then returns the needle bar to its
original position.
Hoop sensor . . . . . . . . . . . . . . . . . . . . . . . . . This sensor detects the position of the arm when attaching the
hoop, in order to identify the hoop.
Stop position sensor, A/B phase sensor . . . . These sensors detect the angle of the main shaft and the
rotational speed.
Index sensor, color change sensor . . . . . . . . These sensors detect the color change position.
Thread quantity sensor . . . . . . . . . . . . . . . . . This sensor detects the consumption of upper thread. It also
detects upper/lower thread breakage indicated by the
consumption of upper thread.
Wiper sensor. . . . . . . . . . . . . . . . . . . . . . . . . This sensor detects the position of the wiper.
Picker sensor . . . . . . . . . . . . . . . . . . . . . . . . This sensor detects the position of the picker.
Thread cutter sensor . . . . . . . . . . . . . . . . . . . This sensor detects the position of the movable knife that cuts
the thread.
Needle thread sensor . . . . . . . . . . . . . . . . . . This sensor detects the position of the thread guide.
X sensor (Y sensor) . . . . . . . . . . . . . . . . . . . This sensor detects the position of the X (Y) guide to move the
hoop.
LED light (L/R) . . . . . . . . . . . . . . . . . . . . . . White LED lights for illuminating the work space.
Touch panel . . . . . . . . . . . . . . . . . . . . . . . . . Used to select and edit patterns and input test mode number by
touching the display on the panel.
LED pointer . . . . . . . . . . . . . . . . . . . . . . . . . Indicates the needle drop point with red LED light.
 Loading...
