Failure Investigation
for Electronic Parts
Failure Investigation for Electronic Parts
Failure Investigation
for Electronic Parts
5 - 32
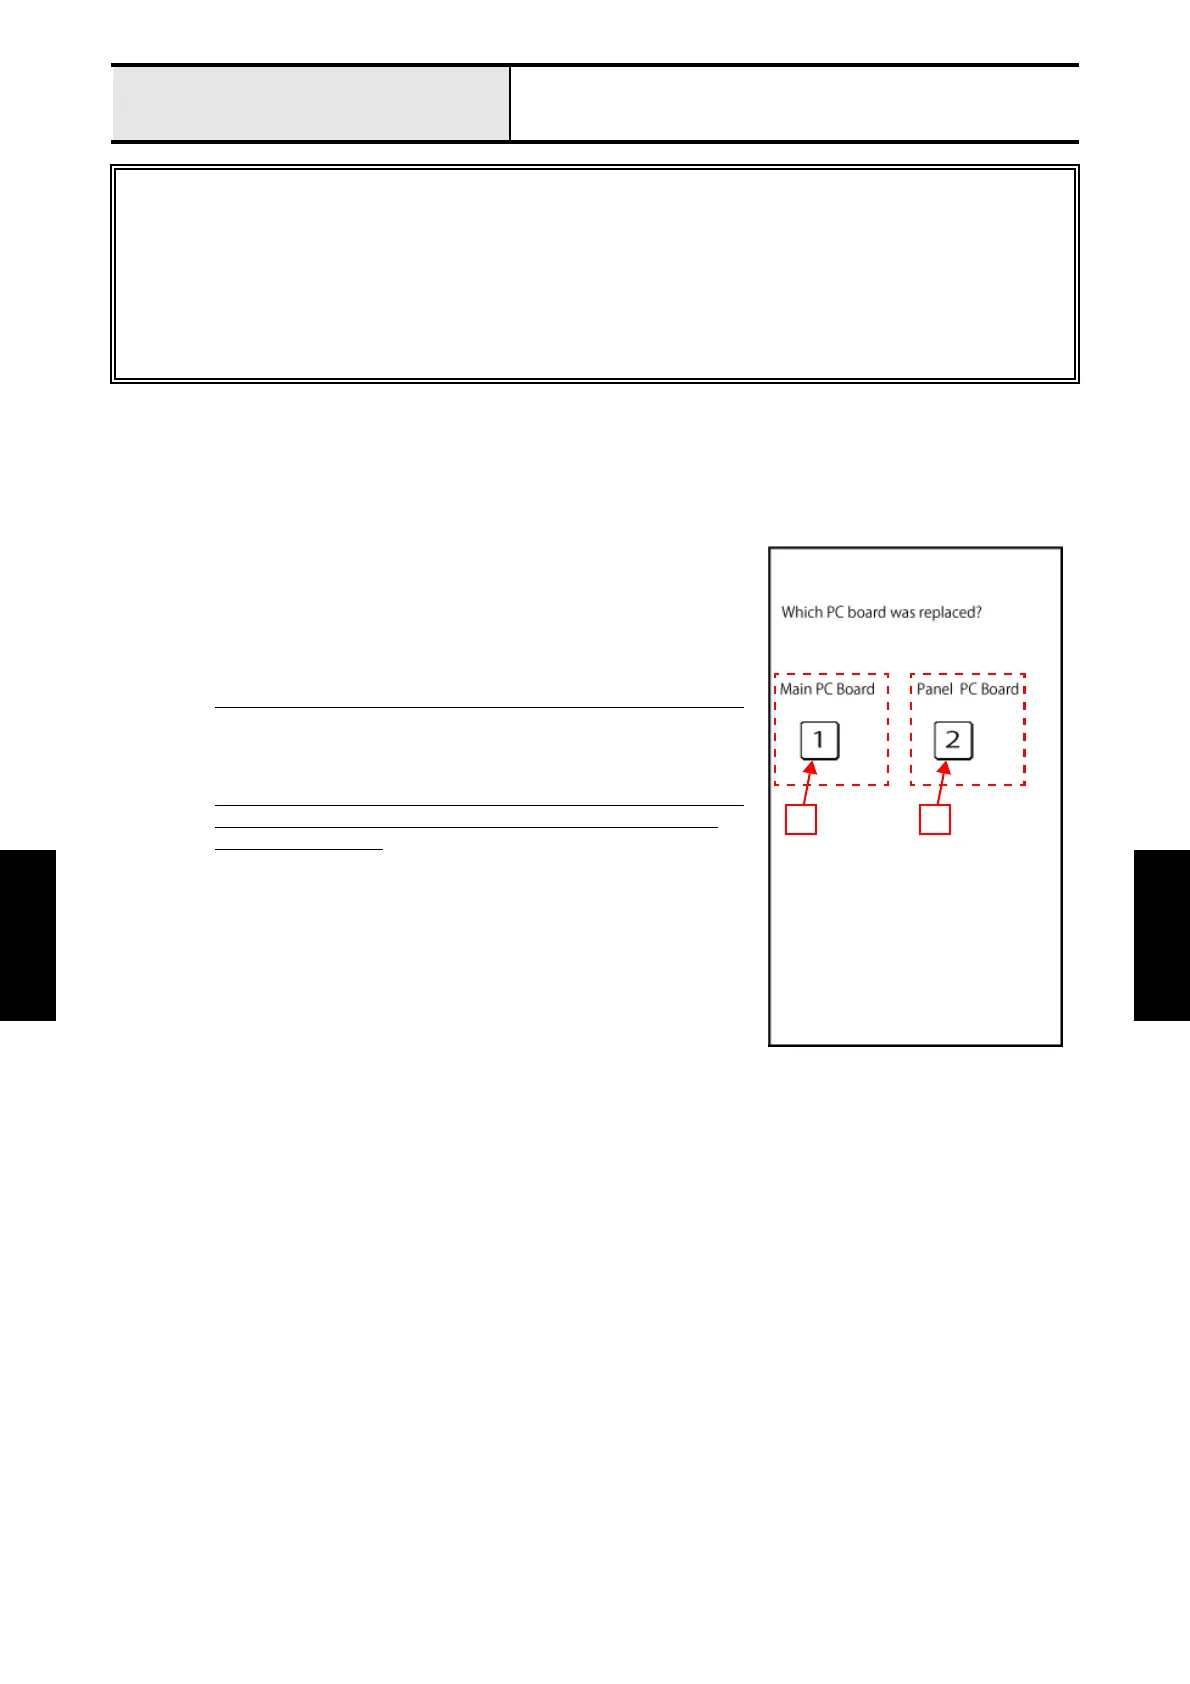
Replacement of main PCB assy or panel PCB assy
When the main PCB assy or panel PCB assy has been replaced, the setting data stored in the sewing machine
is automatically copied to the new PCB. However, the screen shown in Fig. 1 may appear depending on the
new PCB. In that event, follow the steps below to complete copying correctly.
1. Select “Main PC Board” 1 when the main PCB assy was replaced, or
select “Panel PC Board” 2 when the panel PCB assy was replaced.
(Fig. 1)
Copying the setting data stored in the sewing machine automatically
starts.
*Note 1
• Do not select a PCB different from the one that has been replaced.
The setting data stored in the sewing machine cannot be copied
correctly, causing the sewing machine to malfunction.
*Note 2
• Do not turn OFF the power to the sewing machine while the setting
data is being copied. Do not touch the sewing machine’s touch
panel or any buttons.
The setting data stored in the sewing machine cannot be copied
correctly, causing the sewing machine to malfunction.
2. When copying the setting data is completed, the sewing machine is
automatically restarted.
* Replacement of the PCB assy is completed.
*Note
• When copying the setting data is completed, upgrade the software of
the sewing machine to the latest version. If the software is not the latest
version, the sewing machine may not run correctly.
If "SPEC DIFFERENCE" is displayed on the screen, it means that the specifications of the PCB assy that has
been replaced differ from the sewing machine. Replace with the PCB assy with the same specifications as the
sewing machine.
Do not replace the main PCB assy and panel PCB assy simultaneously.
The setting data required to run the sewing machine correctly is stored in both the main PCB assy
and the panel PCB assy. When either PCB assy is replaced, the setting data is automatically
copied from the other to the new PCB assy.
If you replace the main PCB assy and panel PCB assy simultaneously, the setting data stored in
the sewing machine cannot be copied to the new PCBs, causing the sewing machine to
malfunction. When both PCB assys need replacing, be sure to replace them one at a time.
Fig. 1
1 2

 Loading...


