4 - 38
Inspection and
Adjustment
Inspection and
Adjustment
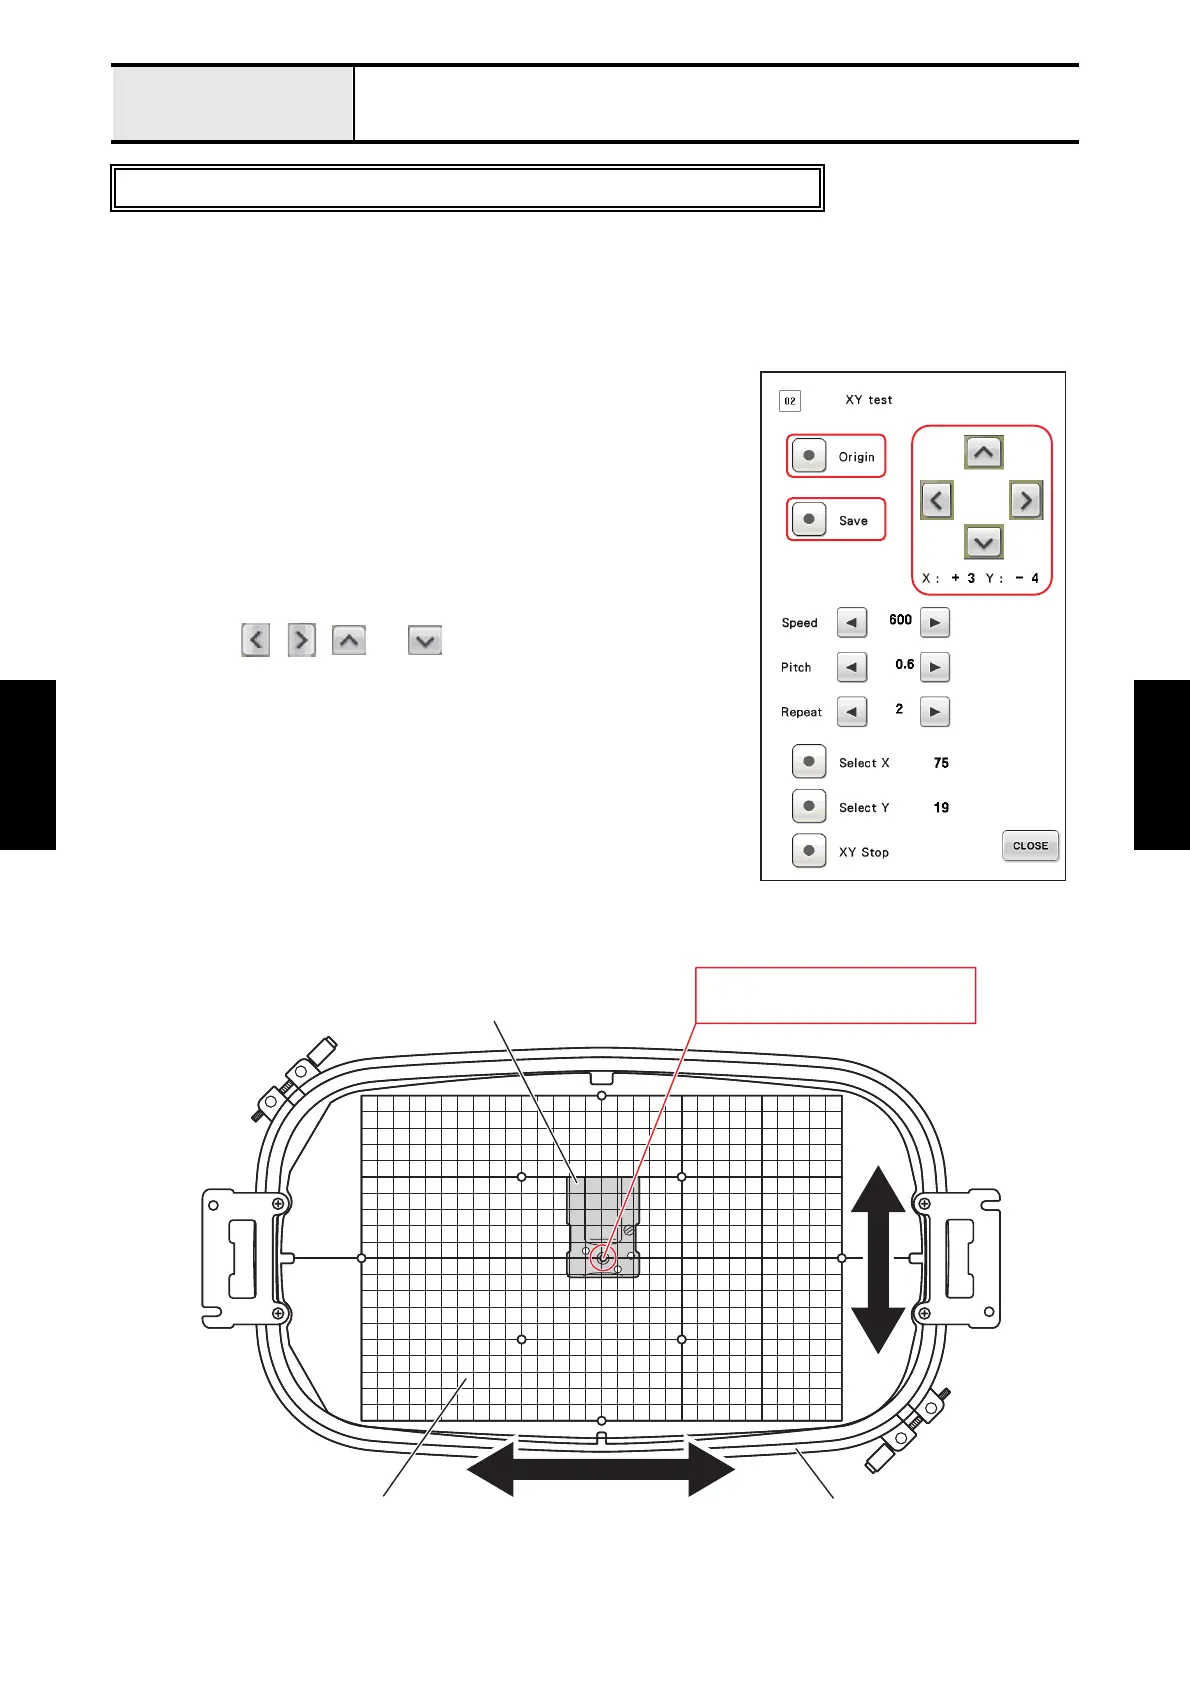
Adjustment X, Y carriage initial position
[Standard]
The needle plate hole should be aligned with the embroidery sheet (Size: LL) center hole.
[Adjustment]
1. Attach the tubular round arm set A to the carriage.
2. Attach the LL frame to the tubular round arm set.
*Key point
• LL frame: 300 x 200 mm (11.8 x 7.9 inches)
3. Attach the embroidery sheet (Size: LL) to the LL frame, and secure
it with the tape or other temporary.
4. Start the test mode and select [#02: XY test] under [MAIN BOARD
TEST MODE].
5. Press [Origin] to move the carriage to its initial position.
6. Use the , , and keys to adjust the position of the
embroidery hoop so that the needle plate hole is aligned with the
embroidery sheet center hole.
7. Press [Save] to save the adjusted initial position to the flash memory
of the sewing machine.
After replace the X area PCB assy and the Y area PCB assy, need to adjust.
Embroidery frame (Size: LL)
Needle plate
Needle plate hole should be
aligned with embroidery hole.
Embroidery sheet

 Loading...


