Configuration for contact probes
Basic version of PowerShape can be used with contact probes.
After PowerShape installation (V2013 minimum), install the CMM driver provided by Autodesk.
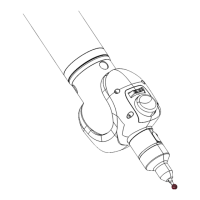
Once PowerShape is run, click on the Arm connection button on the bottom toolbar. The system is ready
Configuration for Scanners
PowerShape Pro is necessary to be used with HEXAGON
®
arm scanners.
After PowerShape installation (V2013 minimum), install the CMM driver provided by Autodesk.
Once PowerShape-Pro is run, click on the Arm connection button for Probing or on the laser button for
scanning. The system is ready
CMM toolbar
Once the arm (contact probe) or scanner are connected, a toolbar is available:
a. Close the toolbar
b. Open the Autodesk driver CMM selection box
c. Connect to the arm
d. Access probe alignment
e. Arm status
f. Cancel last scan cloud
g. Give a new colour for each new scan cloud
h. Lock the 3D view
i. Display the status window for the scan
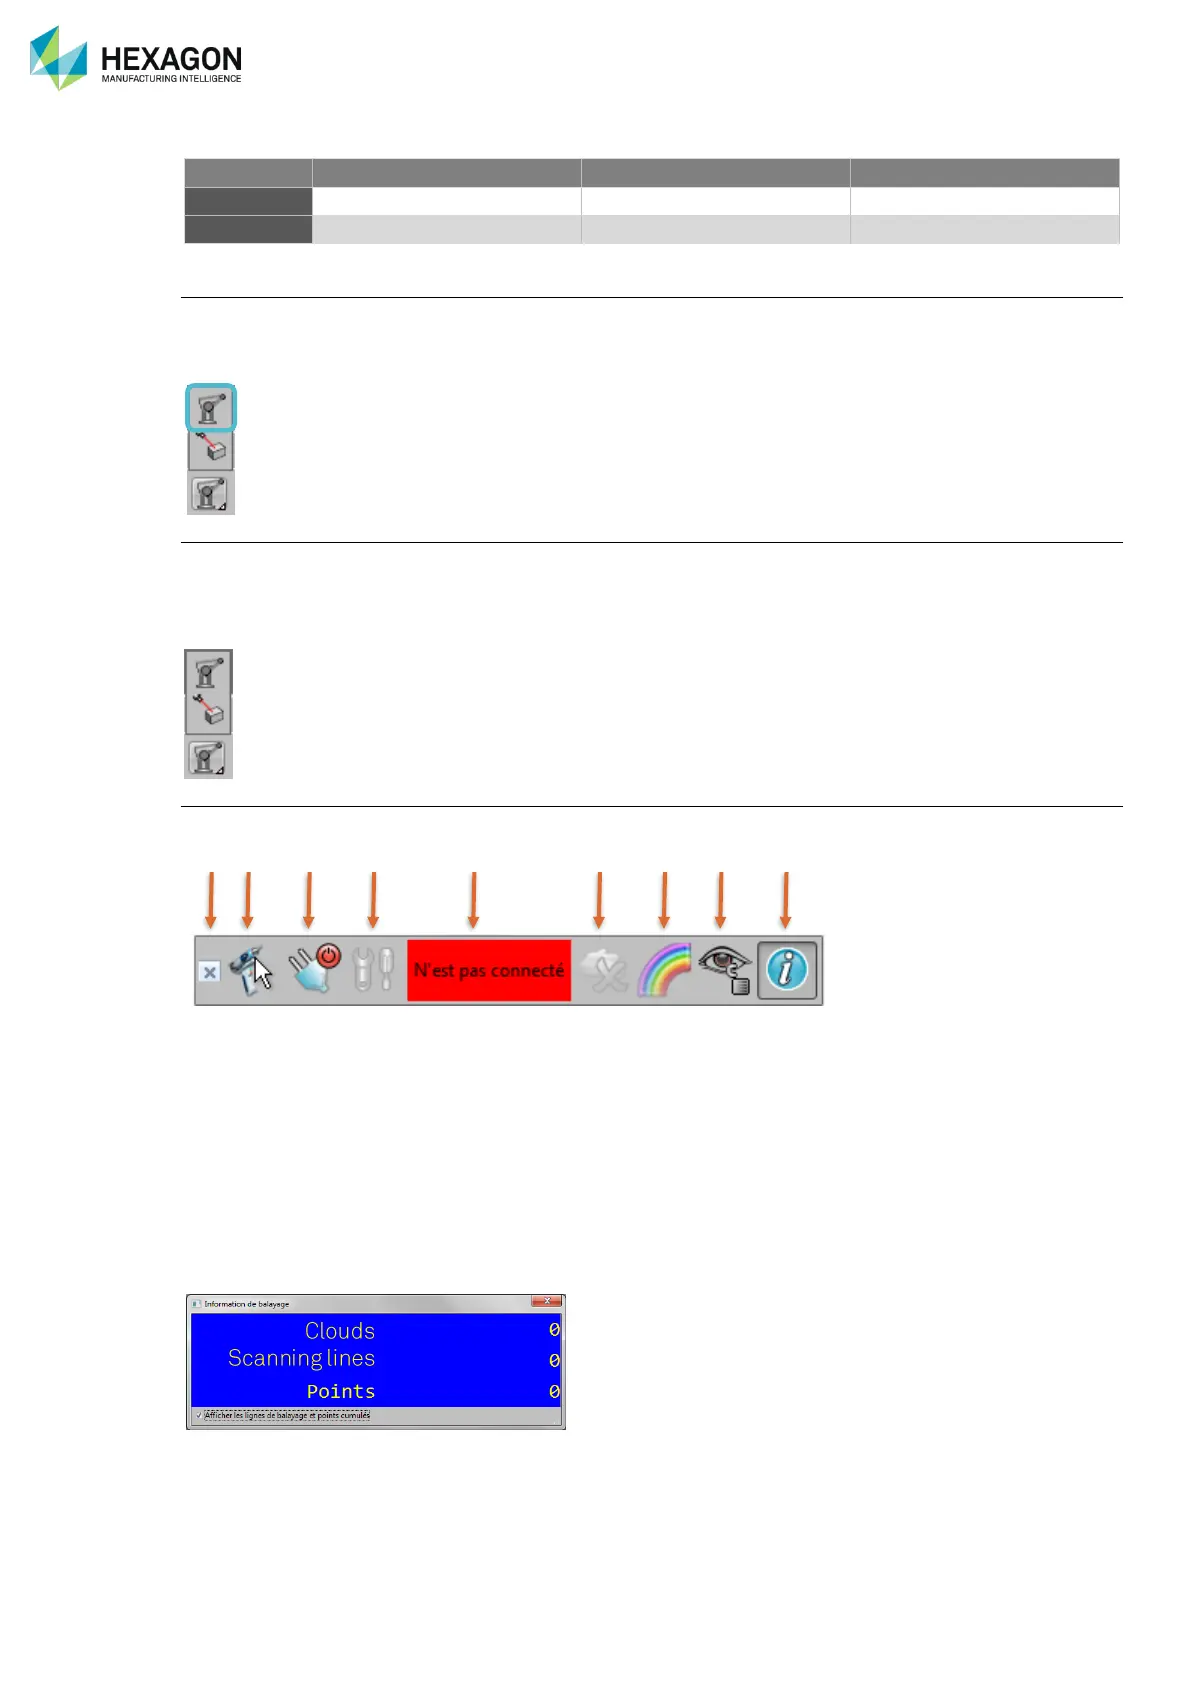
The status window for the scan Shows the stripes information in real time:
Number of clouds
Total amount of stripes
Total amount of scan points for the current cloud
 Loading...