ELECTRIC
ST
ARTER
STARTER/CHARGING RELAY
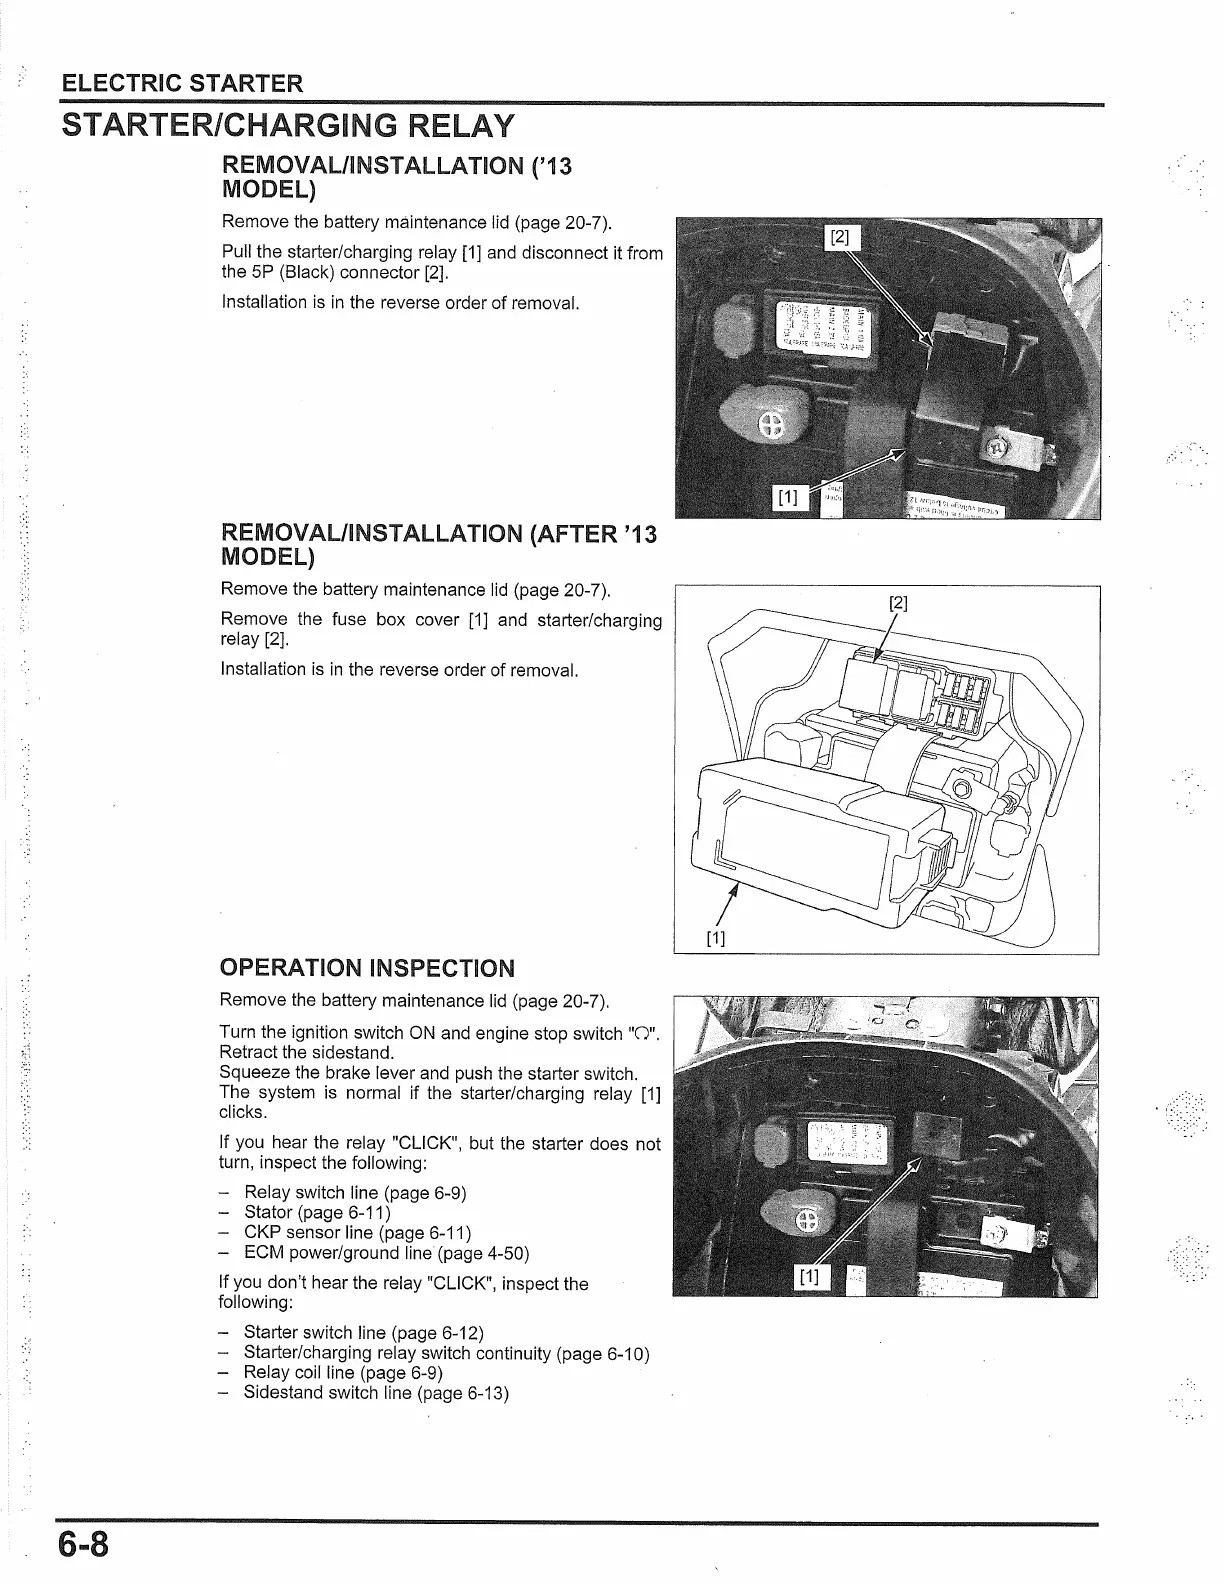
REMOVAL/INSTALLATION ('13
MODEL)
6-8
Remove the battery maintenance lid (page 20-7).
Pull the starter/charging relay
[1]
and disconnect it from
the
SP
(Black) connector
[2].
Installation
is
in
the reverse order
of
removal.
REMOVAL/INSTALLATION (AFTER '13
MODEL)
Remove the battery maintenance lid (page 20-7).
Remove the fuse box cover
[1]
and starter/charging
relay [2].
Installation
is
in
the reverse order of removal.
OPERATION INSPECTION
Remove the battery maintenance lid (page 20-7).
Turn the ignition switch
ON
and engine stop switch
"0".
Retract the sidestand.
Squeeze the brake lever and push the starter switch.
The system
is
normal if the starter/charging relay [1]
clicks.
If you hear the relay "CLICK", but the starter does not
turn, inspect the following:
- Relay switch line (page 6-9)
- Stator (page 6-11)
CKP sensor line (page 6-11)
ECM power/ground line (page 4-50)
If you don't hear the relay "CLICK", inspect the
following:
- Starter switch line (page 6-12)
- Starter/charging relay switch continuity (page
6-1
O)
- Relay coil line (page 6-9)
- Sidestand switch line (page 6-13)
 Loading...