Configure Switching Information
187
M4100 Series Managed Switch
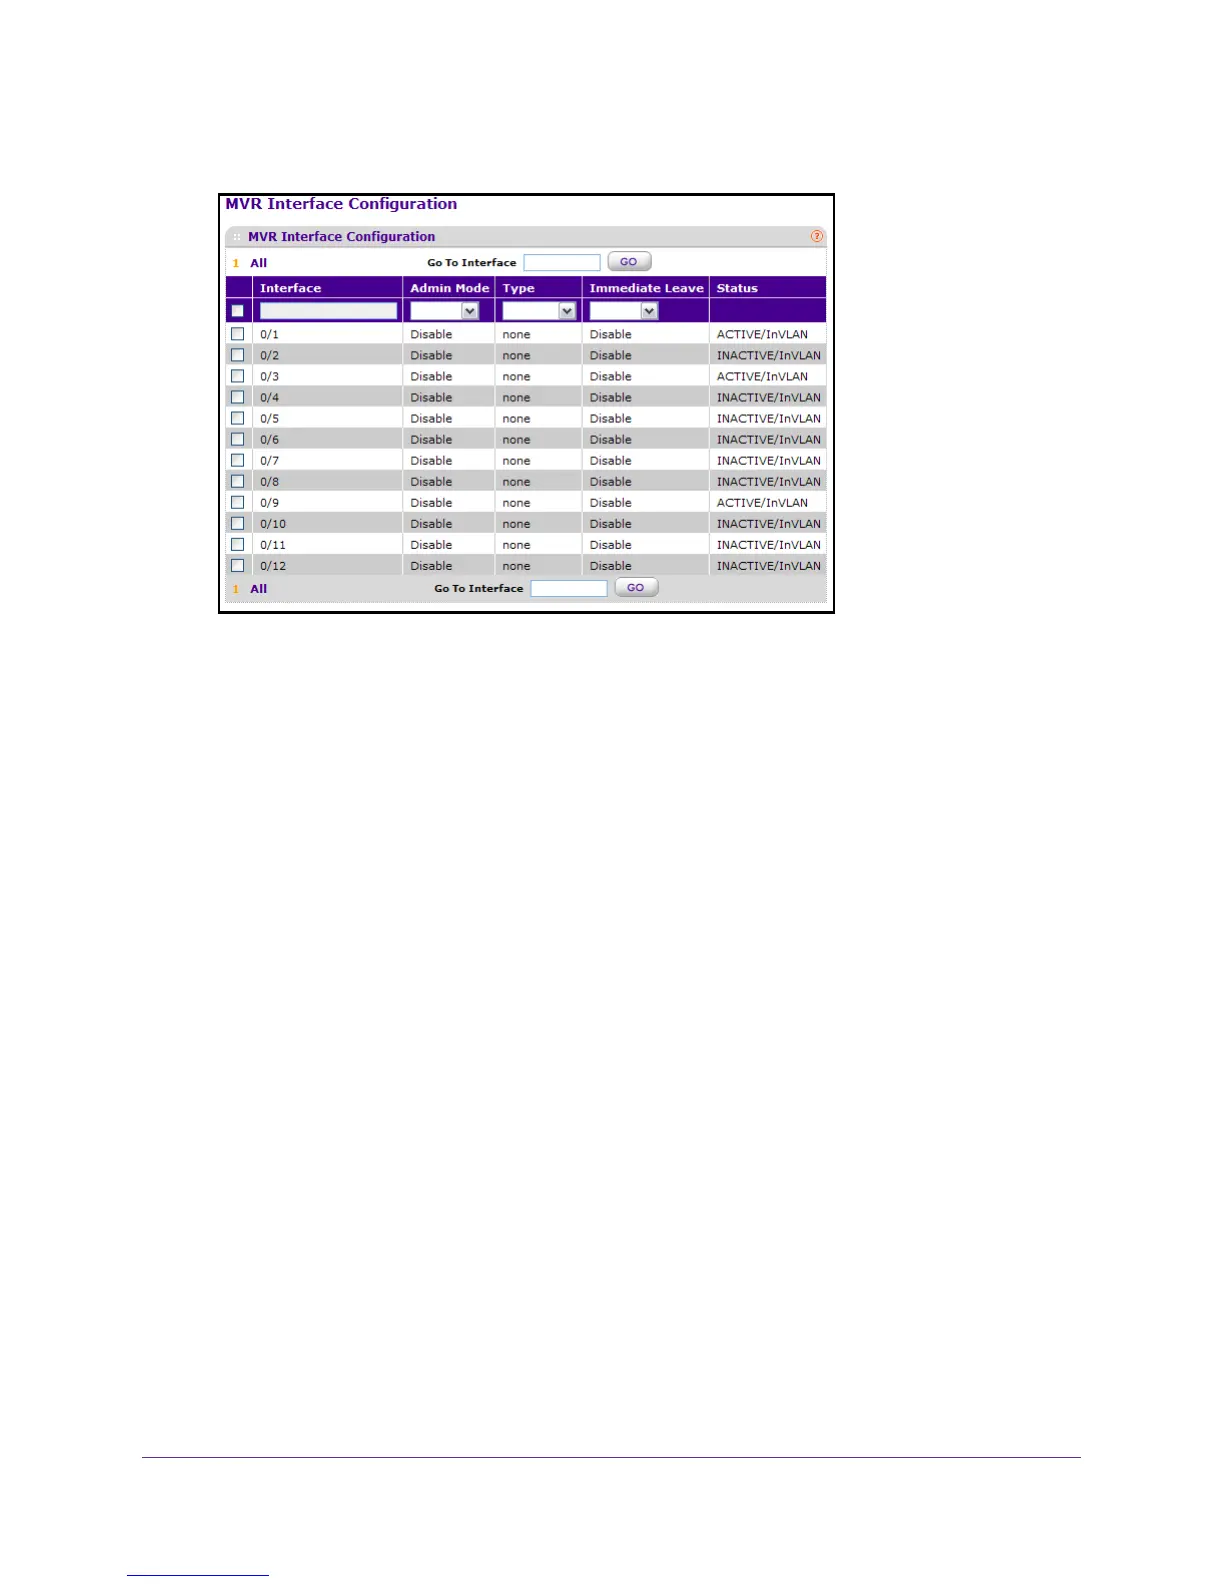
7. Select Switching > MVR > Advanced > MVR Interface Configuration.
The Status field displays the status for each port.
8. Select Interface check boxes for the interface.
9. In the Admin Mode list, select Enable or Disable.
This enables or disables MVR on a port. The factory default is Disable.
10. In the T
ype list, select receiver or sourcet.
This sets the MVR port as a receiver or source port. The default port type is none.
11. In the Immediate Leave list, select Enable or Disable.
This sets the Immediate Leave feature of MVR on a port. The factory default is Disable.
12. Click the REFRESH button to refresh the screen to show the latest MVR interface
configuration.
13. Click the APPL
Y button.
The updated configuration is sent to the switch. Configuration changes take effect
immediately
.
Configure MVR Group Membership
To configure MVR group membership:
1. Prepare your computer with a static IP address in the 169.254.100.0 subnet, for
example, 169.254.100.201.
2. Connect an Ethernet cable from an Ethernet port on your computer to an Ethernet port on
the switch.
3. Launch a web browser
.
4. Enter the IP address of the switch in the web browser address field.
 Loading...