Configure Quality of Service
255
M4100 Series Managed Switch
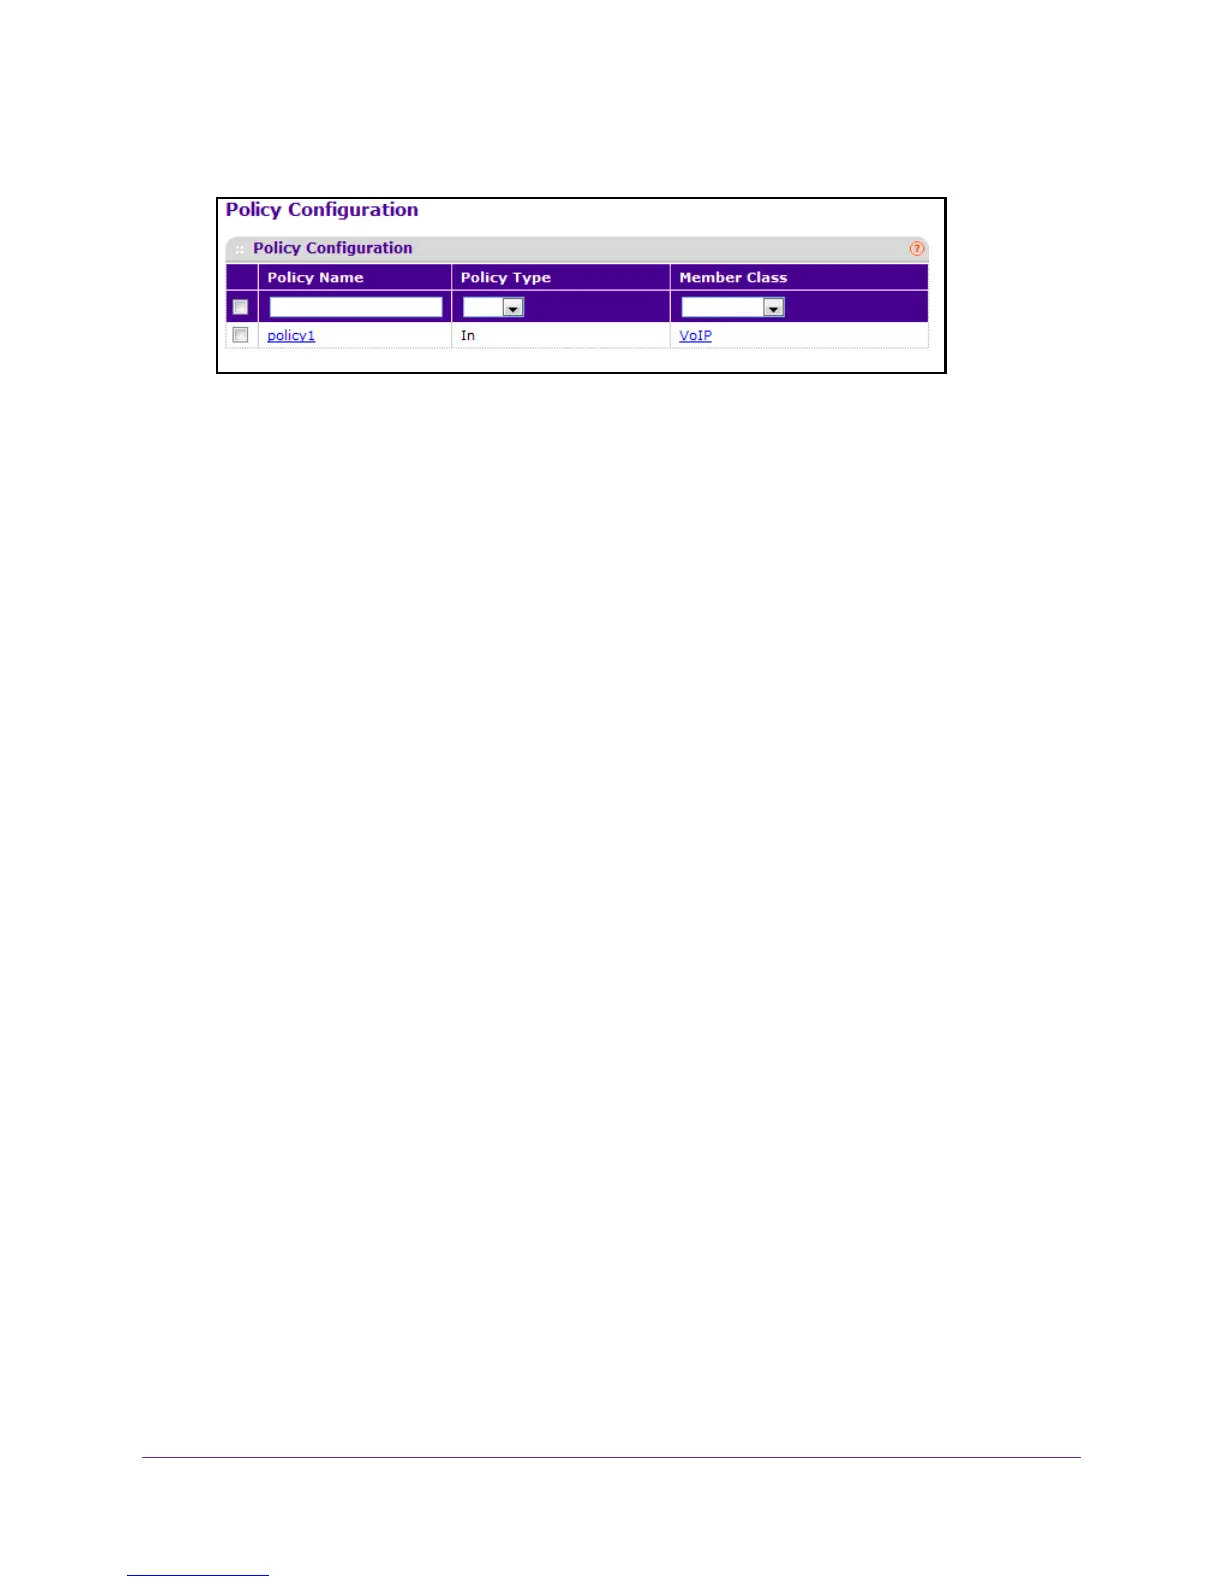
7. Select QoS DiffServ Advanced Policy Configuration.
8. Use Policy Name to uniquely identify a policy using a case-sensitive alphanumeric string
from 1 to 31 characters.
9. Select a Member Class.
10. The Member Class list includes all Dif
fServ classes currently defined as members of the
specified policy. This list is automatically updated as a new class is added to or removed
from the policy. You can select an item in this list only when an existing policy class instance
is to be removed. After you remove the policy class instance this becomes a
nonconfigurable field.
11. Use the Policy T
ype to select the type specific to inbound traffic direction.
12. T
o add a new policy to the switch, click the ADD button.
13. T
o delete the currently selected policy from the switch, click the DELETE button.
Configure DiffServ Policy Attributes
To configure the DiffServ policy attributes:
1. Prepare your computer with a static IP address in the 169.254.100.0 subnet, for
example, 169.254.100.201.
2. Connect an Ethernet cable from an Ethernet port on your computer to an Ethernet port on
the switch.
3. Launch a web browser
.
4. Enter the IP address of the switch in the web browser address field.
The default IP address of the switch is 169.254.100.100.
The Login screen displays.
5. Enter the user name and password.
The default admin user name is admin and the default admin password is blank, that is,
do not enter a password.
6. Click the Login button.
The web management interface menu displays.
7. Select QoS
DiffServ Advanced Policy Class.
The Policy Class Configuration screen displays.
8. Click the name of the policy
.
 Loading...