Manage Device Security
332
M4100 Series Managed Switch
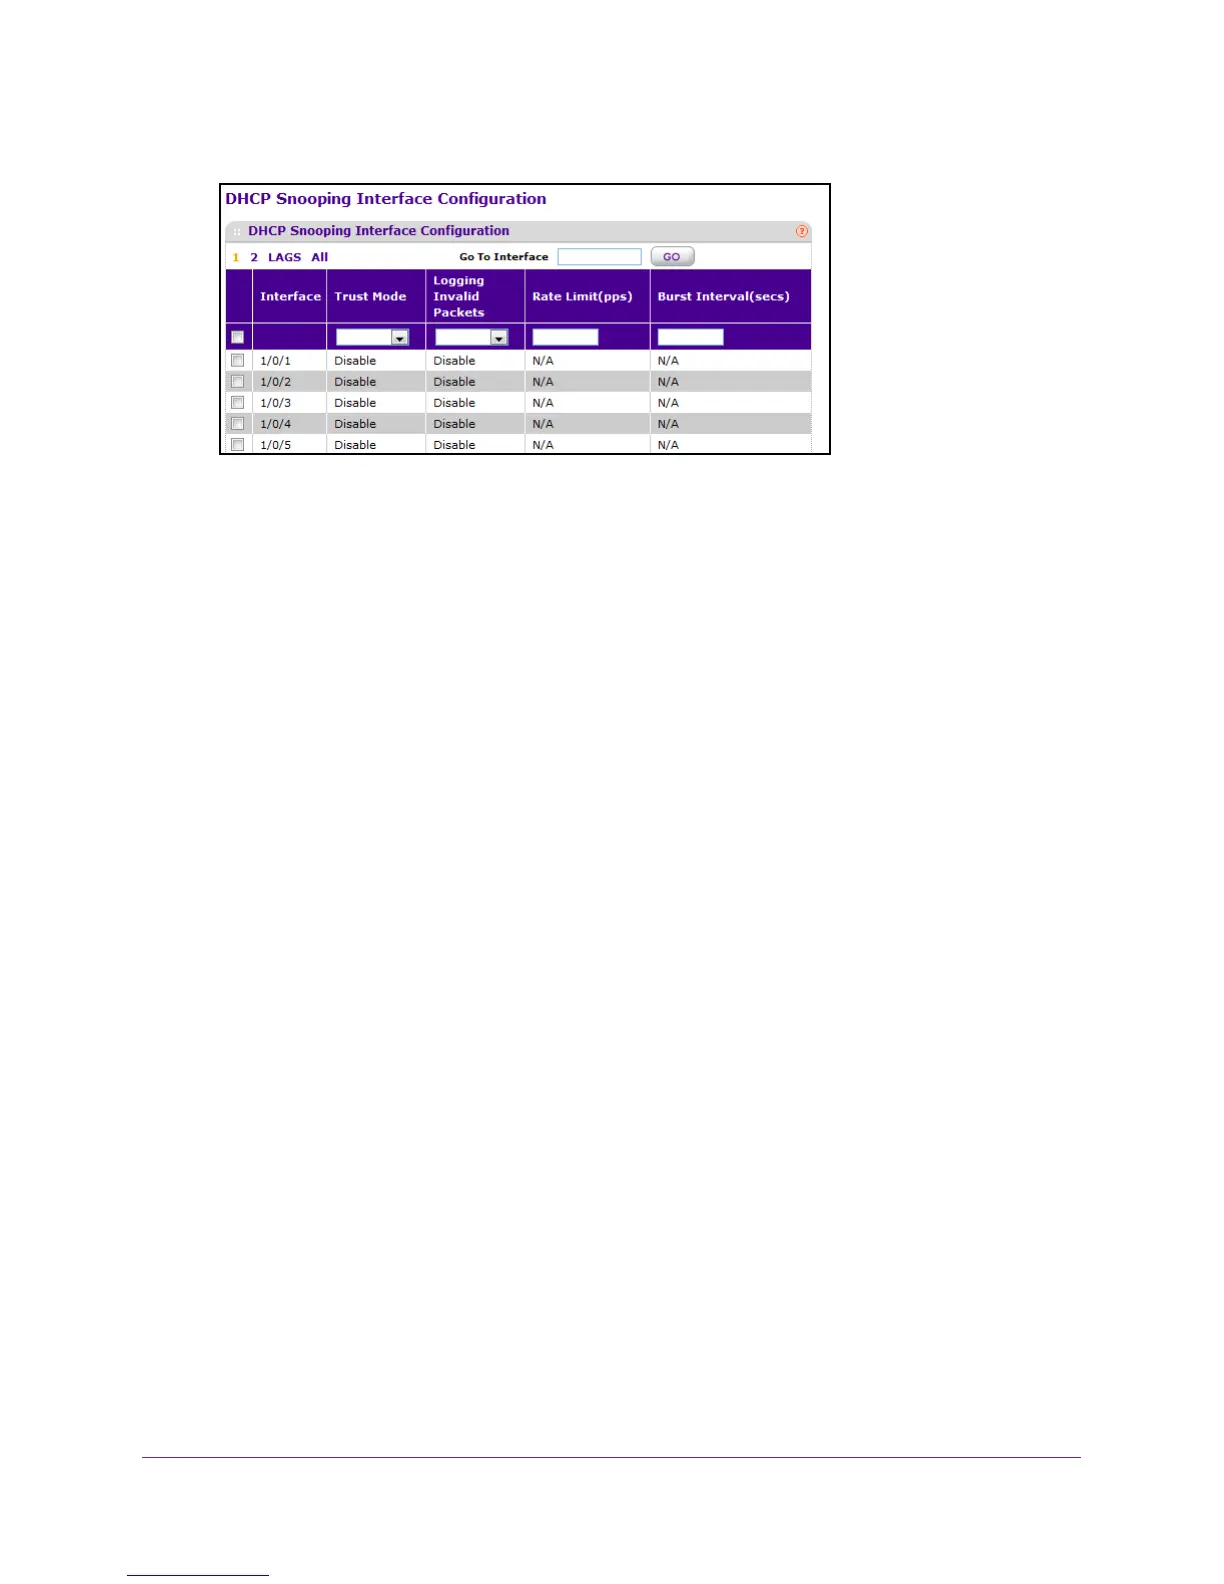
8. Select the interface for which data is to be configured.
9. In the T
rust Mode menu, select Enable or Disable.
If trust mode is enabled, the DHCP snooping application considers the port as trusted.
The factory default is disabled.
10. In the Logging Invalid Packets menu select Enable or Disable.
If this feature is enabled, DHCP snooping application logs invalid packets on this
interface.
The factory default is disabled.
11. In the Rate Limit (pps) field, specify rate limit value for DHCP snooping purpose.
If the incoming rate of DHCP packets exceeds this value for consecutive burst interval
seconds, the port is shut down. If this value is N/A then burst interval has no meaning,
hence it is disabled.
The default value is N/A. It can be set to –1, which means N/A. The
range of Rate Limit is 0 to 300.
12. In the Burst Interval (secs) field, specify the burst interval value for rate limiting purpose on
this interface.
If the rate limit is N/A, the burst interval has no meaning and it is N/A. The default value is
N/A. It can be set to value -1, which means N/A.
The range of Burst Interval is 1 to 15).
Configure DHCP Snooping Static Binding
To configure DHCP snooping static binding:
1. Prepare your computer with a static IP address in the 169.254.100.0 subnet, for
example, 169.254.100.201.
2. Connect an Ethernet cable from an Ethernet port on your computer to an Ethernet port on
the switch.
3. Launch a web browser
.
4. Enter the IP address of the switch in the web browser address field.
The default IP address of the switch is 169.254.100.100.
The Login screen displays.
5. Enter the user name and password.
 Loading...