2
BASIC OPERATION
2-12
Transmitting
D TransmittingonanAmateurband
Before transmitting, monitor the operating fre-
quency to make sure transmitting won’t cause
interference to other stations on the same fre-
quency.
CAUTION: Transmitting without an antenna may
damage the transceiver.
You can transmit on only the 144 MHz and 430 MHz
bands.
Set the operating frequency. (p. 2-11) q
Touch the Power icon. w
Opens the output power level setting window.
Touch the transmit output power level. e
Select a level to suit your operating requirements.
In the Dualwatch mode, “H” indicates high power, “M”
indicates mid power and “L” indicates low power.
Hold down [PTT] to transmit, and speak at your nor- r
mal voice level.
• The transmit LED lights red while transmitting.
• The S/RF meter displays the output power level.
Release [PTT] to receive. t
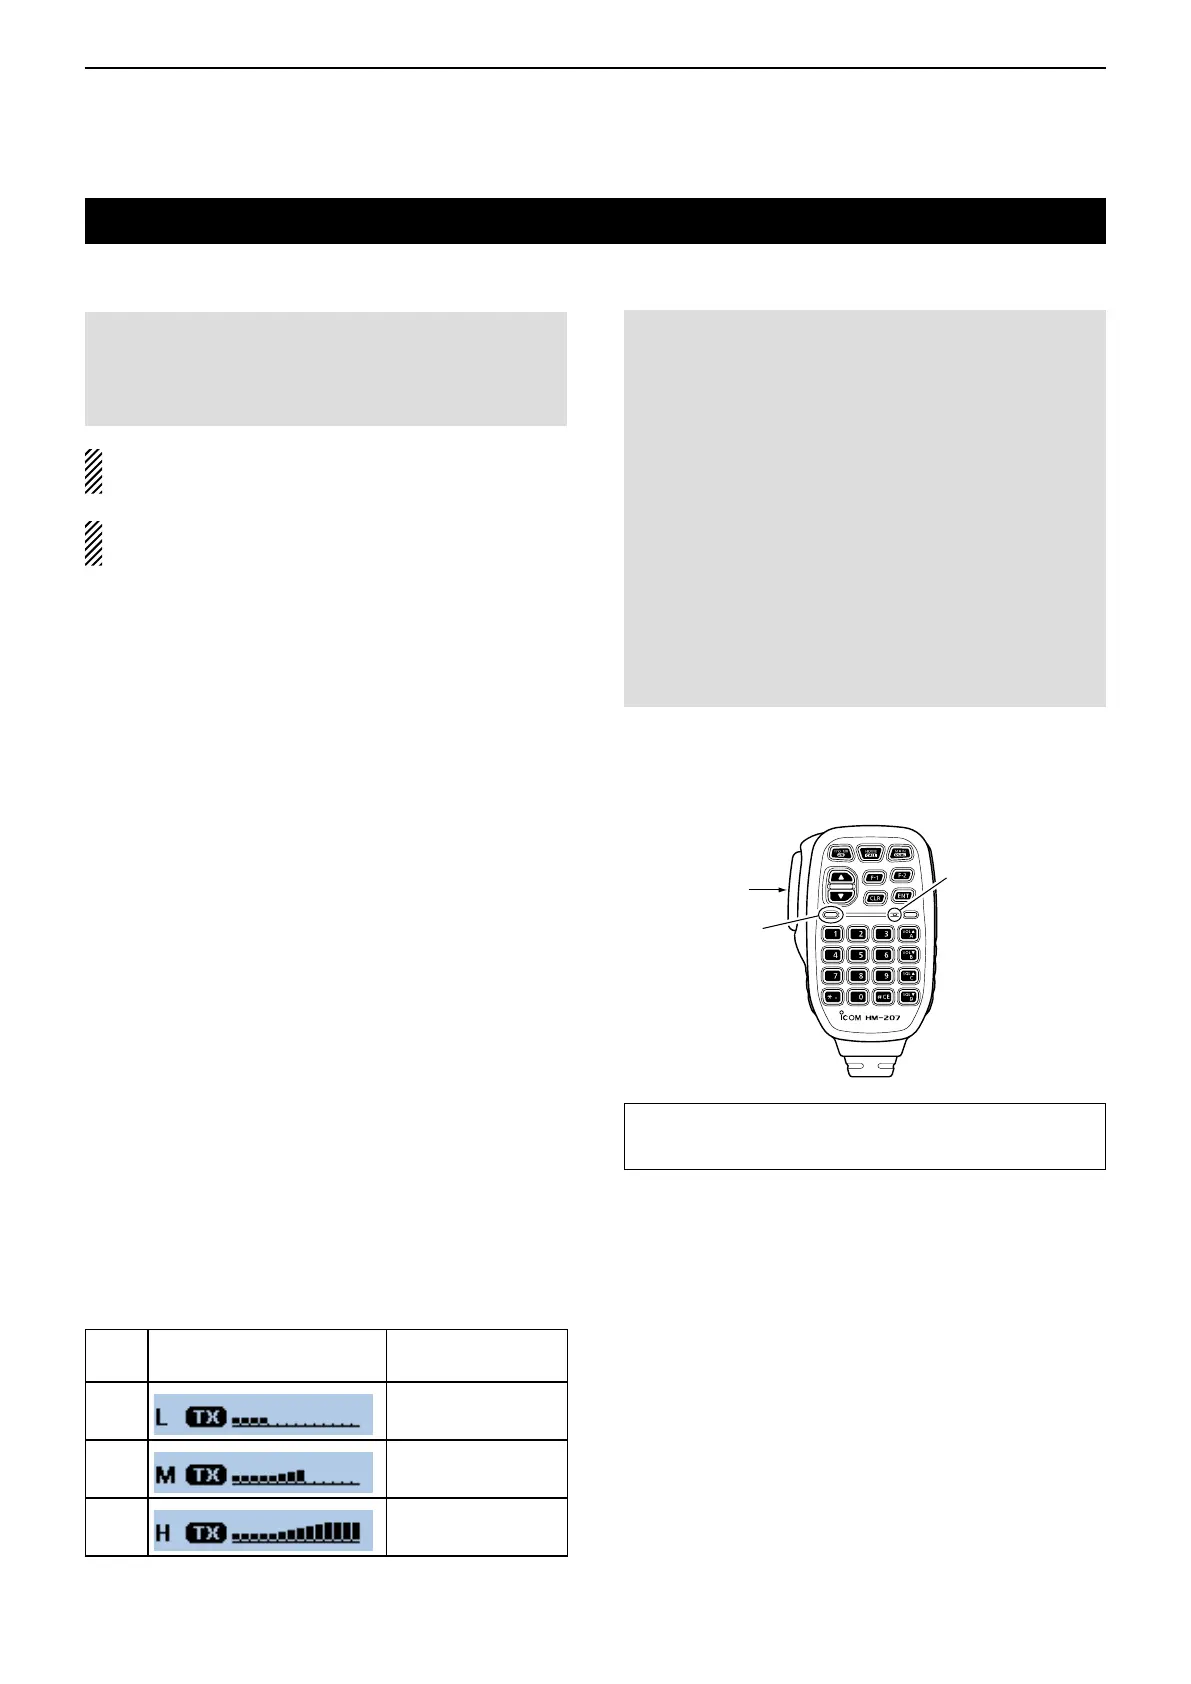
Mic element
[PTT]
Transmit LED
DO NOT hold the microphone too close to your mouth
or speak loudly. This may distort your speech.
The transmit power level and the RF meter displays are
shown below.
RF meter
(TX display)
Power level (at TX)
LOW
5 W
MID
15 W
HIGH
25/50 W*
*Depending on the transceiver’s version.
D AbouttransmitpowerlevelsandRFmeter
NOTE:
• If the MAIN band frequency is a multiple of the SUB
band frequency, you might receive a very small
signal on the SUB band when you transmit. This is
not a defect, but can occur naturally with the inter-
relationship between the fundamental and multiple
frequencies.
Example:
MAIN band frequency: 144.200 MHz
SUB band frequency: 432.600 MHz
• The readability of your transmitted signal maybe re-
duced because audio from the SUB band may be
picked up by your microphone when you transmit.
If this occurs, reduce the AF volume level on the
SUB band.
Settingsforthetransmission D
 Loading...