GP I/O and Foot Switches
256
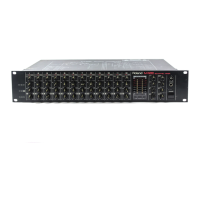
TAP DELAY
This lets you input the delay time for a specied FX by tapping.
TARGET
This selects the FX number.
5 FX 1A - FX 8B
DETECT
You select from among the following as the
trigger to execute the function.
5 NEG EDGE
5 POS EDGE
CLEAR This clears the assigned function.
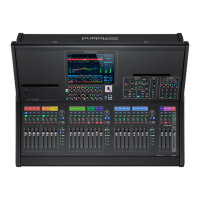
AUDIO FOLLOW VIDEO
This operates the specied fader to the specied value.
TARGET
This displays the channel where AUDIO FOLLOW
VIDEO is applied.
Tap this, then select the fader to apply the
function to.
0“Selecting the Fader for Applying a Function”
(p. 257)
DETECT
You select from among the following as the
trigger to execute the function.
5 NEG PERIOD
5 POS PERIOD
CLEAR This clears the assigned function.
ON LEVEL
“On” level
This moves the fader to the “on” level when the
trigger is input.
OFF LEVEL
“O” level
This moves the fader to the “o” level when the
trigger is not input.
FADE IN TIME
This sets the time until the “on” level is reached.
5 0 - 4000ms
FADE OUT TIME
This sets the time until the “o” level is reached.
5 0 - 4000ms
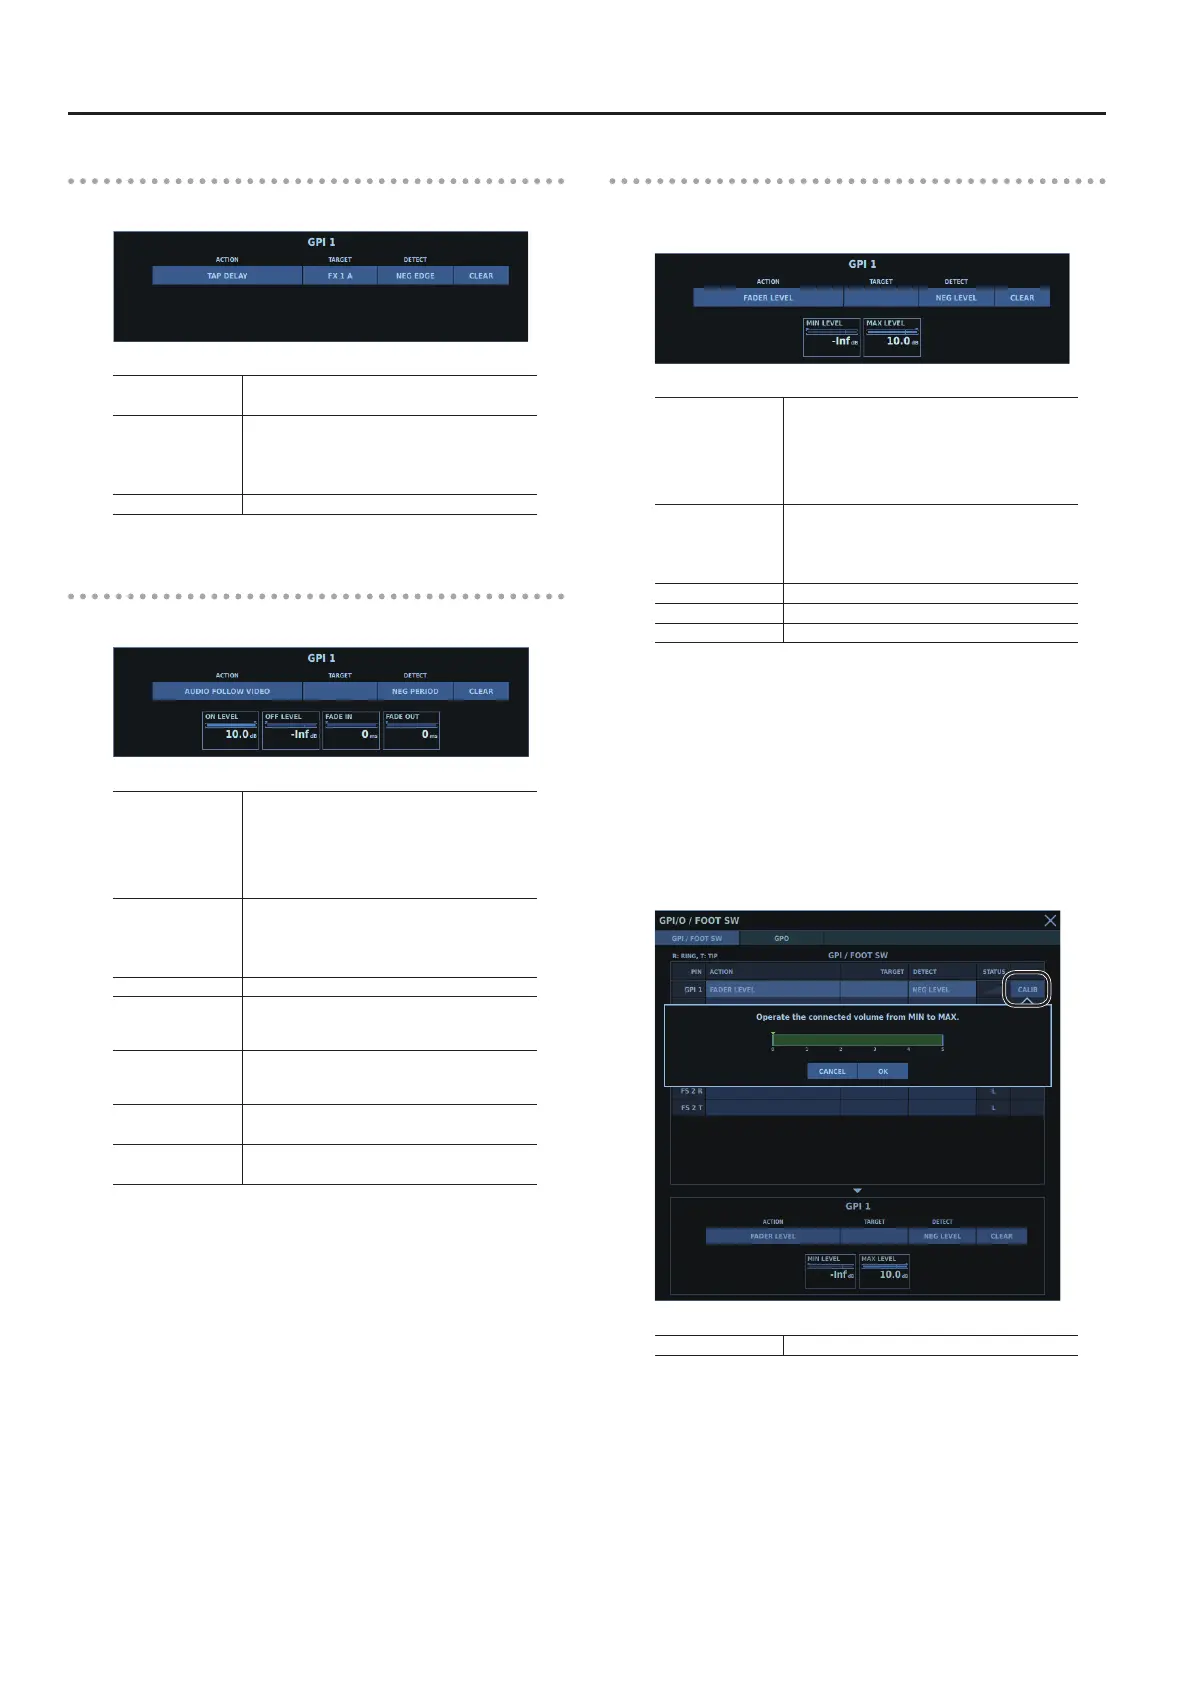
FADER LEVEL
This operates the specied fader.
This function is assignable only to GPI connectors.
TARGET
This displays the channel where FADER LEVEL is
applied.
Tap this, then select the fader to apply the
function to.
0“Selecting the Fader for Applying a Function”
(p. 257)
DETECT
You select from among the following as the
trigger to execute the function.
5 NEG LEVEL
5 POS LEVEL
CLEAR This clears the assigned function.
MAX LEVEL This sets the maximum value for the fader.
MIN LEVEL This sets the minimum value for the fader.
Using <ACTION> to specify FADER LEVEL changes the displayed GPI
/ FOOT SW tab and display <CALIB>.
GPI Connector Calibration
This calibrates GPI connectors and sets minimum and maximum
values.
1. Use <ACTION> to specify FADER LEVEL.
2. Tap <CALIB> for the GPI connector to calibrate.
A popover for performing calibration appears.
CANCEL This cancels calibration and exits the popover.
3. This operates the volume control connected to the GPI
connector from the minimum value to the maximum
value.
4. Tap <OK>.
This sets the minimum value measure by the M-5000 to <MIN
LEVEL> and the maximum measured value to <MAX LEVEL>.
 Loading...