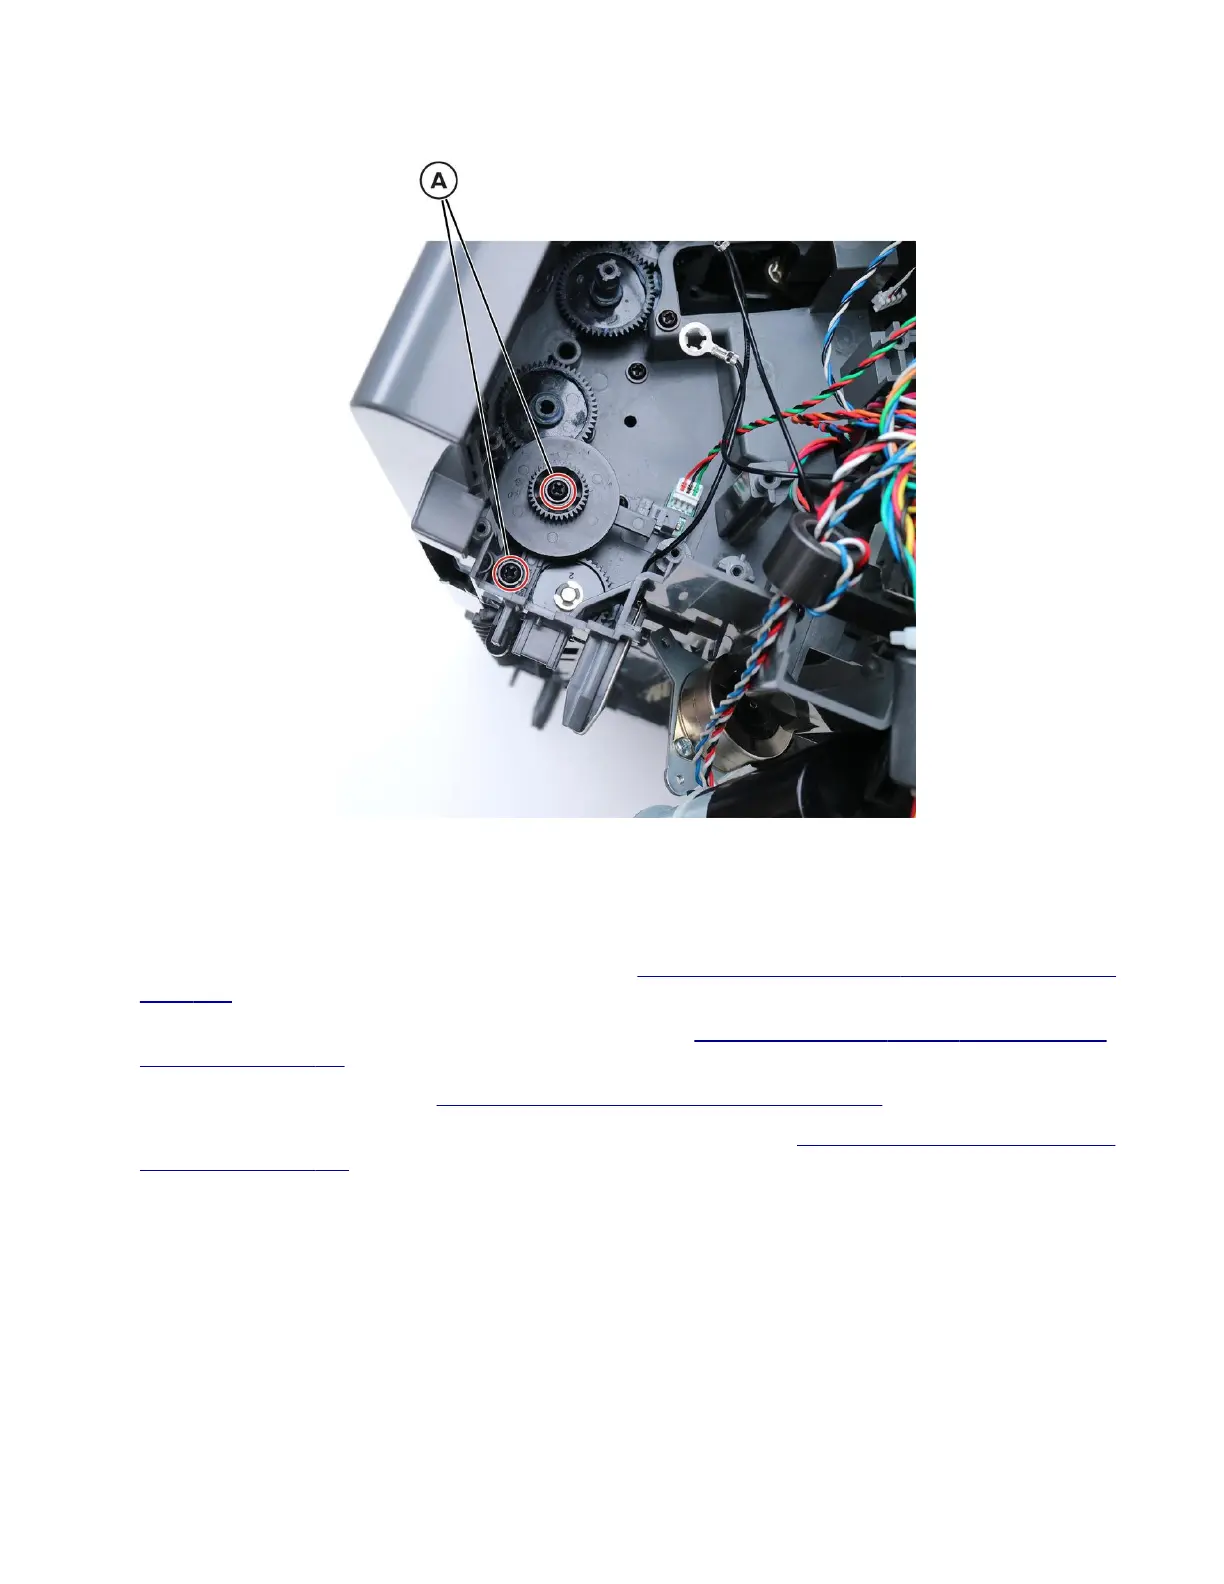
4 Remove the two screws (A).
5 Remove the diverter plunger assembly.
SHPF drive gear assembly removal
1 Remove the staple, hole punch finisher left cover. See “Staple, hole punch finisher left cover removal” on
page 699.
2 Remove the staple, hole punch finisher interface cable. See “Staple, hole punch finisher interface cable
removal” on page 711.
3 Release the motor bracket. See “Motor (SHPF transport) removal” on page 713.
4 Remove the staple, hole punch finisher diverter plunger assembly. See “SHPF diverter plunger assembly
removal” on page 715.
4064
Parts removal
716
 Loading...