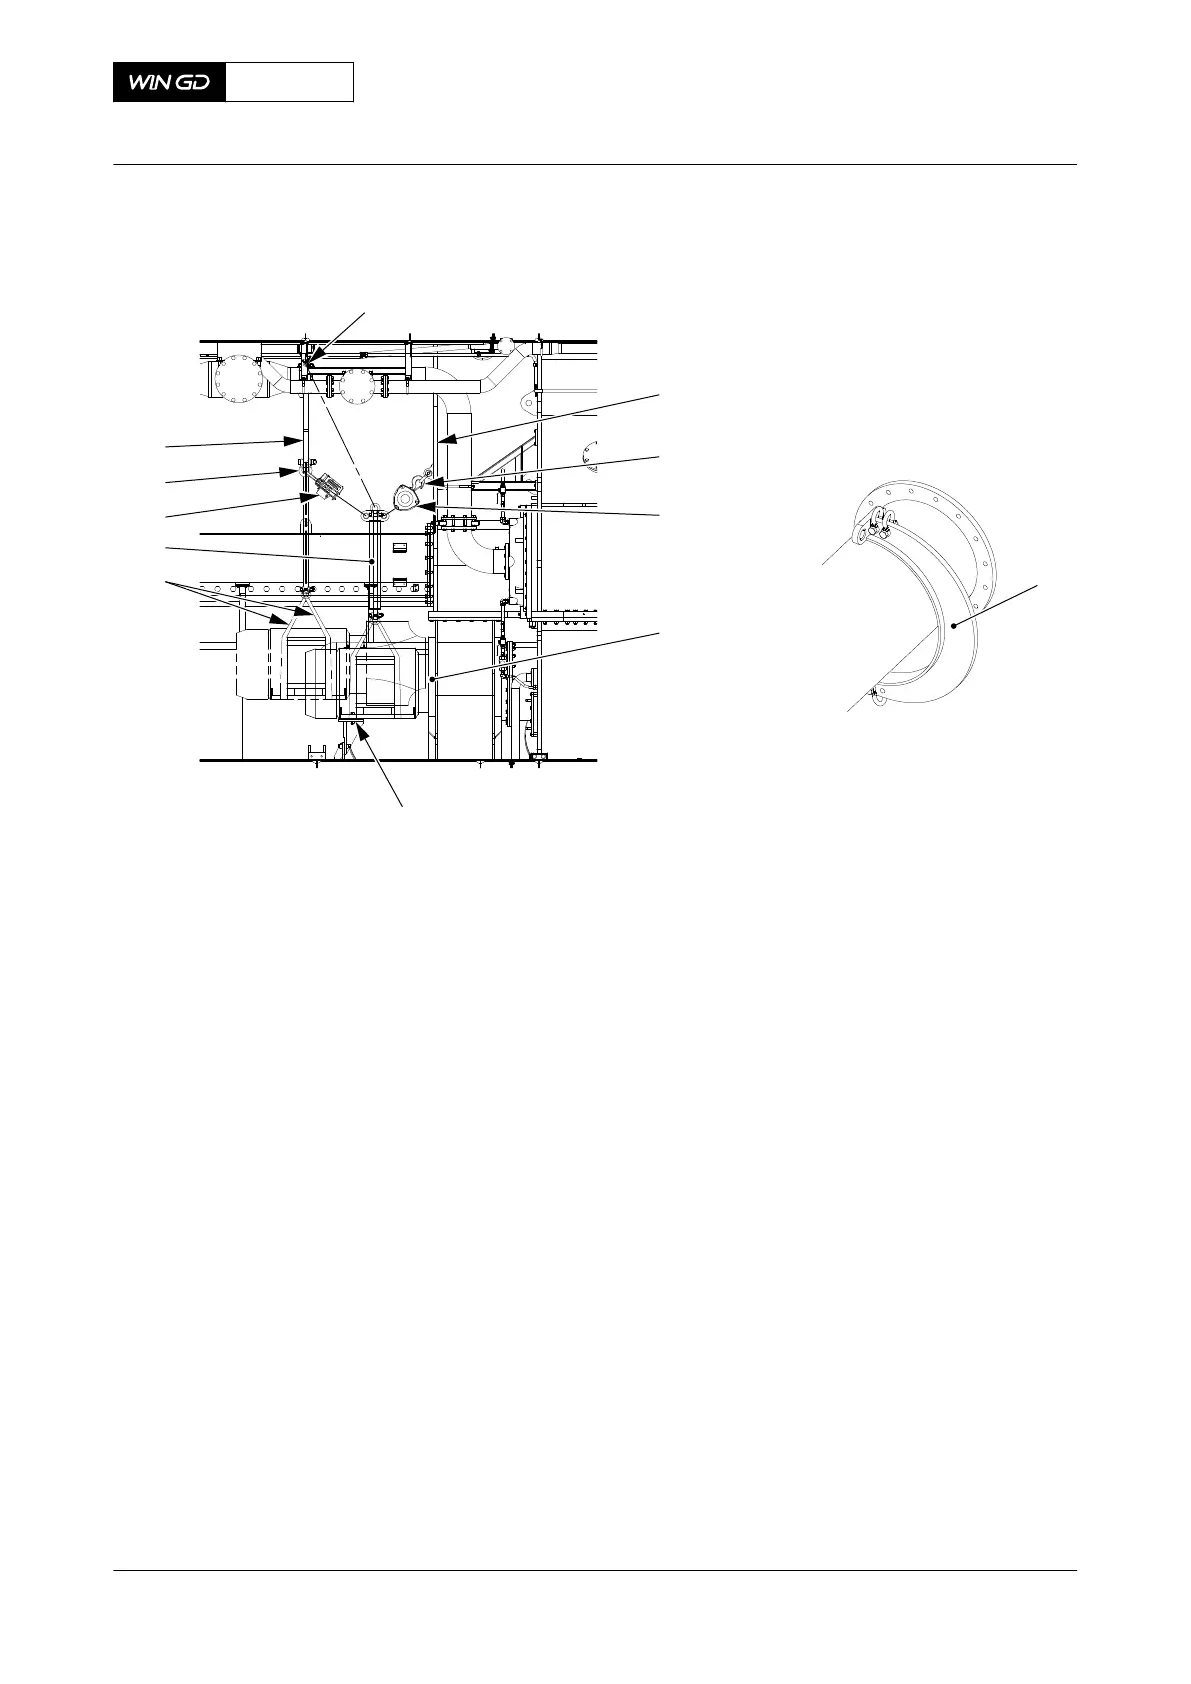
Fig 11-11 Electric motor (free end) - install
001
002
003
004
005
006
007
008
009
010
011
008
00867
2 Electric motor - driving end
Do Step 2.1 to Step 2.22 for the electric motor (006, Figure 11-12) at the driving end:
2.1 Attach the two slings (005) to the electric motor (006).
2.2 Attach the spur-geared chain block (004) to the trolley (003) and the two slings
(005).
2.3 Attach the shackle (001) to the lug.
2.4 Attach the spur-geared chain block (002) to the shackle (001).
2.5 Attach the shackle (008) to the strut as shown.
2.6 Attach the spur-geared chain block (007) to the shackle (008).
2.7 Attach the shackle (010) to the lug.
2.8 Attach the spur-geared chain block (009) to the shackle (010).
2.9 Operate the chain block (004) to lift the electric motor (006).
2.10 Move carefully the trolley (003) and electric motor (006) into position.
2.11 Attach the chain blocks (002, 009) to the two slings (005).
2.12 Operate the chain blocks (002, 004, 009) to move the electric motor (006) to the
middle position.
2.13 Carefully remove the chain block (004).
2.14 Attach the chain block (007) to the two slings (005).
2.15 Operate the chain block (007) to hold the weight of the electric motor (006).
2.16 Carefully remove the chain blocks (002, 009) from the two slings (005).
X72DF
AA00-6545-00AAA-720A-A
Maintenance Manual Auxiliary blower - install
Winterthur Gas & Diesel Ltd.
- 643 - Issue 002 2020-10