10/00
4-63
Phaser 790/DocuColor 2006
REP 8.5
Repairs and Adjustments
Initial Issue
REP 8.5 Feed Solenoid
Parts List on PL 3.1
Removal
WARNING
To avoid personal injury or shock, do not perform repair activities with the power switch
on or electrical power applied to the machine.
1. Switch off the machine power and disconnect the machine Power Cord.
2. Remove the Rear Cover. (REP 14.6)
WARNING
Use extreme care when working in the vicinity of the Option Bracket. The edges of the
Option Bracket may be very sharp and could cause serious injury.
CAUTION
The Option Bracket and printer are connected by a harness. Be careful not to cause damage to
the wires when performing the following.
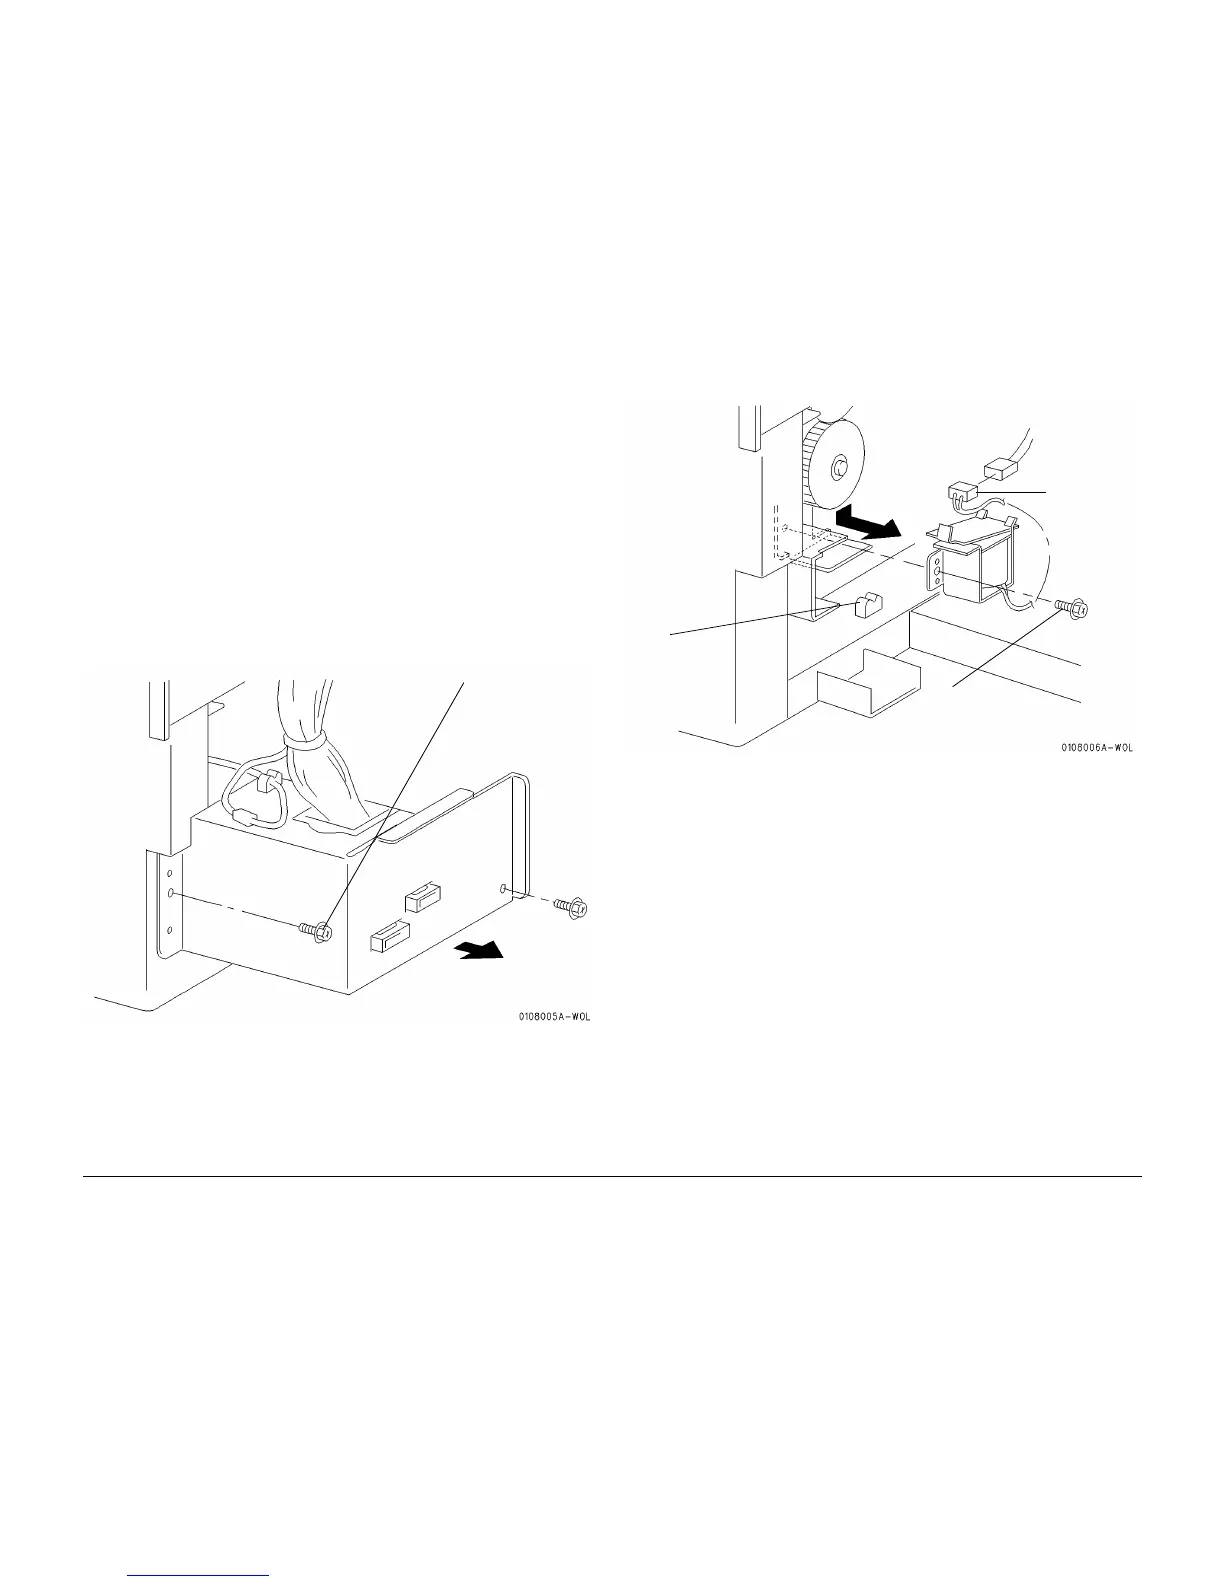
3. Remove the Option Bracket. (Figure 1)
Figure 1 Removing the Option Bracket
4. Remove the Feed Solenoid. (Figure 2)
Figure 2 Removing the Feed Solenoid
Replacement
1. Perform the procedure for removal in reverse.
2. Install the Feed Solenoid so that the teeth of the Feed Gear mesh with the armature.
1
Remove the two
screws and remove
the Option Bracket
1
Disconnect the
connector
3
Remove the screw
and Feed Solenoid
2
Release the
wires from
the clip
 Loading...


