3. REMOVE TANKS AND O–RINGS
(a) Lightly tap the radiator hose inlet (or outlet) with a soft–faced
hammer and remove the tank.
(b) Remove the O–ring.
4. (A/T)
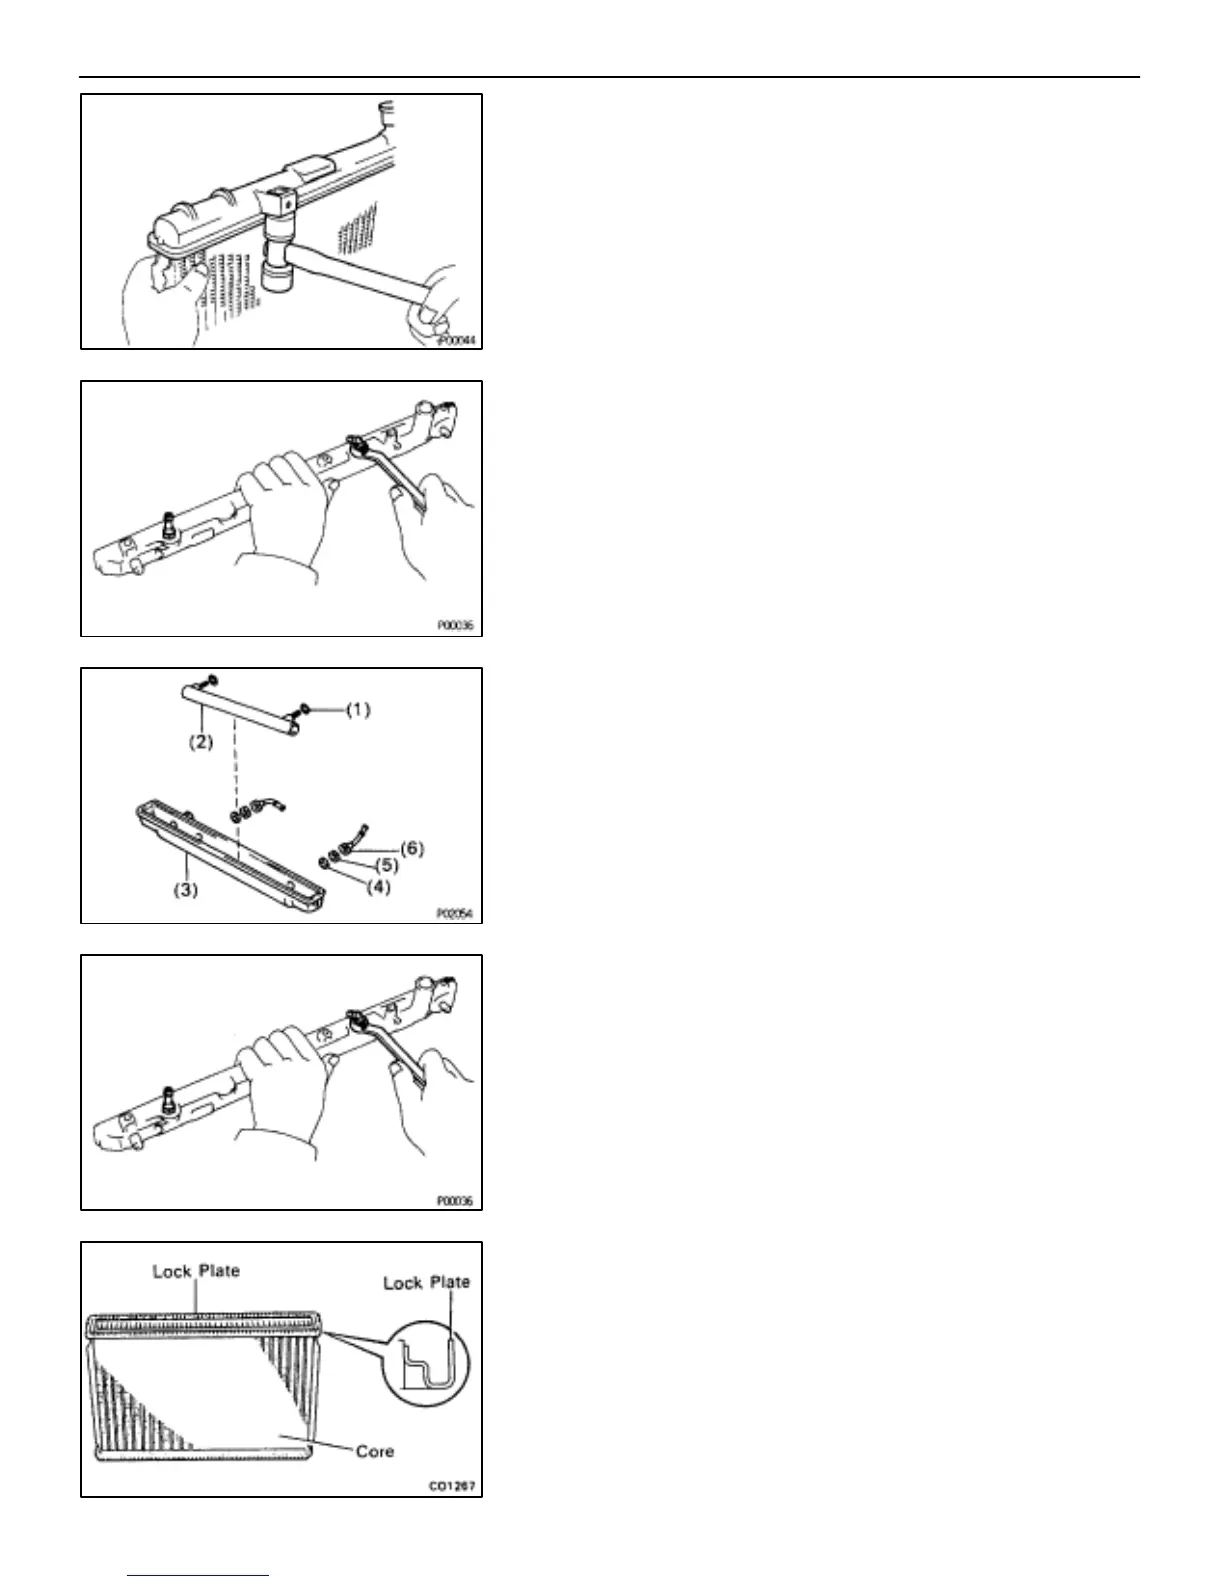
REMOVE OIL COOLER FROM LOWER TANK
(a) Remove the pipes.
HINT: Make a note of the direction to face the pipes.
(b) Remove the nuts, and plate washers.
(c) Remove the oil cooler and O–rings.
RADIATOR ASSEMBLY
EG0A5–01
(See page EG–257)
1. (A/T)
INSTALL OIL COOLANT TO LOWER TANK
(a) Clean the O–ring contact surface of the lower tank and oil
cooler.
(b) Install new O–rings (1) to the oil cooler (2).
(c) Install the oil cooler (2) with the O–rings (1) to the lower tank
(3).
(d) Install the plate washers (4), and nuts (5). Torque the nuts (5).
Torque: 8.3 N⋅m (85 kgf⋅cm, 74 ft⋅lbf)
(e) Install the pipes (6).
Torque: 22 N⋅m (220 kgf⋅cm, 16 ft⋅lbf)
HINT: Face the pipes in the same direction as before disas-
sembly.
2. INSPECT LOCK PLATE
Inspect the lock plate for damage.
HINT:
•If the sides of the lock plate groove are deformed,
reassembly of the tank will be impossible.
EG–258
–ENGINE TROUBLESHOOTING COOLING SYSTEM
 Loading...