SECTION 4
4-109
NOTE:
Latch B has two positions to secure the
spreader depending on the spread patterns re-
quired:
Position 1: Narrow spread pattern
Position 2 : Wide spread pattern
2. Move the straw guiding plate to the front (i.e. the
chopping position) with lever D.
NOTE:
The lever position is parallel to the plate posi-
tion.
3. Adjust the straw chopper chute deflector plates
according to the header width.
Loosen bolts J and adjust with levers K.
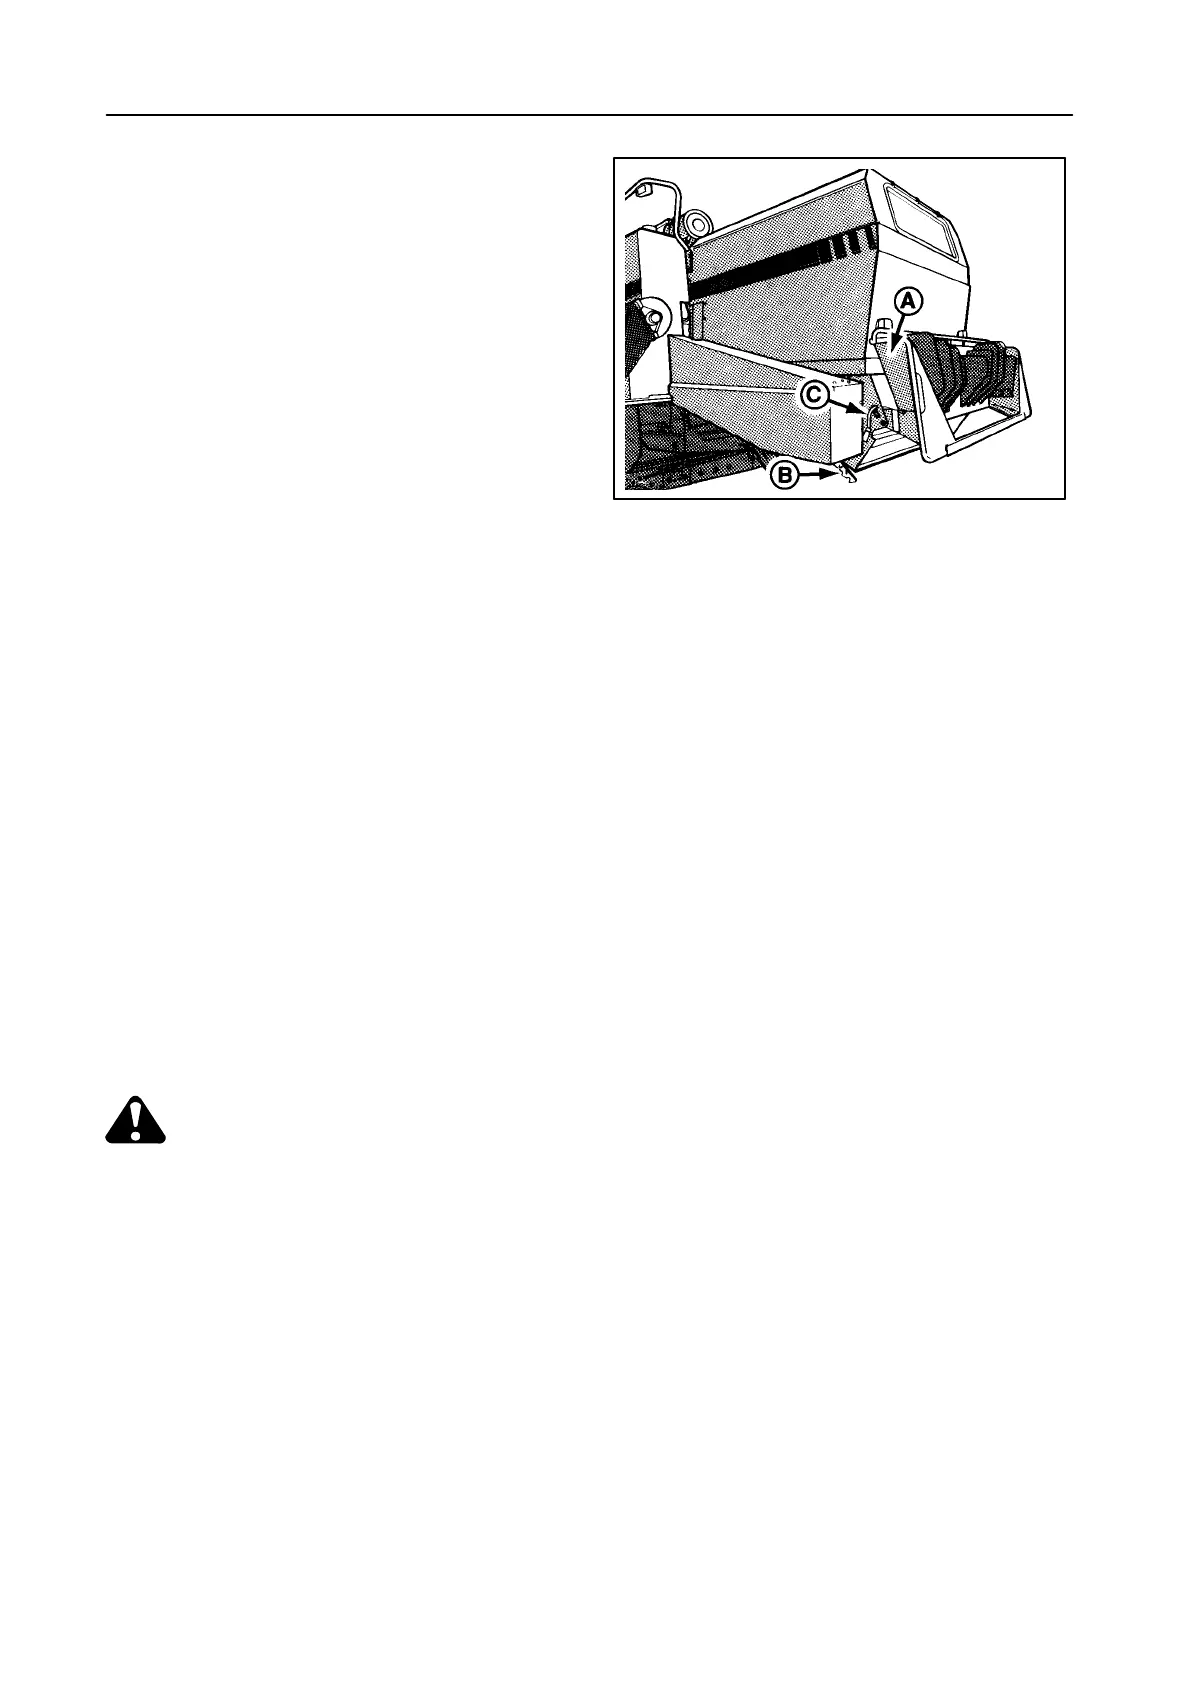
SWATH-FORMING POSITION -- Figure 162
Move the straw guiding plate to the rear with lever D.
STRAW CHOPPER OPERATION
CAUTION:
Keep yourself and other people away
from the rear of the combine when the
straw chopper is engaged and operating.
Do not use the straw chopper near the
end of the field if there is a risk that crop
or stones can be projected onto a public
road.
With the engine running at idle speed and the thresh-
ing mechanism running, engage the chopper drive
with switch 44 (Section 2, Fig.10).
30346
162
 Loading...