liD
cylinder is
WOn!
to
this limit, the
cylinder
//Illst
be replaced. Neller
rebaTe
a cylifuJer
if
the finished
rebaTe
diameter will be this dimension
or
greater.
NOTE
After hal·ing the cylinder rebaTed,
wash it thoroughly in
hal
soapy water.
This
;s
the best way to clean the
cylinder
of
all fille grit material left
from the bore job. A/ter
II'OShi/lg
the
cylinder,
rIIn
a clean white c/oth
Ihrollgh Ihe cylimJer, (he
cloth
shOll/(!
show
liD
traces
of
dirt
or
other debris.
If the rag is dirty. the
cylinder is not
clean enough
and
mllst
be
rewashed.
After the
cylinder is thoroughly clean,
dry
and
lubricate the cylinder walf with
clellll engine
oil
10
prel'em Ihe cylinder
/iller from iormillg
rlI
st.
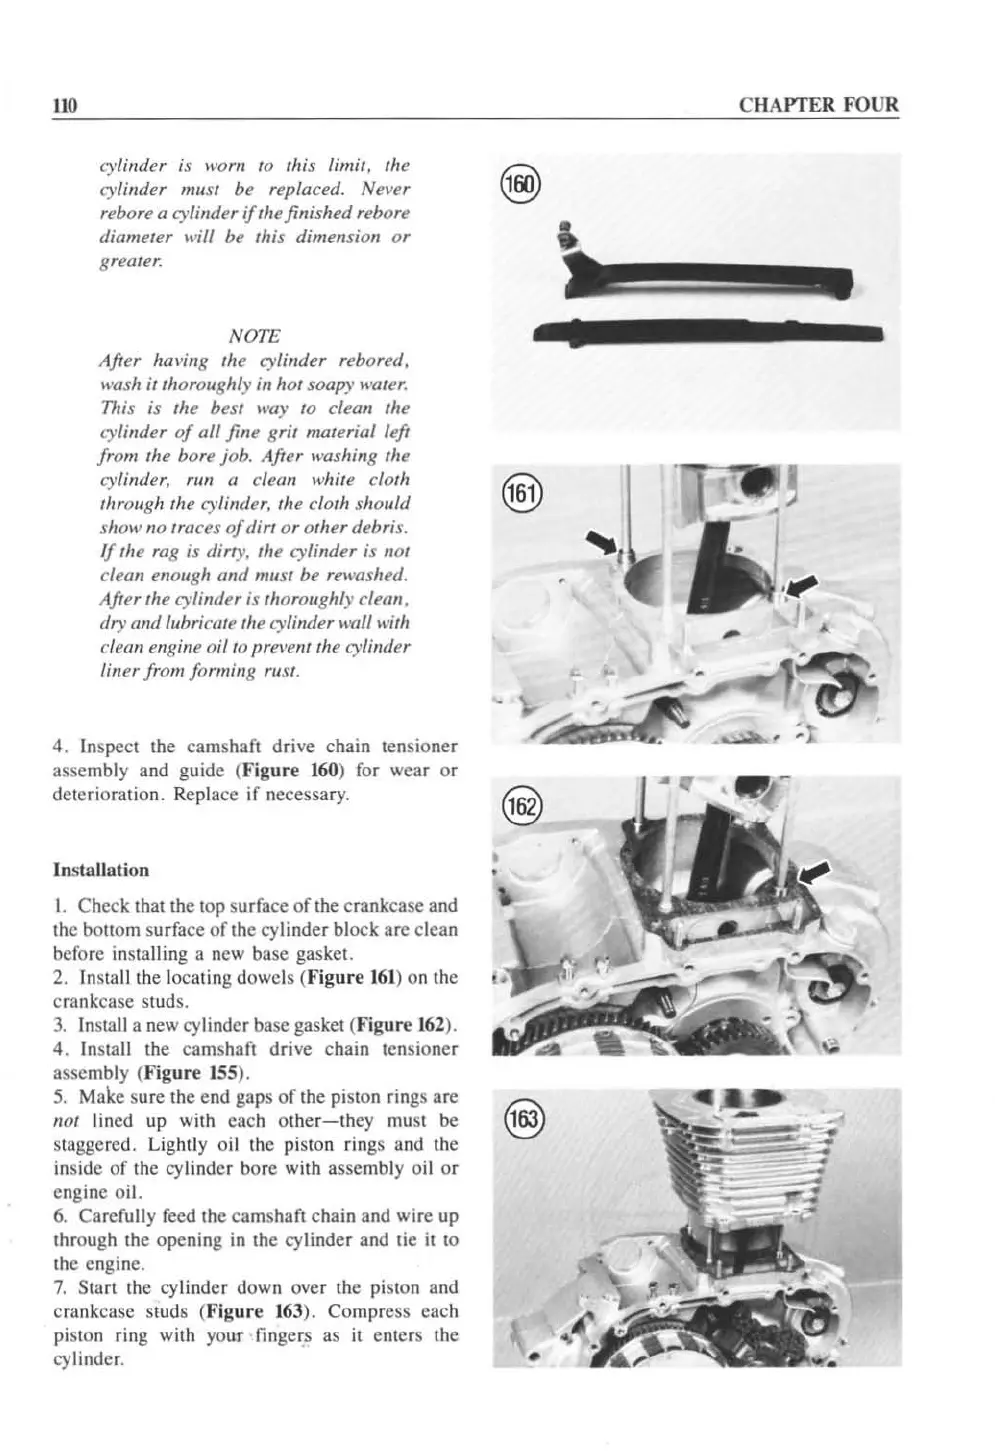
4. Inspect the camshaft drive chain (ensioner
assembly and guide
(F
igur
e 160)
fo
r wear
or
deterioration. Replace if necessary.
Installation
I.
Check that the top surface
of
the crankcase and
the bottom surface
of
the
cy
linder block are clean
before
installi
ng
a new base gasket.
2.
Insta
ll
the locating dowels (Figure
161
) on the
crankcase studs.
3.
Ins
tall
a
new
cylinder base gasket
(F
igure
16
2).
4.
Install the camshaft drive chain tensioner
asse
mb
ly (
Fi
g
ur
e
155
).
@)
@
•
5.
Make sure the end gaps
of
the piston rings are
/lot
lined up with each o
th
er-
th
ey
must
be
@
staggered. Lightly oil the piston rings and the
ins
ide
of
the
cy
linder bore with assembly oil
or
engine oil.
6.
Carefully feed the camshaft chain and wire up
through the openi
ng
in
the cylinder and tie it
to
the engi
ne.
7.
Start the cylinder down over the piston and
crankcase studs (
Figure
163
). Compress each
piston ring with your fingers as
it enters the
cy
linder. -
CHAPTER FOUR
~
,
,,
'h
,
•
•
_
~~
:1:
 Loading...


