1
60
27.
In
stall the clutch cover and the bolts.
Be
sure
to
install the special washers under the correct bolts
as shown
in
(W, Fig
ur
e 51
).
If
the special washers
are not installed. the right-hand crankcase cover
will leak oil. Tighten the boi
ls
securely.
28.
Pe
rform Steps 12-24
of
Engine Oil
and
Filter
Challge
as described in Chapler Three and refi
ll
the engine oil.
29.
Insta
ll
the exhaust system as described under
Exhaust System Re
mom/llnstaffation
in
Chapter
Seven.
30.
Insta
ll
the rear brake pedal bracket and right-
hand foot rest. Tighten the nuts
10
the torque
specification listed
in
Table 2.
C
lu
tc
h Release Mecha
ni
sm
Removal/
In
spec
t ion/) nSlallation
I. Perform Steps
1·12
of
Clutch Removal!
Disassembly in this chapter.
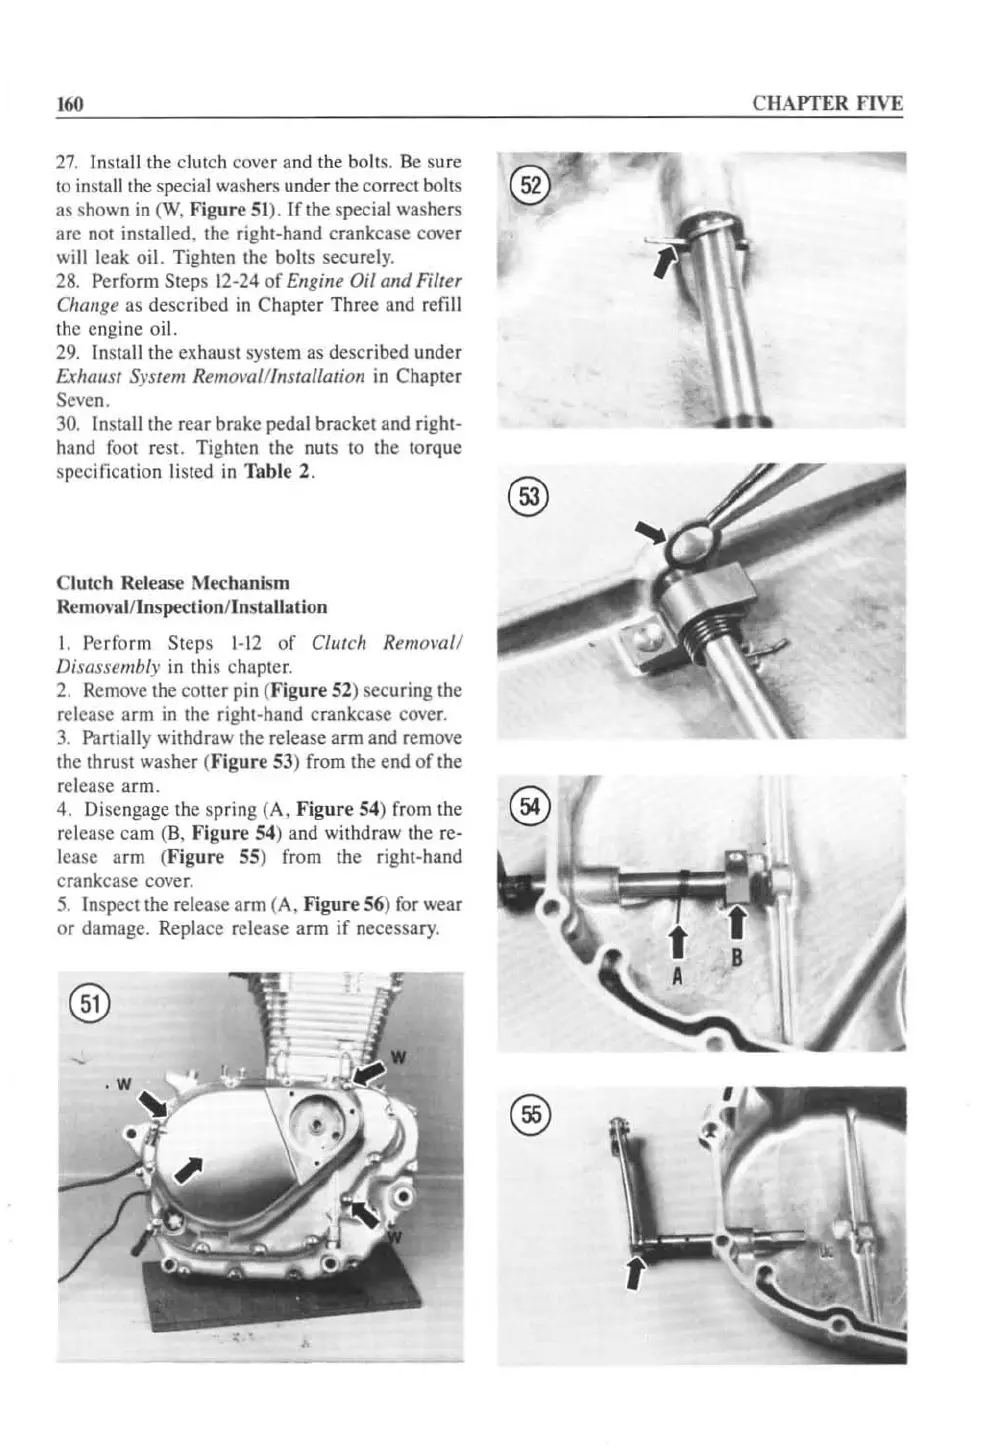
2.
Remove the cotter pin (Fig
ur
e 52) secur
ing
the
release arm
in
the right-hand crankcase cover.
3.
Partially withdraw the release arm and remove
the thrust washer (Figu
re
53) from the end
of
the
release arm.
4. Disengage the spring (A. Fig
ur
e 54) from the
release cam
(B,
F
igur
e 54) and withdraw the re-
lease arm
(F
ig
ur
e 55) from the right-hand
crankcase cover.
5.
In
spect the release
ann
(A. Fig
ur
e 56)
fo
r wear
or
damage. Replace release arm if necessary.
®
-
,
CHAPTER FIVE
®
®
@
 Loading...


