82
faced
ma
ll
et. If necessary. gelllly pry the head
~
loose with a broad-lipped screwdriver.
~
CAUTION
Remember Ihe
COOlillgjillS
are/ragile
and
may he damaged
if
tapped 011
or
prittl
/00
hard. Never use a metal
hammer.
28.
Liflthe
cy
linder head
st
raight up and
off
the
cyli
nd
er and crankcase studs. Guide the camshaft
chain through the opening in the cylinder head and
relic the wire
to
the exterior
of
the engine. This
will
prevent the drive chain from falling down into
the crankcase.
29. Remove the
cy
lind
er
head gasket and discard
it. Don', lose the locating dowels.
30.
Inspect the cylinder head cover, the
cy
li
nder
head and camshaft
as
described in this chapler.
Installation
1.
If removed,
in
stall the locating dowel in the
cy
linder.
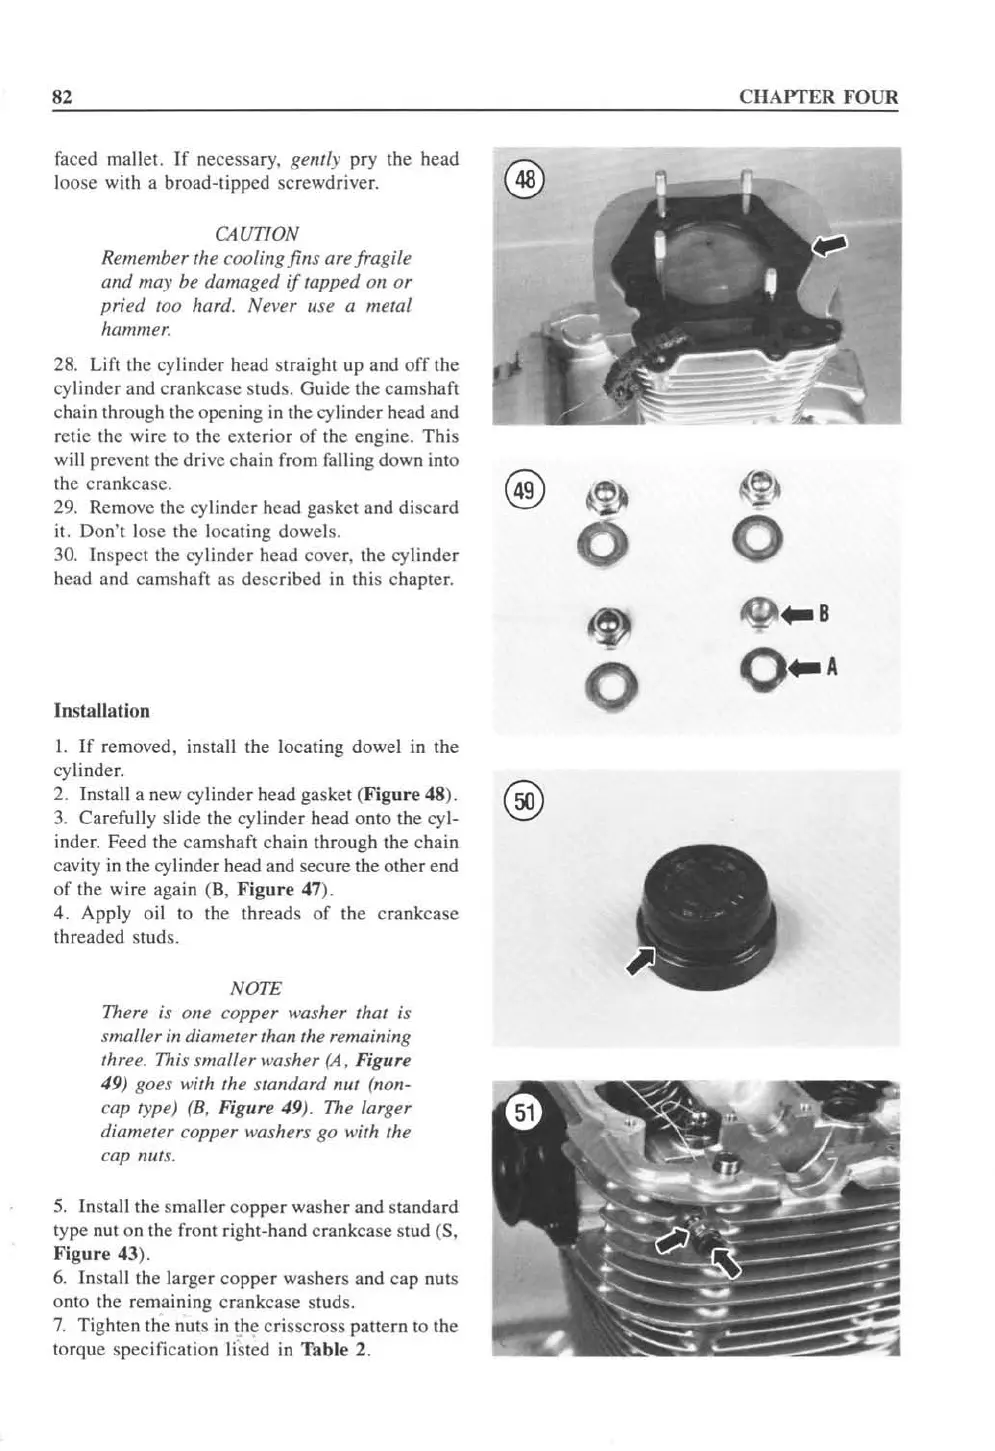
2.
Insta
ll
a new cylinder head gasket (
Figure
48).
f"5(i\
3.
Carefully slide the cylinder head onto the cyl-
~
inder. Feed the camshaft chain through the chain
cavity
in
the cylinder head and secure the other end
of
the wire again (
B,
Figure
47).
4. Apply oil to the
th
reads of the crankcase
threaded studs.
NOTE
There is
one
copper
washer that is
smaller
in
diameter Ihan the remaining
Ihree.
nlis
smaller
washer (A, Figure
49) goes with the standard nut (non-
cap
rype) (8, Figure 49).
The
larger
diamet
er
copper
washers
go
with the
cap
nuts.
5.
In
stall the smaller
cop
per washer and standard
type nut on the front right-hand crankcase stud
(5.
Fi
gu
re 43).
6.
Insta
ll
the larger copper washers and cap nuts
onto the remaining crankcase st
ud
s.
7.
Tighten the nuts
in
~he
crisscross pattern
10
the
torque speci
fi
cation
li
sted
in
Table
2.
•
o
CHAPTER
FOUR
~
"B
0 " A
 Loading...


